Rod electrode setup menu
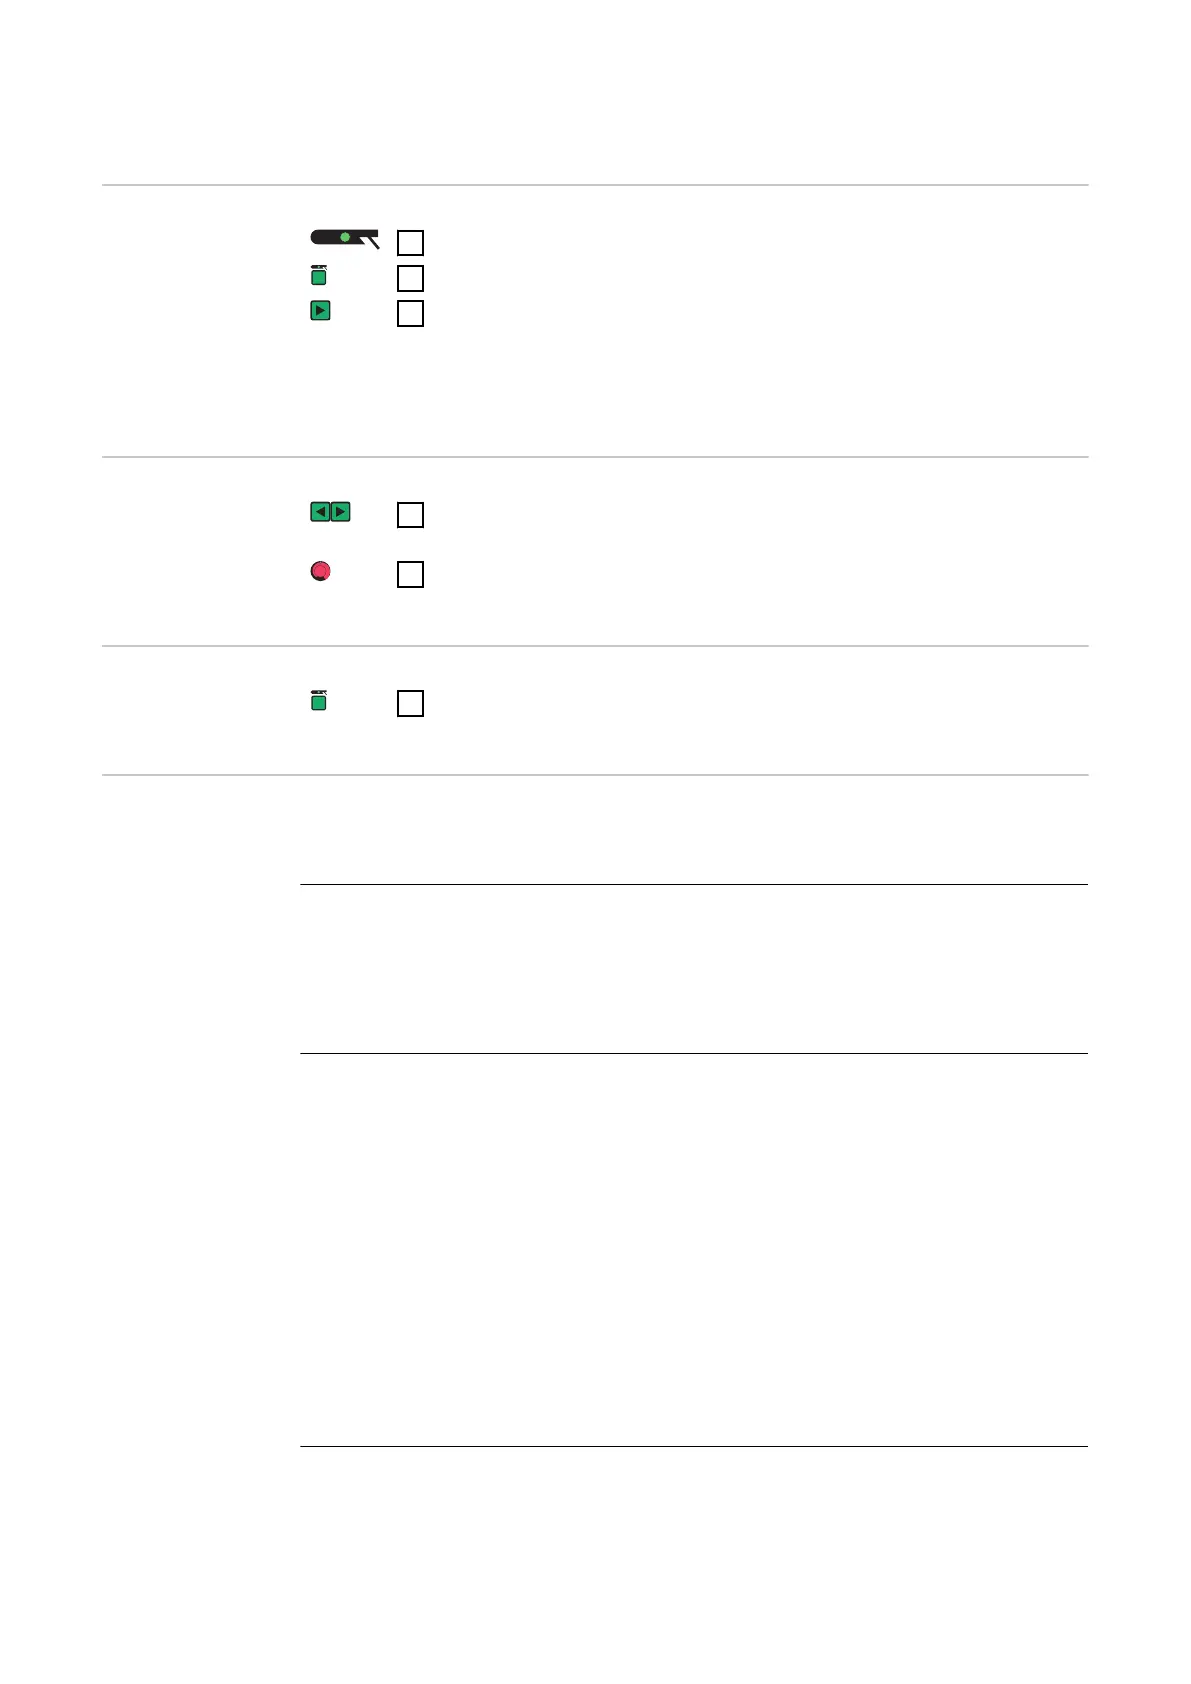
Open the rod
electrode set-up
menu
1
Press the Mode button to select the MMA welding mode
2
Press and hold the "Mode" button
3
Press the right parameter selection button
The power source is now in the rod electrode set-up menu. The
last welding parameter selected is displayed.
Changing weld-
ing parameters
1
Use the left or right parameter selection button to select the
welding parameter that you want to change
2
Use the adjusting dial to change the welding parameter value
Exiting the set-
up menu
1
Press the Mode button
Welding para-
meters in the rod
electrode set-up
menu
"Minimum" and "maximum" are used for setting ranges that differ according to
power source, wire-feed unit, welding program, etc.
HCU
HotStart current
Unit % (of main current I
1
)
Setting range 0 - 200
Factory setting 150
Hti
Hot-current time
Unit s
Setting range 0 - 2,0
Factory setting 0,5
To obtain optimum welding results, it will sometimes be necessary to adjust
the hotstart function.
Benefits:
-
Improved ignition, even when using electrodes with poor ignition proper-
ties
-
Better fusion of the base material in the start-up phase, meaning fewer
cold-shut defects
-
Largely prevents slag inclusions
82