System expansions
Inserting and removing the driv
e cage
You first need to remove the drive cage to be able to install and remove drives
and components on the top side of the casing.
Removing the drive cage
• The top casing cover has been removed (see "Removing the ca sing top cover", Page 66).
Drivecage
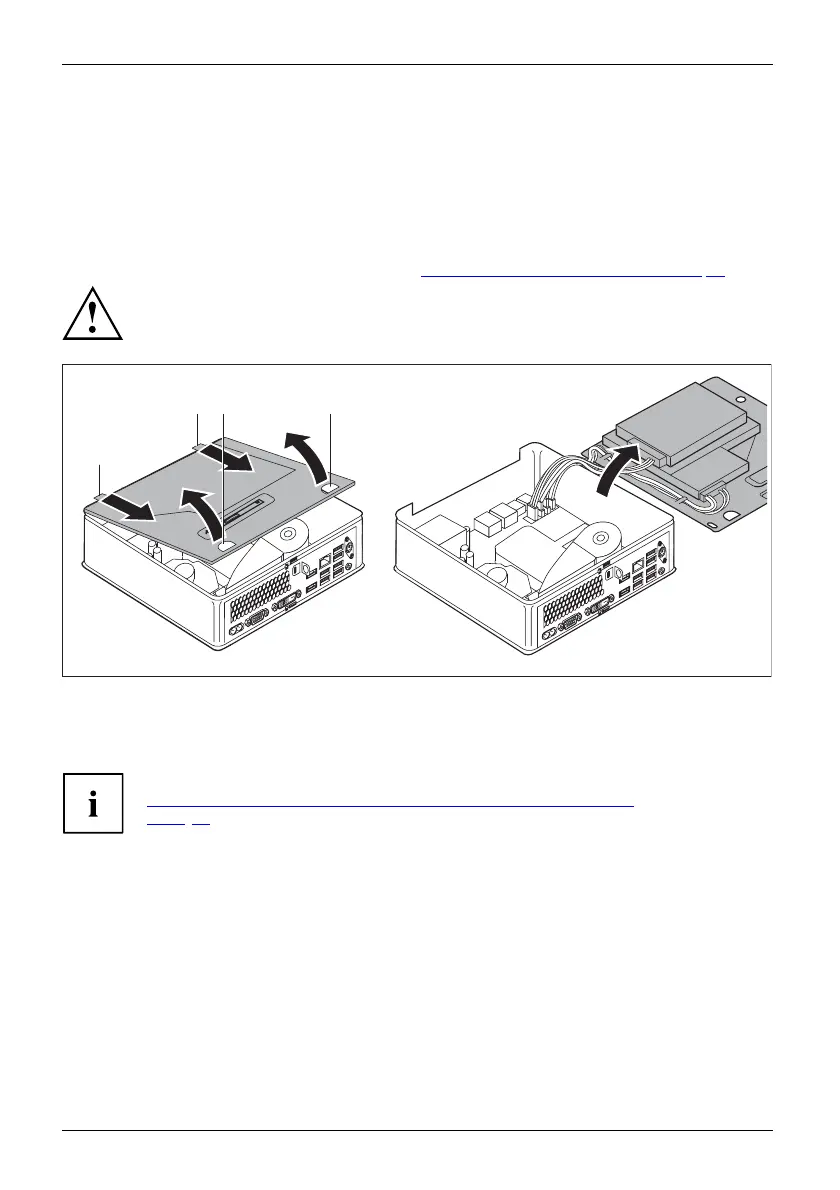
When removing the drive cage, ensure that you do not damage any of the leads attached
to the main board th at are attached to components in the drive cage. For this reason,
always remove the drive cage very carefully and do not pull hard on the attached leads.
a b
a
1
1
2
2
b
3
► Grip the two o
penings (b) and carefully lift the drive cage at an angle
(1). Be care
ful of attached cables.
► Remove the guides (a) on the drive cage from the corre sponding openings on the casing (2).
You can find information on pin allocation on the motherboard in Section
"
Overvie w of the installation openings and drives in your device",
Page 6 2 and in your motherboard manual.
► Carefully lay the drive cage to the side (3).
68 Fujitsu
 Loading...