GE MEDICAL SYSTEMS
D
IRECTION 2300000, REVISION 2 LOGIQ™5 SERVICE MANUAL
Chapter 8 Replacement Procedures 8-51
8-5-7 Front Cover
Purpose: This is a description on how to remove and replace the Front Cover.
8-5-7-1 Tools
• Common pillips screwdrivers
8-5-7-2 Needed Manpower
• 1person, 20 minutes + travel
8-5-7-3 Preparations
• Shut Down the System and switch off the Main Breaker at the rear as described in section 4-3-2 on
page 3.
8-5-7-4 Removal Procedure
1.) Remove the Left Cover. Refer to section 8-5-1 on page 39.
2.) Remove the Right Cover. Refer to section 8-5-2 on page 41.
3.) Remove the Front Base Cover. Refer to section 8-5-7 on page 51.
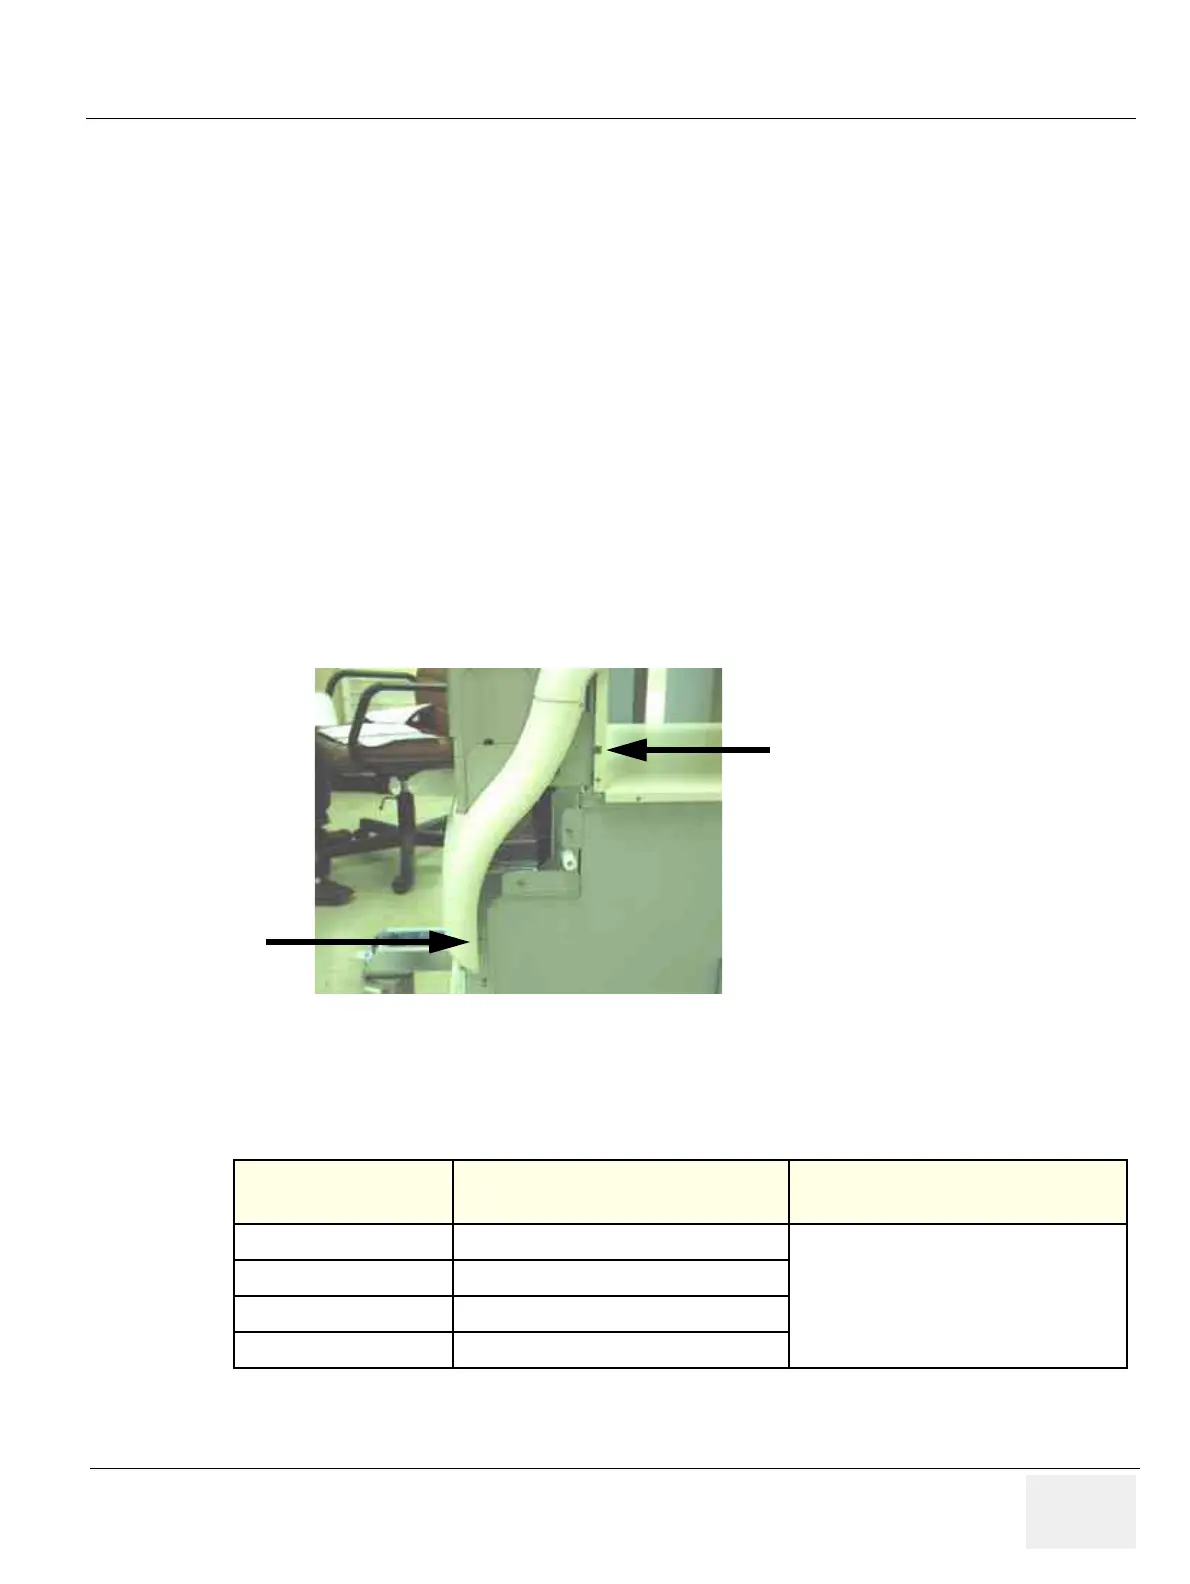
4.) Unscrew four screws (1-4). Refer to Figure 8-56.
5.) Remove the Front Cover.
6.) Perform the following functional tests. If all are successful, include the debrief script provided below.
8-5-7-5 Mounting procedure
Install the new parts in the reverse order of removal.
Figure 8-56 Unscrew 2 screws on the left side
Table 8-26 Functional Tests
Service Manual
Section
Functional Test / Diagnostic Test Debrief Script
Section 4-3-1
Power On/Boot Up
“Service Manual, Direction
2300000, Rev 1+, Section 8-5-7. Equipment
passed all required tests and is ready for use. “
Section 4-3-2
Power Off / Shutdown
Section 4-8-2
Cover Parts Function Validation
Section 10-5-5
Physical Inspection
(1)
(2)
Left Side
(3),(4) are on the right side