GE MEDICAL SYSTEMS
D
IRECTION 2300000, REVISION 2 LOGIQ™5 SERVICE MANUAL
Chapter 4 Functional Checks 4-5
4-3-3-1 Control Panel (cont’d)
10.)Mode/Gain Keys
11.)Imaging/Measurement Keys
12.)Depth
13.)Imaging Feature Keys
14.)Freeze and Print Keys
15.)Probe and Cord Holder
16.)Gel Holder
17.)Power Button
4-3-3-2 Power On/Off SwitchTouch Panel
1.) Patient: Enter Patient screen
2.) Scan: Enter scanning mode screen
3.) Reports: Activates default report and Touch Panel of report choices.
4.) End Exam: Activates Image Management and Touch Panel with end of exam options.
5.) Utility: Activates the configuration system.
6.) Preset: Select the application to use.
7.) Probe Indicator: Indicates and selects the probes.
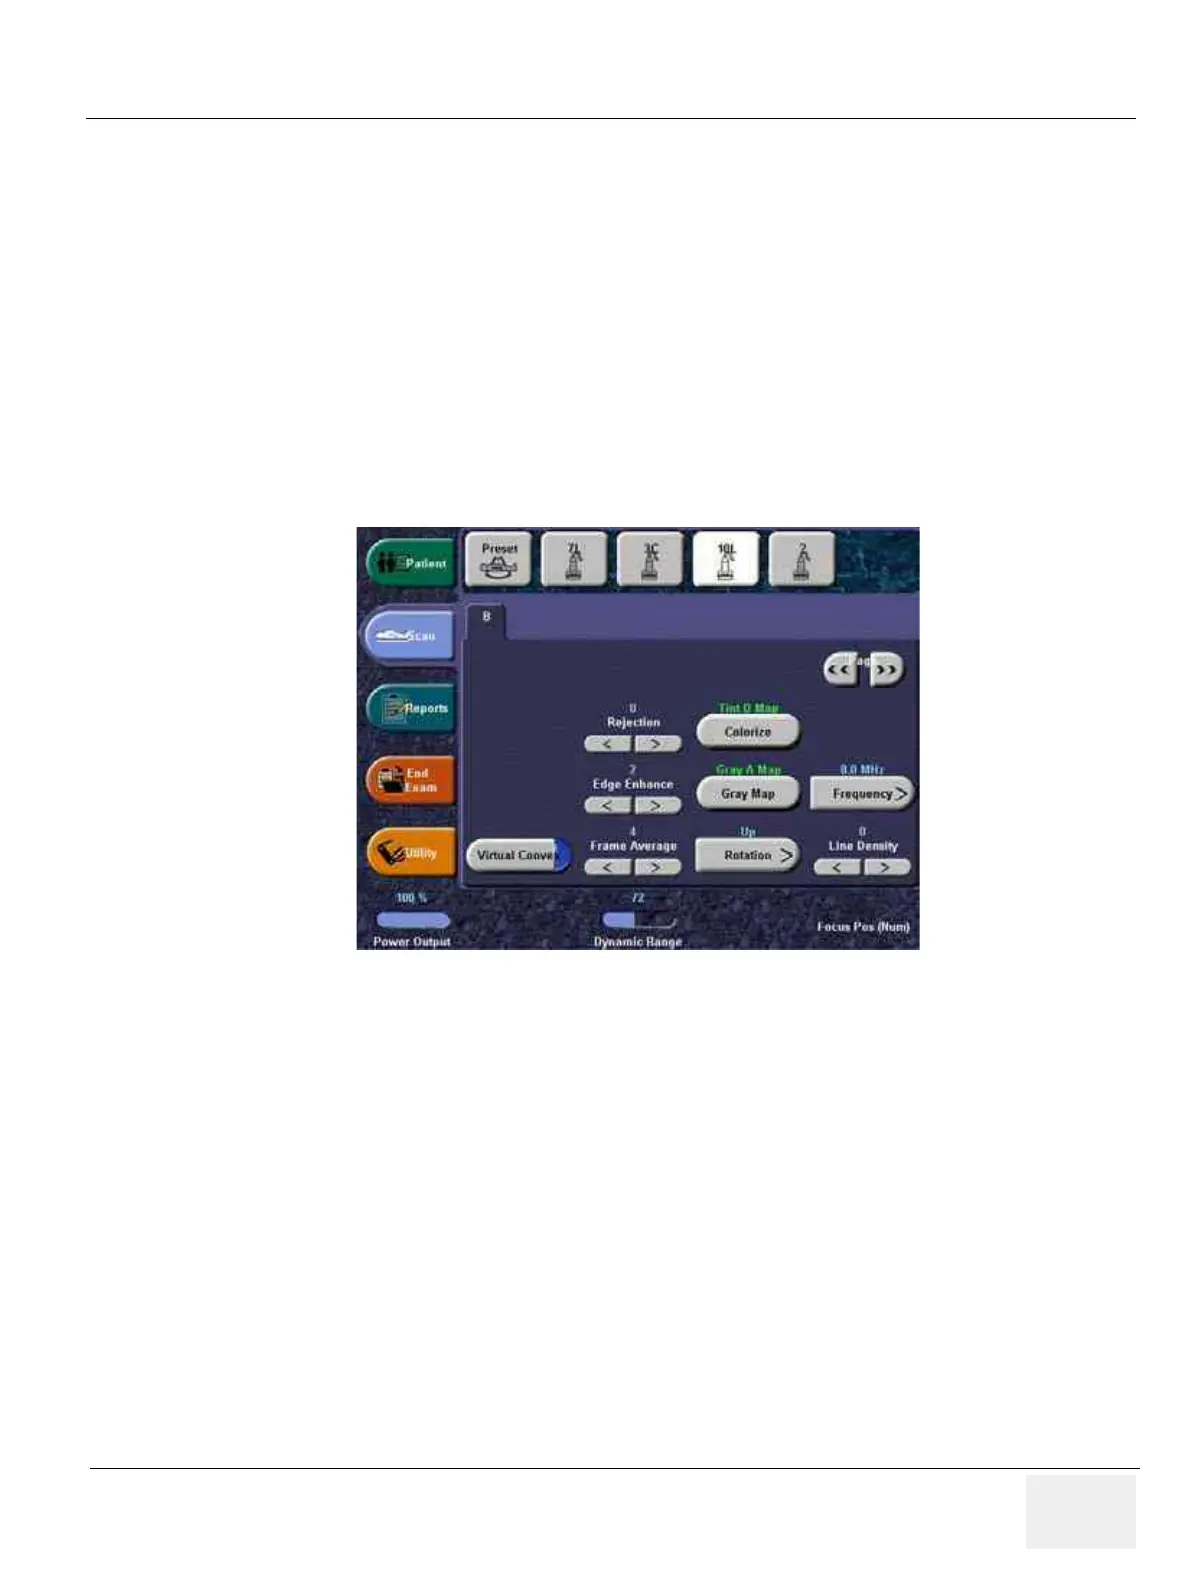
NOTE: Different menus are displayed depending on which Touch Panel Menu is selected.
At the bottom of the Touch Panel, there are five combination rotary dials/push buttons. The functionality
of these rotaries changes, depending upon the currently displayed menu. Press the button to switch
between controls (as with Focus Position/Number), or rotate the dial to adjust the value.
Figure 4-5 Touch Panel Display Tour
1
3
4
2
5
67
 Loading...


