64
1.4.4 Installation
The Target Vandal Proof Dome is designed for outdoors. With the standard package, you
can install the camera on the ceiling. Alternatively, you can purchase optional mounting
accessories to mount the camera on a wall.
Below are the instructions for Ceiling Mount. There are two kinds of Ceiling Mount:
Concealed Installation and Open Installation. In Concealed Installation, the cables are
hidden in the ceiling. In Open Installation, the cables are led out from the open slot on the
camera base.
1.4.4.1 GV-AVD2700 / 4710 / 8710, GV-TVD4700 / 4710 / 4810 / 8710 /
8810
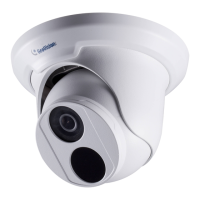
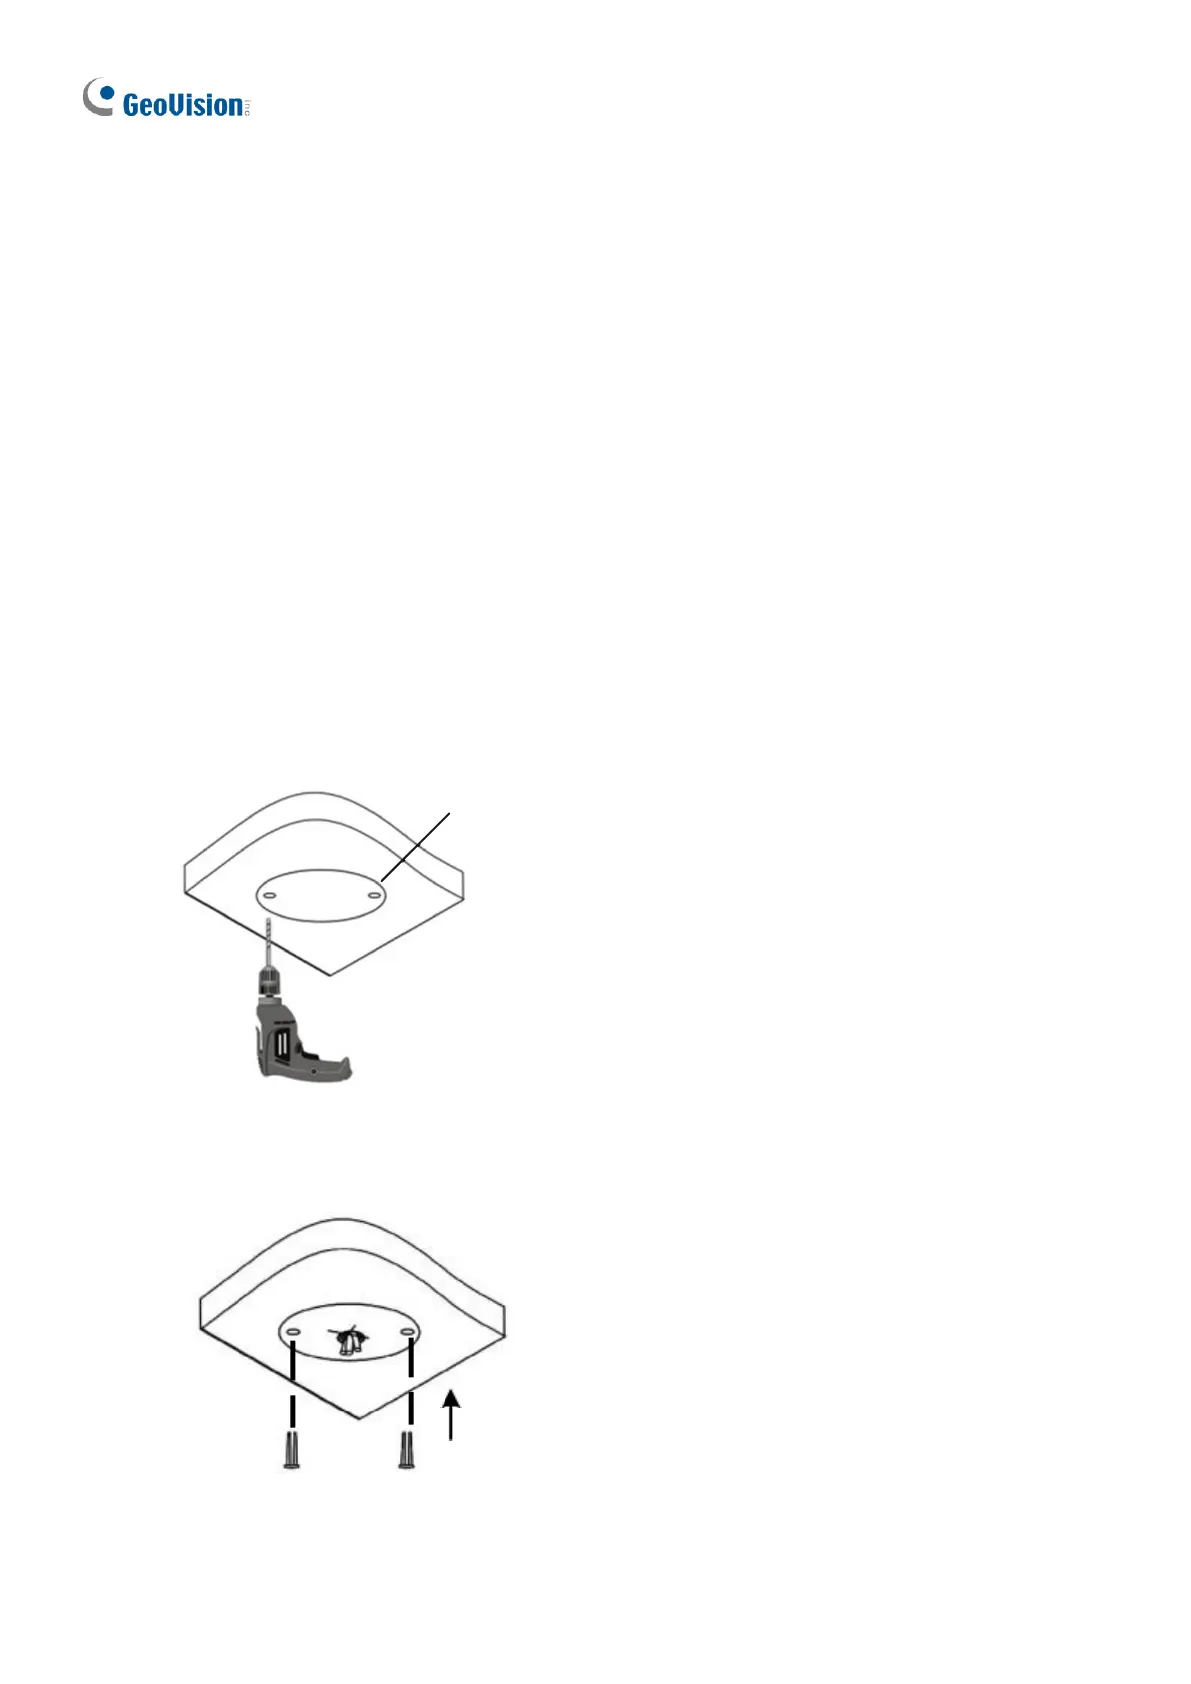
For Concealed Installation
1. Stick the drill template paster to the ceiling, and then drill three holes according to the drill
template.
 Loading...