Note: If the default button doesn’t respond after pressing for 15 seconds, reboot the
camera and try again within 10 minutes of rebooting.
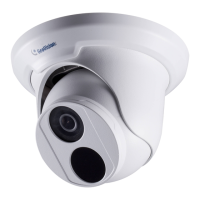
1.6.4 Installation
The IR Fisheye Rugged IP Camera is designed for outdoors. With the standard package, you
can install the camera on the wall or ceiling. Or, you can purchase optional mounting
accessories to mount your camera on a wall.
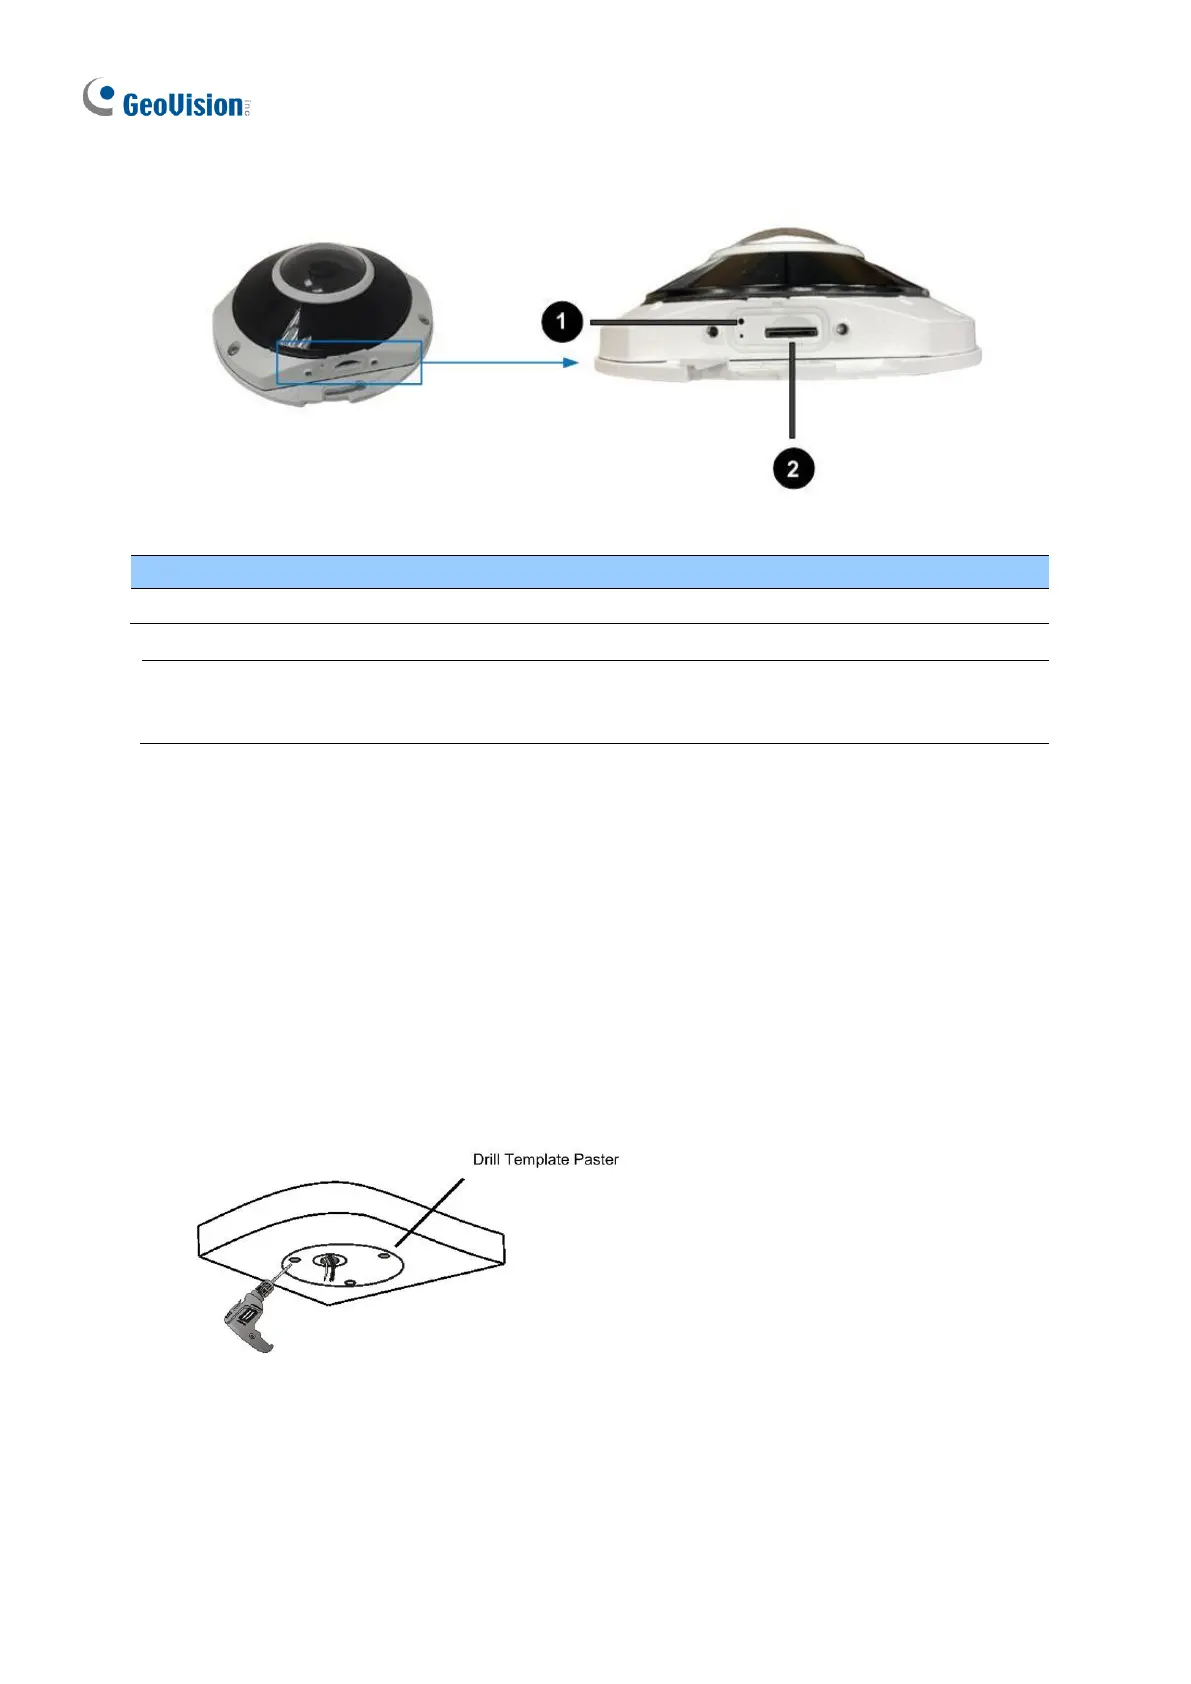
Below are the instructions for Ceiling Mount.
1. Stick the drill template paster to the ceiling and drill holes on the ceiling according to
the drill template.
Figure 1-109
 Loading...