61
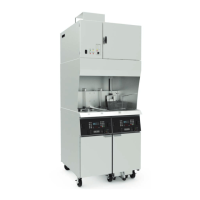
Fryer Operation
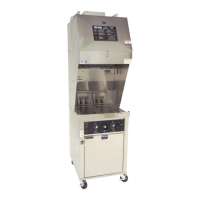
EOF 10-10/20
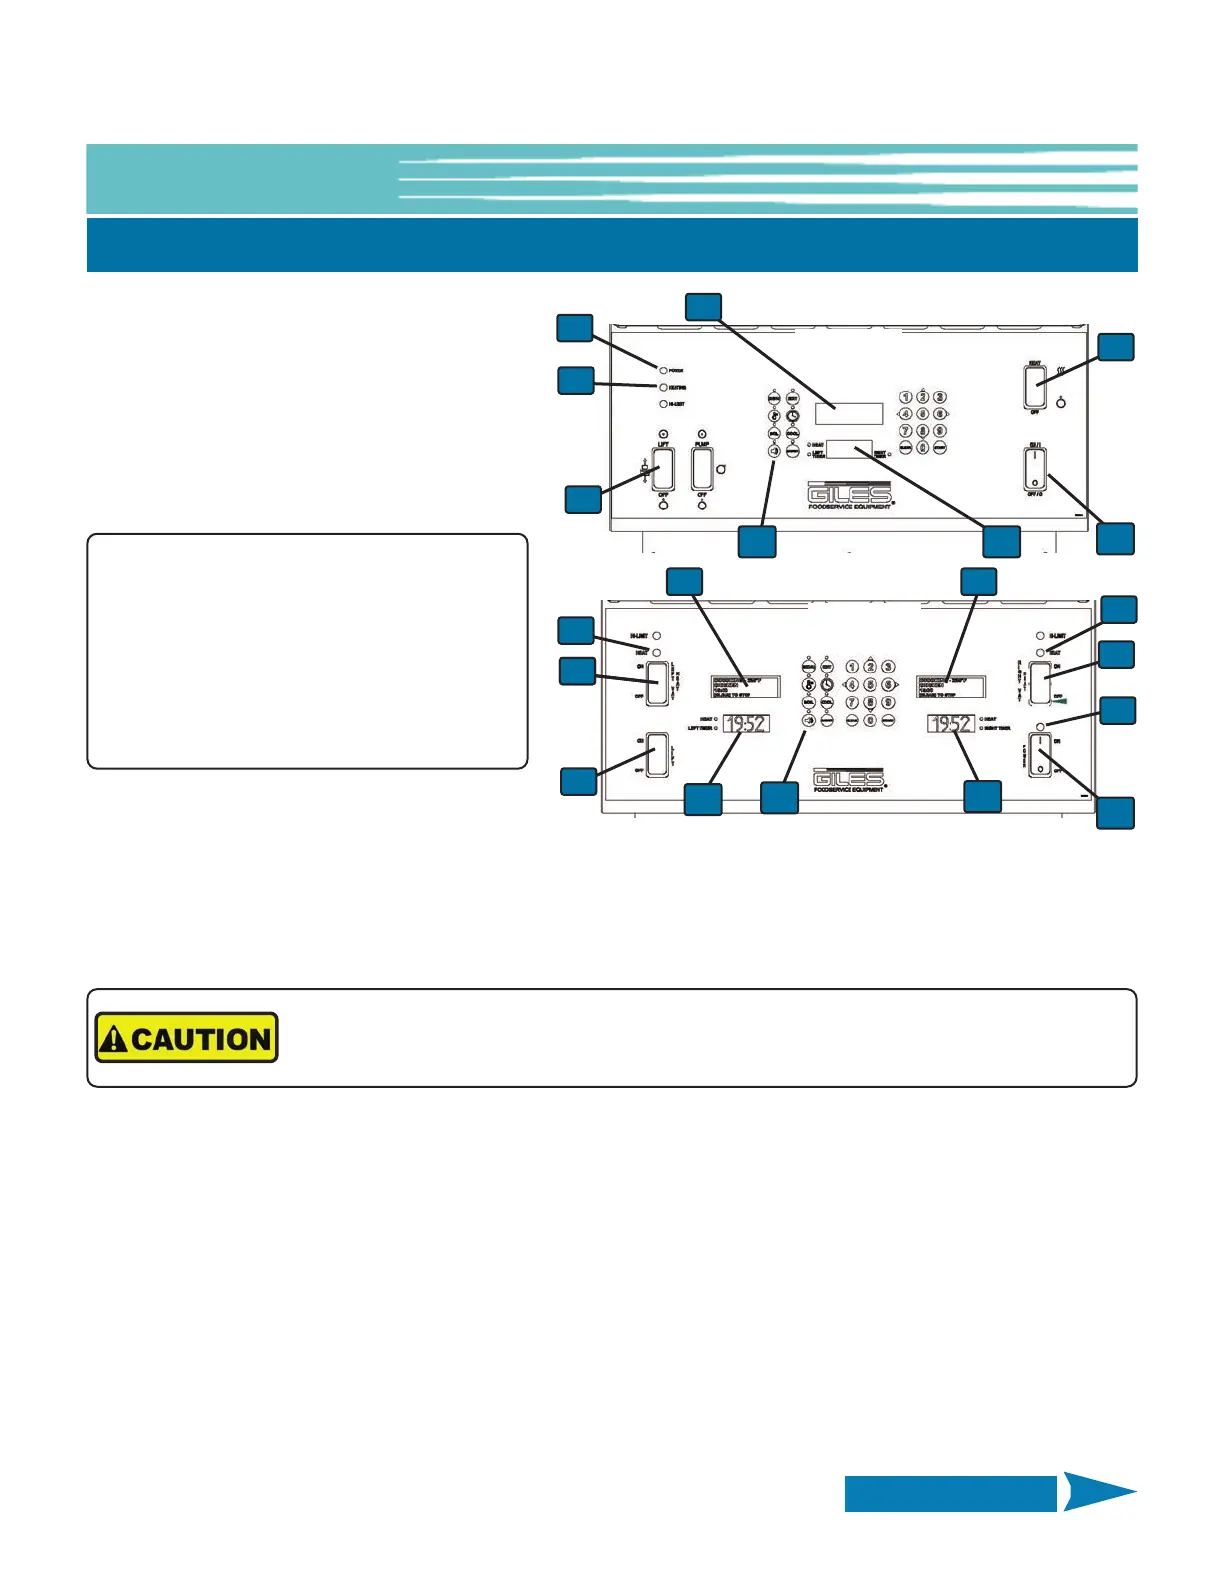
6. Set the Power Switch ① to the ON
position. The Power Light
⑤ will turn on.
If the Fryer unit is equipped with Basket
Lifts, and if User wants to enable them,
place the Basket Lift Switch
⑥ in the LIFT
position. If Lifts are not installed, there is
no Lift Switch.
7. Place Heat Switch
② in the HEAT/ON position; the Heat Light ⑦ will illuminate and oil should begin heating.
The OLED Display
⑧ will show PREHEATING and the 7-Segment Display ⑨ shows the real-time oil
temperature as heating occurs.
8. It is recommended that the oil be stirred occasionally while heating to prevent occurrence of false HI-LIMIT or
MAX ELEM TEMP alarms. This is especially important during the initial heat-up of the day, when shortening is in
a cool thickened state.
9. When cooking oil reaches the programmed setpoint, an alarm sounds and the OLED Display
⑧ reads ALARM
STIR OIL. Press the [ALARM] key
⑩ and vigorously stir the oil. There is a 10 second delay; if temperature drops
below setpoint while stirring, the Controller remains in PREHEAT until setpoint is reached again, alarm sounds
again and the OLED Display reads ALARM SETPOINT REACHED. Press the [ALARM] key and Controller enters
READY state.
Cooking oil should now be evenly heated and ready for cooking.
NOTE:
If an alarm sounds when Power Switch is
placed in the ON position and OLED Display
⑧ shows the message ERROR ALARM
DRAIN IS OPEN, verify that the Drain Valve is
tightly closed and press the [ALARM] Reset
key
⑩, and/or follow Controller prompts.
5-02. Cooking Procedures - Continued
Cooking oil will be extremely HOT! Always wear thermal protection, such as oven mitts,
when stirring hot oil.
EOF-20
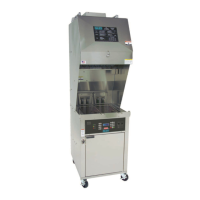
EOF-10-10
1
1
5
5
6
6
2
2
7
7
2
7
8
8 8
9
9
9
10
10
Continued on Next Page