36
OPERATION | 333/334 HPLC PUMPS
PRIMING
Piston Rinsing Procedure
PLUMBING SETUP
1. Fill the glass bottle (part number 54350403) with
distilled water and push the open end of each rinsing
line through the bottle’s pierced cap, to between 1 to
2cm of the bottom.
2. Clip the rinsing lines to the tray. Each line is first attached
to a clip by pushing it gently into the fissure, and then
the clip is pushed into a slot on the tray.
PRIMING OPERATION
1. Ensure that each purge line is closed (turn each
connector fully counterclockwise until finger tight), then
press Manual, Prime, Start (or pump at an appropriate
flow rate—the maximum flow rate, for example). After
about 20seconds, water should have sufficiently filled
the rinsing line, even though some air is also present.
2. Stop the pump and then undo both purge line connectors.
Water will run from each purge line into the drip tray;
the rinsing lines and rinsing chambers will fill with water.
When you see bubble-free water in the rinsing lines,
and that air is no longer exiting from the head via the
purge lines, close both purge lines. In use, water from
the small bottle rinses the piston and although it is a
closed circuit, you may need to change the water from
time to time and also repeat this procedure.
To get the initial flow of water to reach the pump head, it may be necessary to use a priming
syringe (part number 36460058) to pull excess air from the rinse line. Opening and closing the
purge line connectors can also encourage initial rinse water flow.
Over time the buer concentrate will dilute into the water bottle via entropy and laminar
flow. To prevent sediment build-up in the piston chamber, change the water and clean the
bottle.
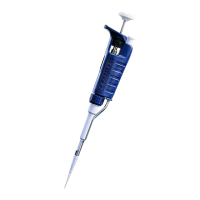
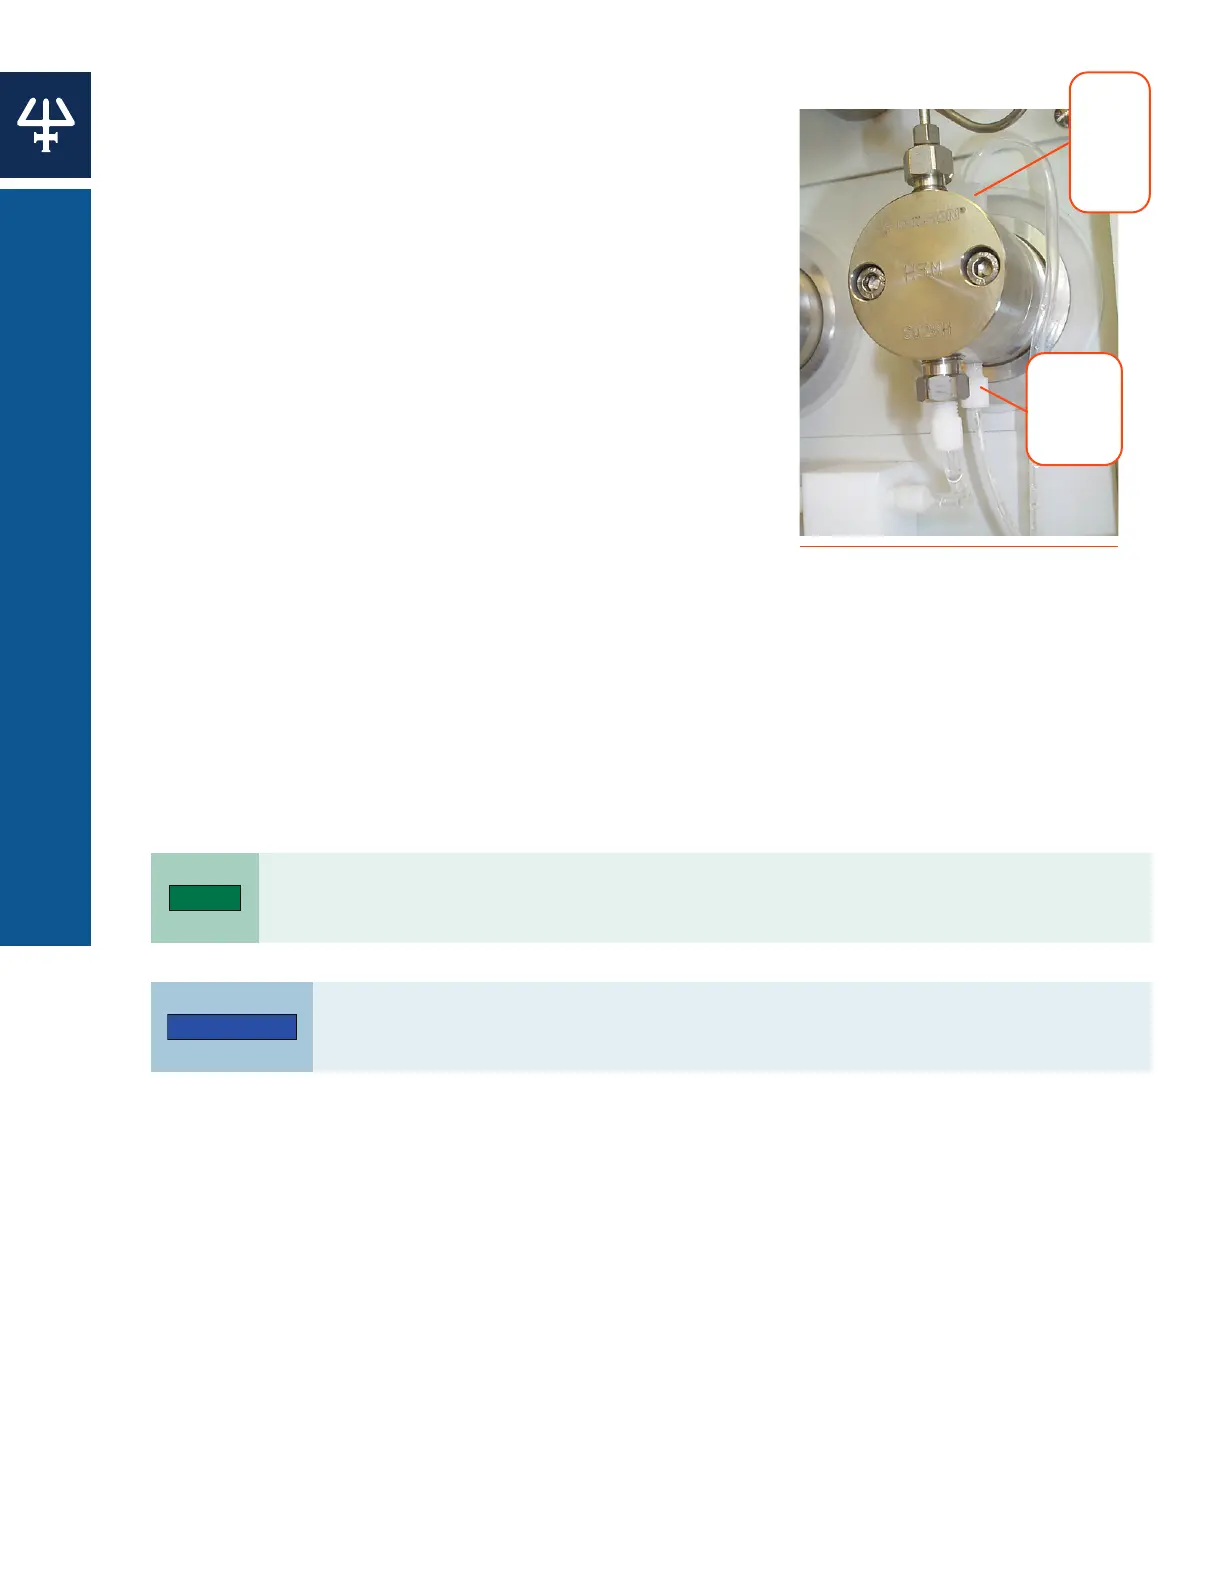
Figure 28
Close Up of Piston Rinse Lines
Rinsing
Line
from
Bottle
Purge
Line
to
Drip
Tray