5. When prompted for the driver location of the device, browse to the same directory on the
Evolution Workstation CD (“USB Serial Drivers”). Click ‘Next’ to continue. Windows should
detect the driver as the USB Serial Port. The driver will be installed. Click Finish to continue.
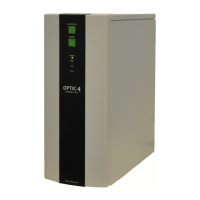
Go to the Device Manager (Control Panel/System/Hardware) to find out the USB serial port
number assigned for OPTIC-4 communication (Fig. 5.2). Alternatively, “USB Serial Loopback”
application can be used to detect the serial port number while connecting OPTIC-4 to the
computer after driver installation. The application is supplied on the OPTIC-4 software CD.
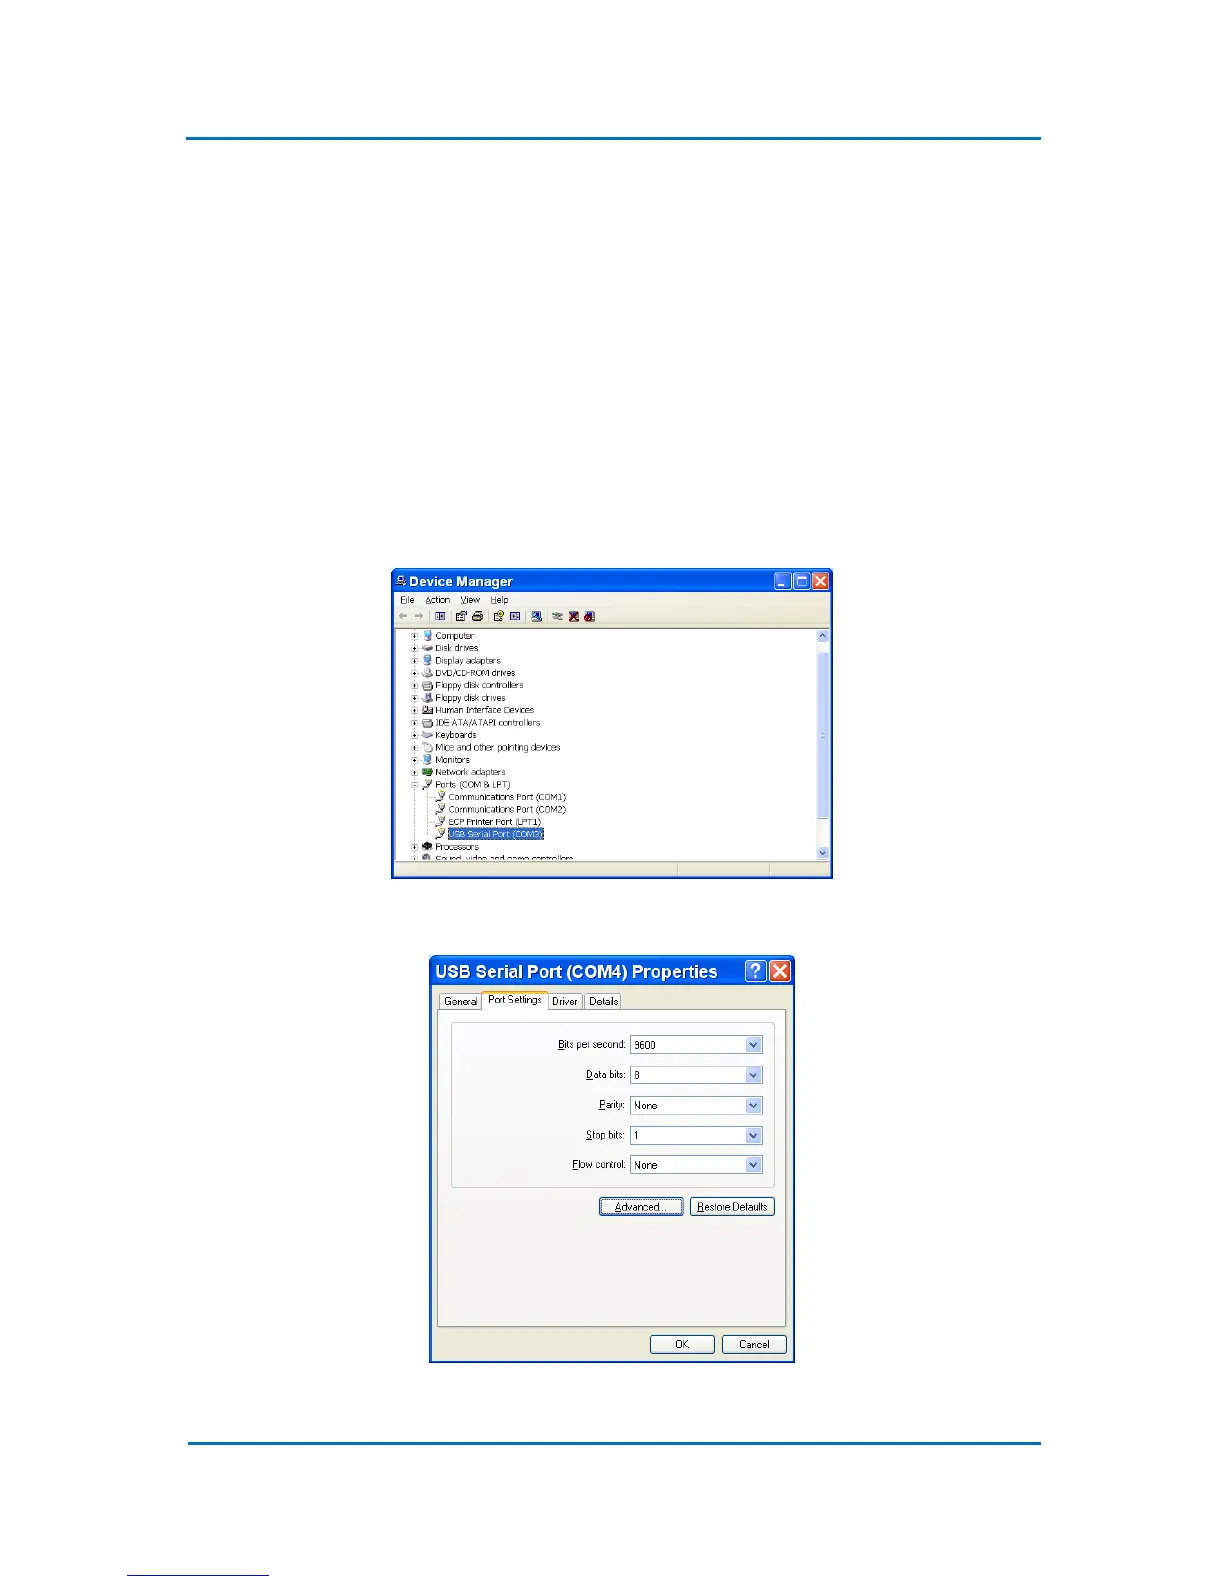
Note that if port number is greater than 9, it should be manually reassigned to another free
port with a lower number. For this right click on USB Serial Port entry and select
Properties. A new dialog appears . Select Port Settings > Advanced (Fig. 5.2a). In a new
dialog change port number assignment to any free port with the number lower than 10.
Click OK to confirm. If warning massage appears, click OK to continue.
Figure 5.2
Fig. 5.2a