5.4 Communication Parameters
After setting up the OPTIC-4 hardware and installing the PC software, they must first be configured
to communicate. Either a USB or a LAN (Ethernet) interface may be used.
The OPTIC-4 controller automatically checks both USB and LAN ports to detect the connection to the
host PC. The communication is established if the communication parameters within the controller
(USB Serial Port number or IP address) match the external communication parameters set in the
Evolution Workstation. In most cases the USB communication should be established first in order to
be able to switch to the LAN communication. It is needed to set a valid IP address.
5.4.1 USB Communication
Plug the USB cable connected to the OPTIC-4 controller into an available USB port of the computer.
In case a first-time installation, Windows detects the new device and will initiate the Found New
Hardware Wizard prompting you to install the USB driver:
1. When the 'Found New Hardware Wizard' opens, click next to 'No, not at this time' and
then on ‘Next’ button.
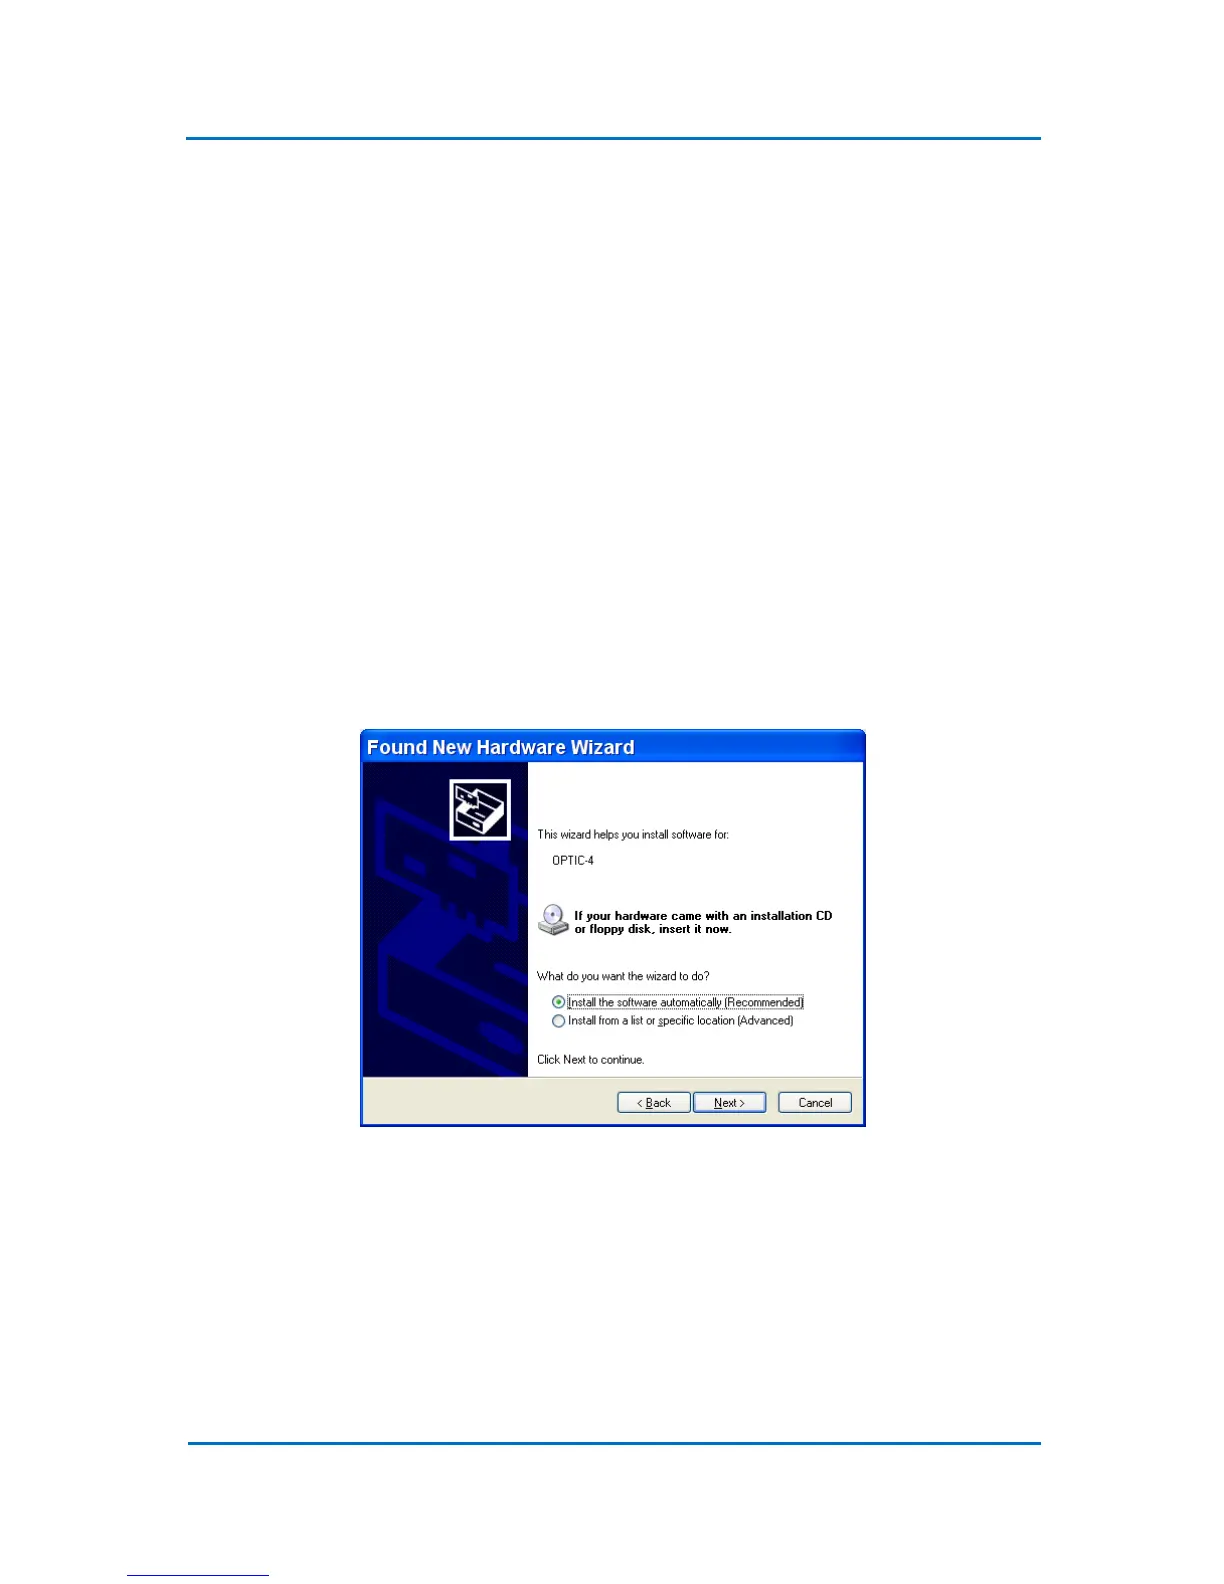
2. Click ‘Install from a list or specific location’, then click the ‘Next’ (Fig. 5.1).
Figure 5.1
3. When prompted for the driver location of the device, browse to the Evolution Workstation
CD directory “USB Serial Drivers”. Click ‘Next’ to continue. Windows should detect the
driver as the USB Serial Converter. The driver will be installed. Click Finish to continue.
4. Once the installation of the USB Serial Converter is completed, Windows will prompt you
for the installation of a USB Serial Port driver with a new 'Found New Hardware Wizard'.
Click the button next to 'No, not at this time' and ‘Next’. Choose again ‘Install from a list or
specific location’, then click the ‘Next’.