-80-
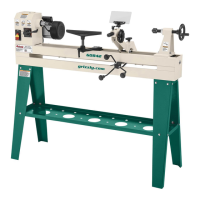
Model G0824 (Mfd. Since 12/16)
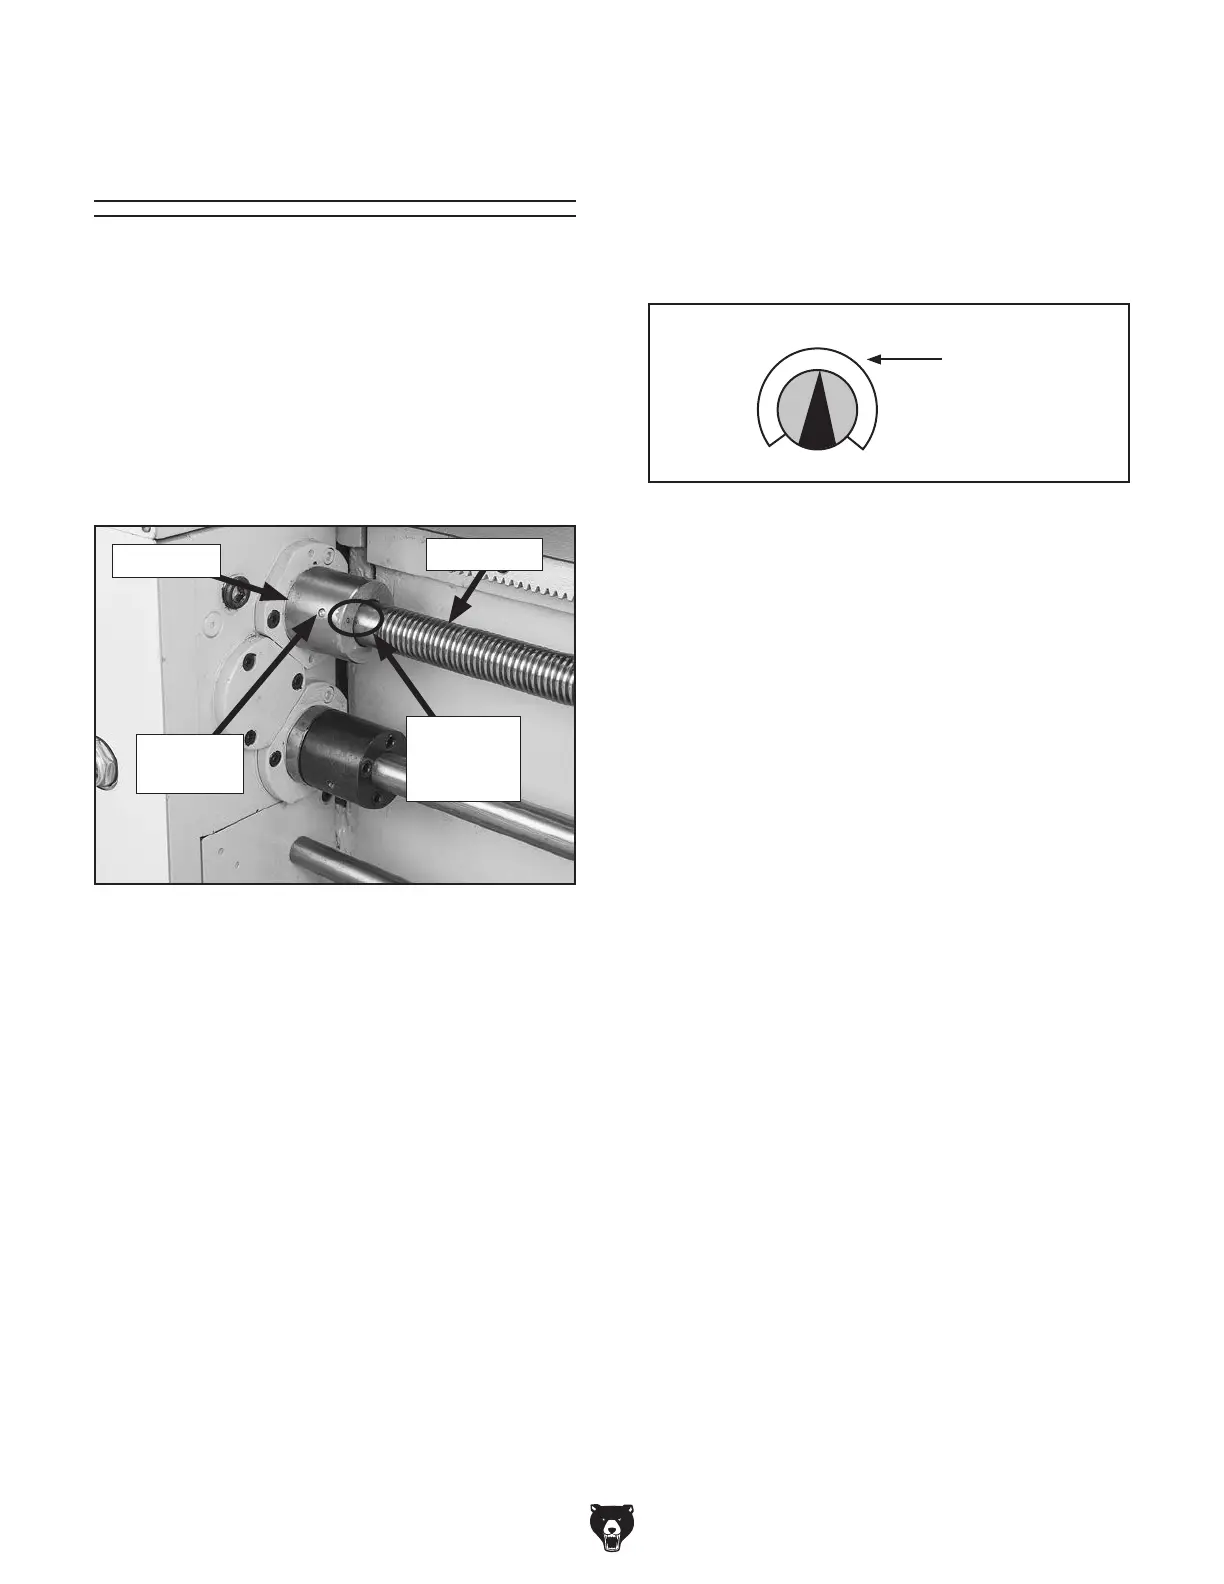
A straight 4 x 42mm brass shear pin (see Figure
134) holds the leadscrew and the drive hub
together. The pin is designed to break and disen-
gage the power transfer to the leadscrew to help
protect more expensive lathe components in the
case of a carriage crash or the lathe is overloaded.
Contact Grizzly Customer Service at (570)
546-9663 to order a replacement shear pin
(Part P08241060).
To replace leadscrew shear pin:
1.
DISCONNECT MACHINE FROM POWER!
2.
Unlock half-nut lever and turn top right gear-
box dial to "N" (see Figure 135) so leadscrew
can be rotated by hand.
Tools Needed Qty
Hammer ............................................................. 1
Dowel Punch
3
⁄16" ............................................... 1
Drill Bit
1
⁄8" ......................................................... 1
Hand Drill
.......................................................... 1
Wood Screw #8 x 1" (or longer)
........................ 1
Pointed Center Punch
....................................... 1
Standard Pliers
.................................................. 1
Leadscrew Shear Pin
Replacement
Pointer Set to "N"
1
2 3
N
4
Figure 135. Gearbox dial set to "N" .
3.
Rotate drive hub , and inspect it to see if pin
is still stuck in both sides of it.
—
If one half of shear pin has fallen out and
the leadscrew shaft can be seen through
the pin hole, rotate leadscrew until you
see the end of the inner sheared pin. Use
a
3
⁄16" dowel punch to tap pin out through
other side.
—
If shear pin halves are stuck in both sides
of drive hub, center punch one of the pins
and drill an
1
⁄8" hole in the pin approximate-
ly
1
⁄4" deep. Thread a #8 wood screw into
the hole until the screw begins to thread
into the brass. Using pliers, pull the pin
from the hole, then drive the rest of the pin
out, as described above.
4.
Align holes in drive hub with hole in leadscrew,
and tap the new shear pin into position until it
is flush.
Tip: For easy shear pin replacement in the
future, use the center punch or a scribe and
mark the end of the drive hub and the side of
the leadscrew with a mark to indicate where
true hole alignment is located (see Figure
134). Next, scribe a line on the leadscrew
just where it enters the drive hub, this line will
indicate correct depth of leadscrew. Should
the pin ever shear again, line-up the marks,
and drive out the pin pieces, and tap in the
new pin.
Figure 134. Leadscrew shear pin.
Leadscrew
Optional
Alignment
Marks
Brass
Shear Pin
Drive Hub
 Loading...