1 4 | www.HandiQuilter.com
To disconnect the power cord
• Press the red buon on the end of the cord that connects to the machine; then pull out the cord.
For more informaon, see Power Switch i n t h e Using Your Machine secon of this manual.
NOTE: Make sure that the machine is o before plugging into power source. The rear power switch
should be in the 0, or o, posion.
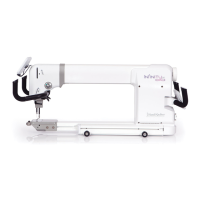
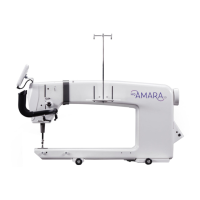
Handlebars
The Innity has handlebars at both the front and back of the machine. You’ll use the back handlebars for
pantographs and Groovy, or paern, boards, and will use the front handlebars for most other quilng
acvies.
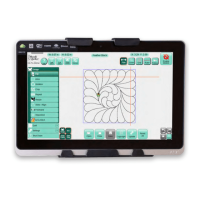
For more informaon about using the touch-screen displays, see Using the Touch-Screen Displays l a t e r i n
this secon of the manual.
U CAUTION: To prevent any electrical damage to the handlebars, always turn o all power to the
machine when connecng or disconnecng the handlebars.
To install the front handlebars
ONLINE: For more informaon about installing the front handlebars, watch the video Installing the
Front Handlebars at: hp://www.handiquilter.com/videos/hq-innity/210/.
1 . Locate the three hex screws for the front handlebars (two 4mm hex screws and one 5mm hex screw)
and both the 4mm and the 5mm hex wrenches.
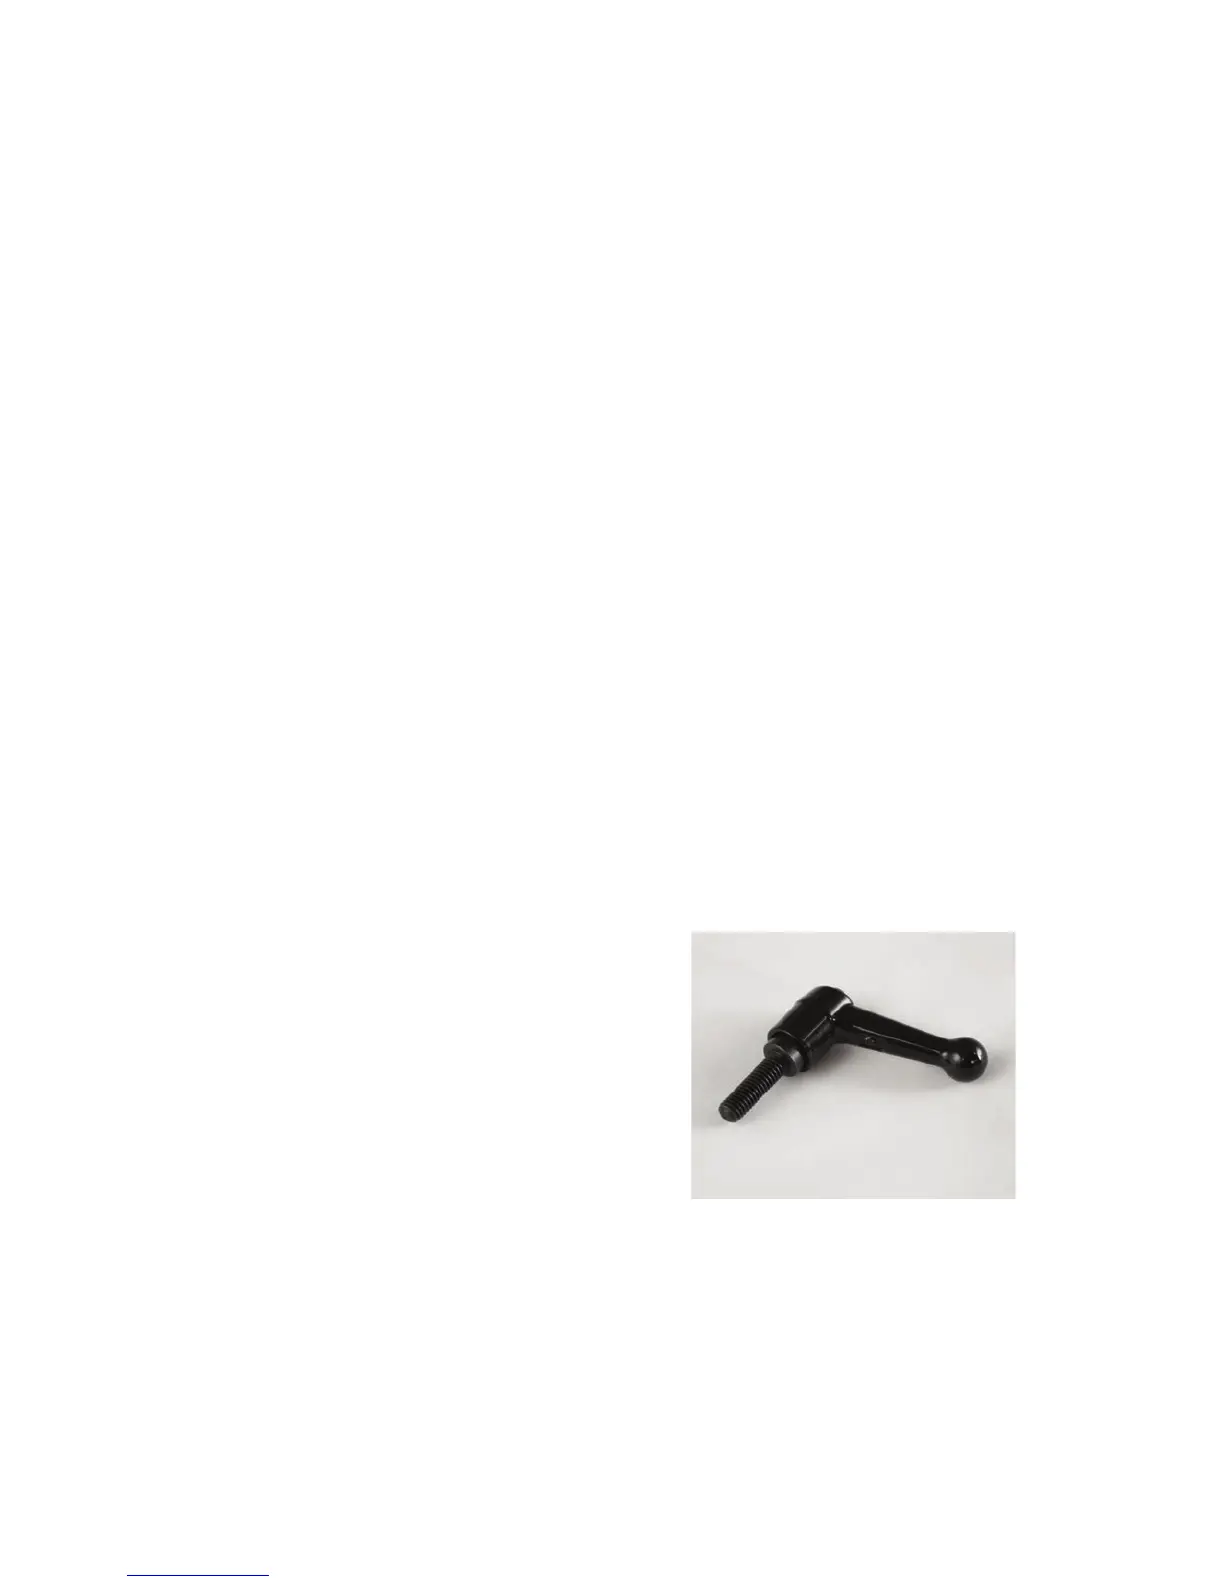
 IMPORTANT: A handlebar bolt is also
provided for you to use instead of the 5mm
hex screw. This enables you to easily hand-
loosen the boom screw to adjust the angle
of the handlebars to switch between micro
quilng and regular quilng.
NOTE: If you choose to use the lever bolt,
you will lose approximately three-fourths
of an inch of quilng space near the
take-up pole.