HQ In nity User Manual | 2 5
3. Tighten the nut using the 5mm hex wrench.
Slide the laser clamp onto the moun ng post
and ghten the two knobs on opposite sides of
the clamp.
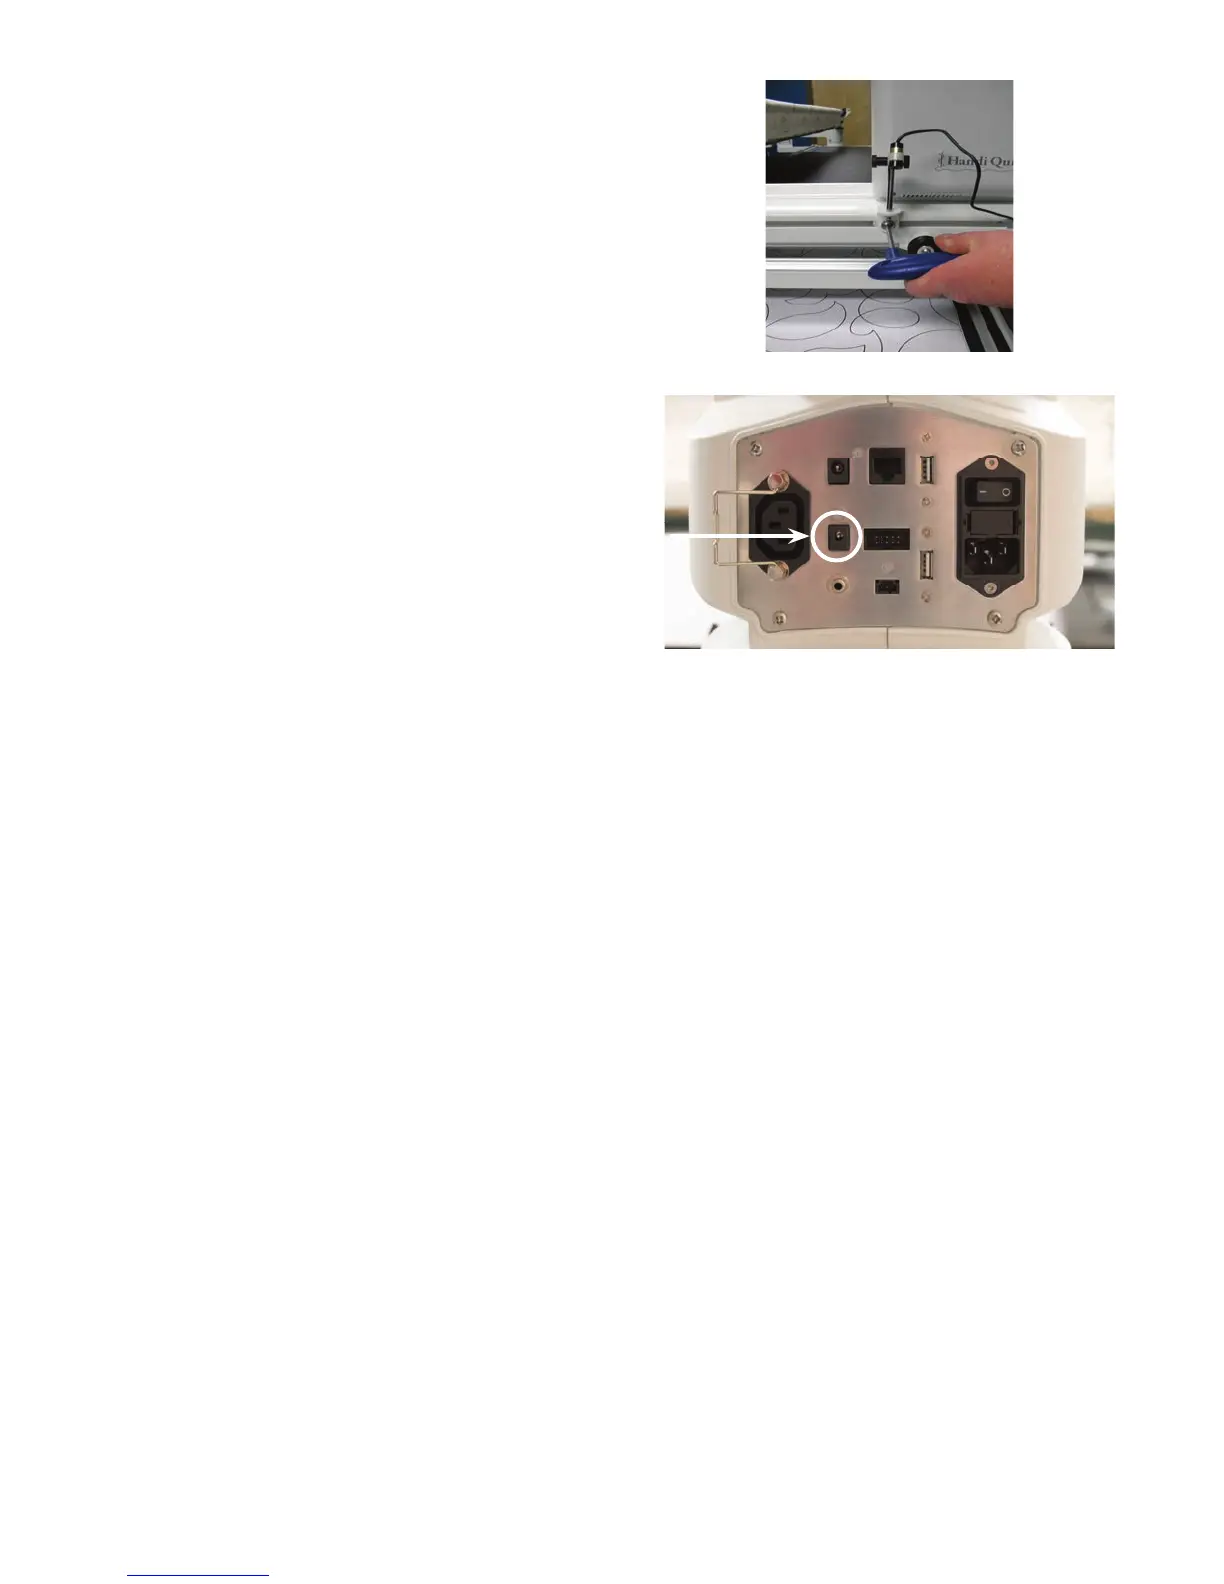
4 . Plug the cable end into the laser stylus port
on the back of the machine. Wrap the excess
cable around the rear handlebars, or insert it
into the Handi Accessory Rail and use the
T-slot clip to secure.
The laser projects a straight laser beam visible as a dot on surfaces it hits. The laser dot is used as a guide
or stylus enabling you to use printed pantograph designs and s tch the con nuous pa ern onto a quilt by
tracing the design with the laser dot.
ONLINE: For more informa on about quil ng with pantographs, watch the video Using Pantographs
at: h p://www.handiquilter.com/videos/hq-in nity/238/.
The laser a aches to a moun ng post which a aches to the accessory track along the right side of the
machine. The laser stylus can move in any direc on by rota ng the clamp on the post and pivo ng the
laser up or down. To make an adjustment, simply loosen the black thumbscrews, posi on, and re ghten.
 IMPORTANT: A label is a ached to the laser’s case and contains an arrow which indicates the
direc on the laser light will shine when energized. The label must remain in place on the laser.
Removing the label voids the laser’s warranty.
Laser Opera on and Safety
Turn the laser on and o using the machine se ng op on to turn on or o the laser lights. For more
informa on about turning on and o the laser, see To turn the lasers on or o i n t h e Toolbar Op ons
sec on of this manual.
Be sure the laser is a ached to the machine and pointed downward toward the table before connec ng
it to the port. Never point it in a direc on that would project the beam into someone’s eyes. If the laser
should stop working, ensure the plug is rmly seated into the In nity laser port.
Laser stylus port