b) Carefully remove the DIMM from the slot.
Figure 168: Uninstalling the DIMM
c) Take note of the location of each DIMM as it is removed to ensure that it is installed into the correct
location of the replacement Compute Canister.
9. Repeat the previous step to uninstall all of the DIMMs from the replacement Compute Canister.
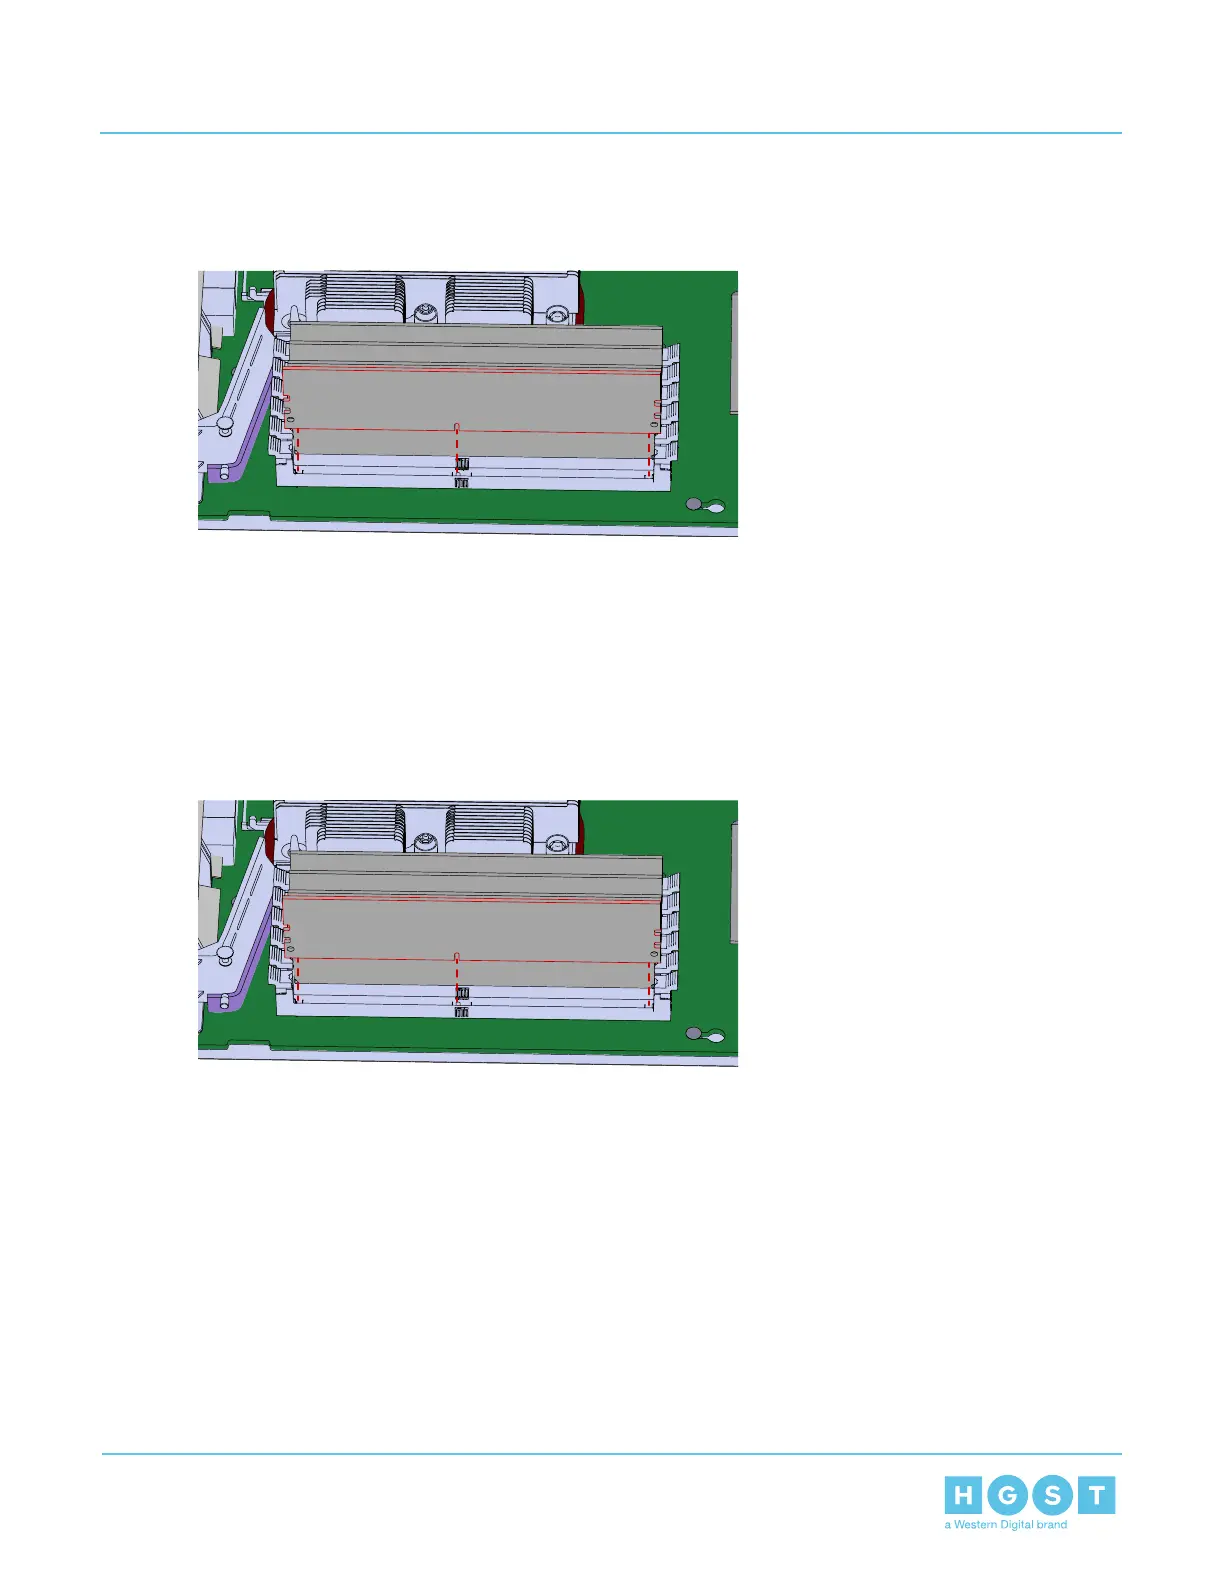
10. Install the DIMM into the Compute Canister.
a) Slide the DIMM into the correct DIMM slot and carefully press down until seated.
b) Secure the DIMM by pressing the tabs inward on either side of the connector.
Figure 169: Installing the DIMM
11. Repeat the previous step to install all of the DIMMs into the Compute Canister.
12. Uninstall the M.2 boot drive from the Compute Canister.
a) Press the M.2 boot drive release latch to unseat the drive.
112
3 Part Replacement
User Guide 3.12 Compute Canister Replacement
 Loading...