Network Speed Dome User Manual
55
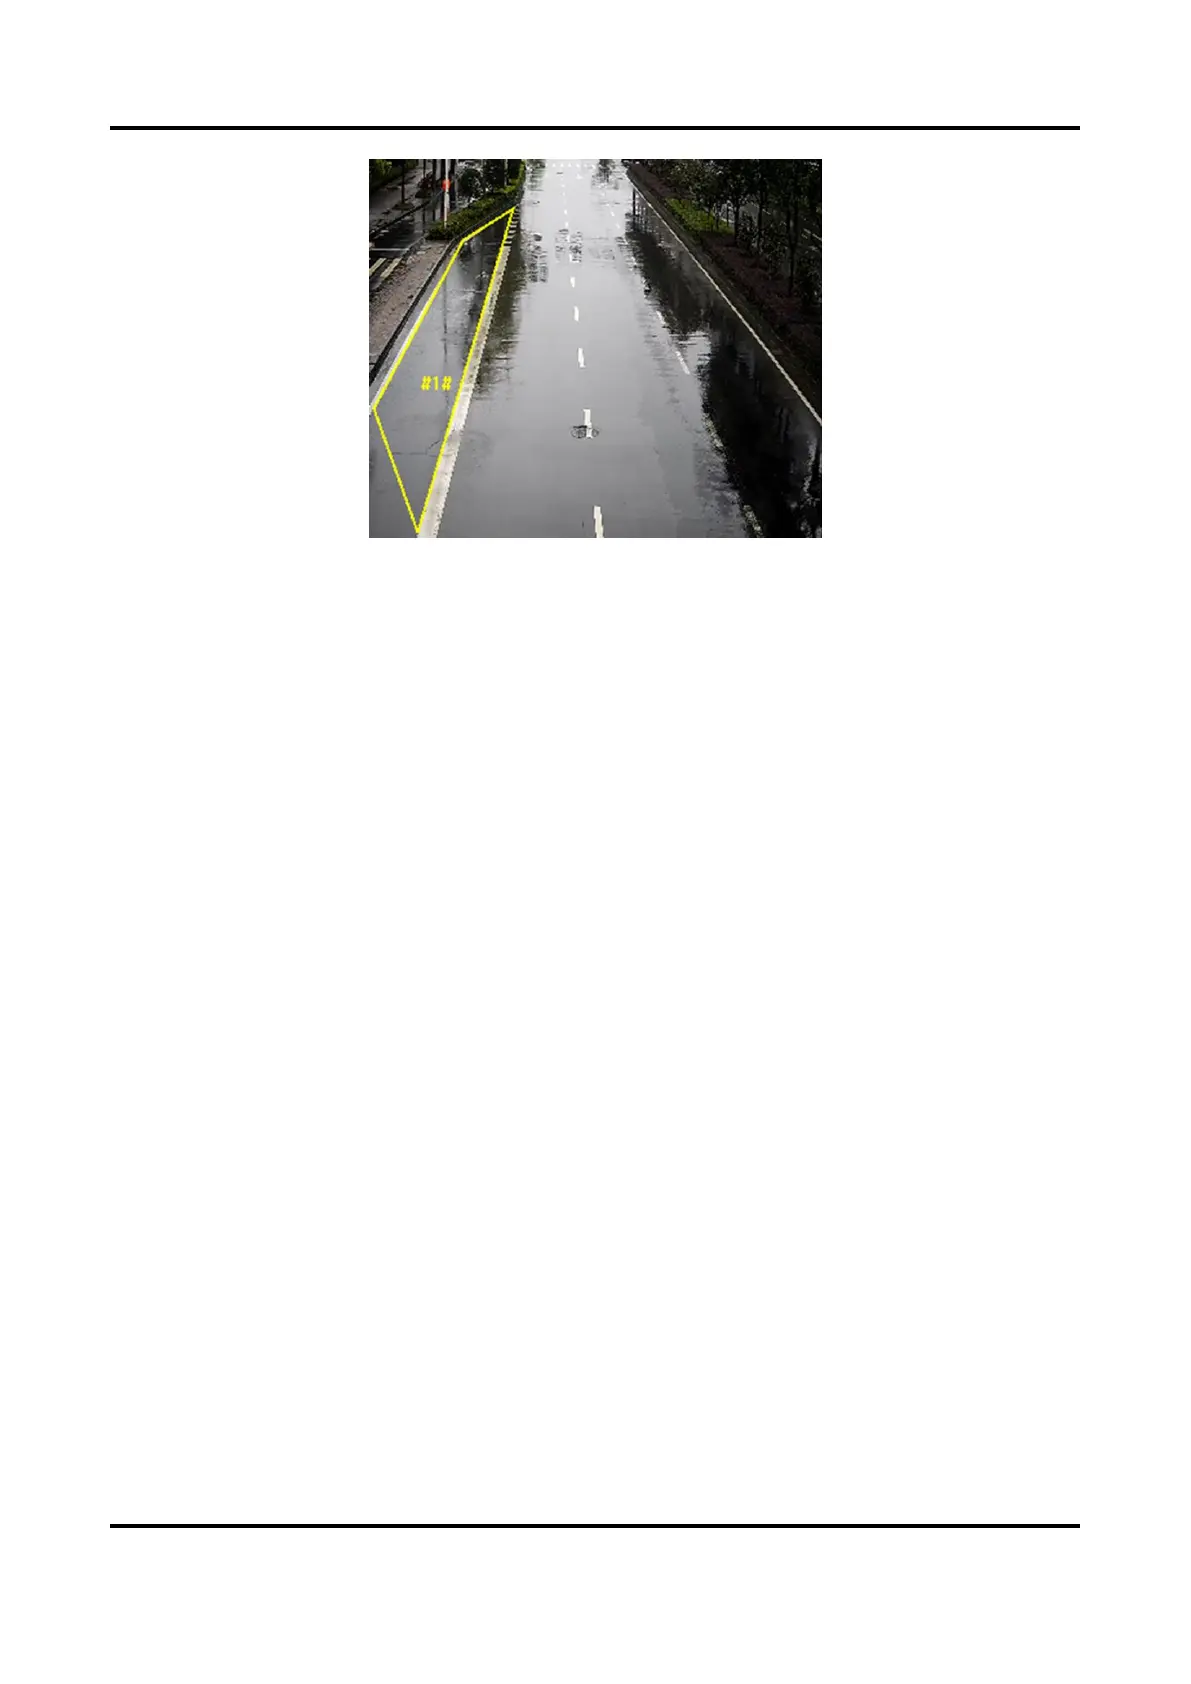
Figure 7-6 Draw Area
8. Click Save.
9. Repeat above steps to set other regions.
10. Set arming schedule. See Set Arming Schedule.
11. Set linkage method. See Linkage Method Settings.
7.2.6 Set Region Exiting Detection
Region exiting detection is used to detect the objects movement of exiting from a predefined area.
When it occurs, the device takes linkage actions as response.
Steps
1. Go to Configuration → Event → Smart Event → Region Exiting Detection.
2. Check Enable.
3. Optional: Click Lock to lock PTZ control to prevent the interruption from other PTZ related
action during configuration.
Normally, the PTZ control is automatically locked when you enter the configuration interface.
You can manually resume the lock when the countdown is over.
4. Adjust the live image to the desired scene by using PTZ control buttons.
5. Draw detection area.
1) Select a Region No.. Up to 4 regions can be set.
2) Click Detection Area.
3) Click on the live image to draw the boundaries of the detection area, and right click to
complete drawing.
6. Optional: Set the minimum size and the maximum size for the target to improve detection
accuracy. Only targets whose size are between the maximum size and the minimum size trigger
the detection.
1) Click Max. Size, and drag the mouse on live image. If you want to change the size, click the
button and draw again.
 Loading...