44
Installation GRS103
Release
01
03/2022
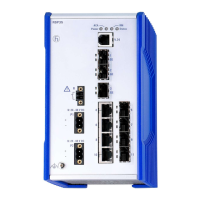
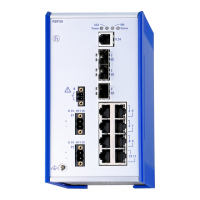
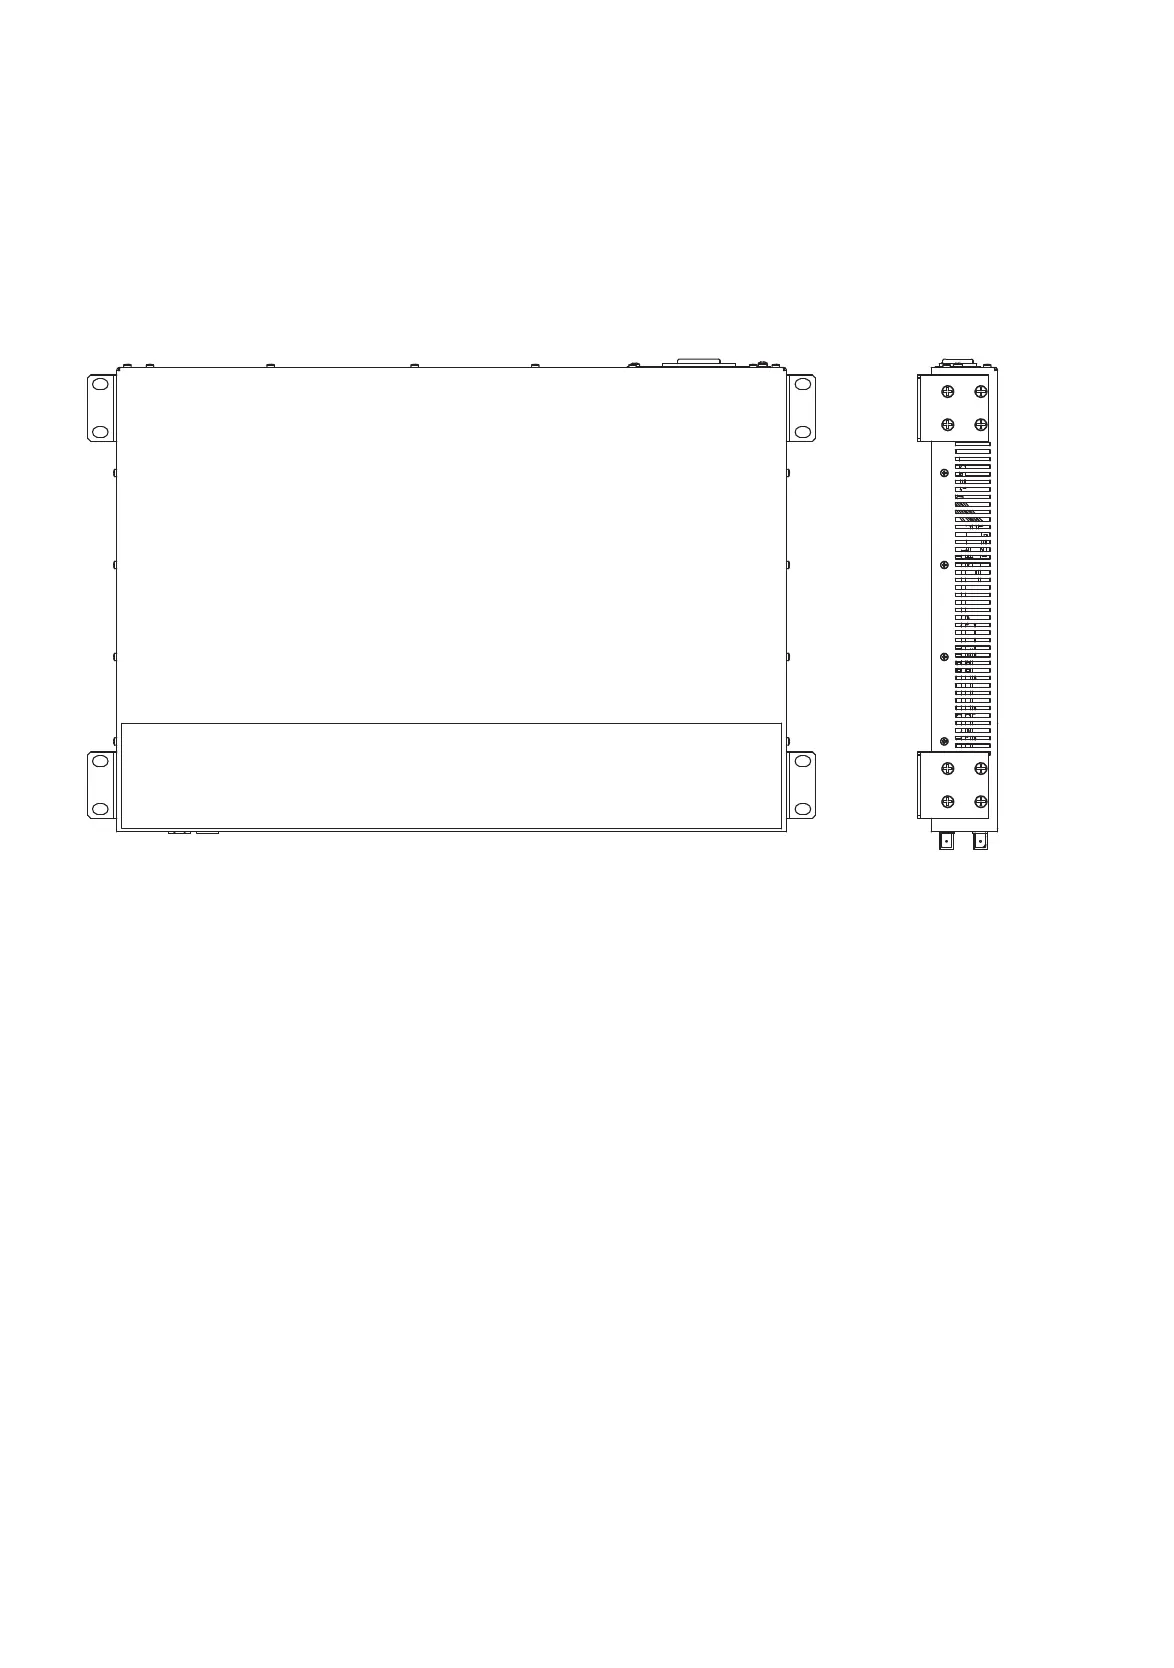
6.5.2 Mounting on a flat surface
Install the device in line with the criteria listed in “Installing the device” on
page 42.
Perform the following work steps:
Remove the screws on the pre-installed mounting brackets.
Move the 2 pre-installed mounting brackets on the front side into the
position shown in figure 20.
Figure 20: Mounting on a flat surface
Use the screws to secure the mounting brackets on the device.
Attach 2 additional mounting brackets to the back of the device.
(see figure 20)
You obtain the additional brackets as accessories.
See “Accessories” on page 77.
Fasten the device by screwing the brackets to the flat surface.
Completely screw the device to the flat surface using screws through
each mounting hole. Exclusively use screws suitable for the installation
and application case to ensure flawless operation of the device.
Note: Optionally, the device can be rotated by 90° to optimize ventilation:
Mount the device on a vertical flat surface with the ventilation slits at the top
and bottom of the device. See figure 21.