ThinPrep
®
Integrated Imager Operator’s Manual
3.43
USER INTERFACE
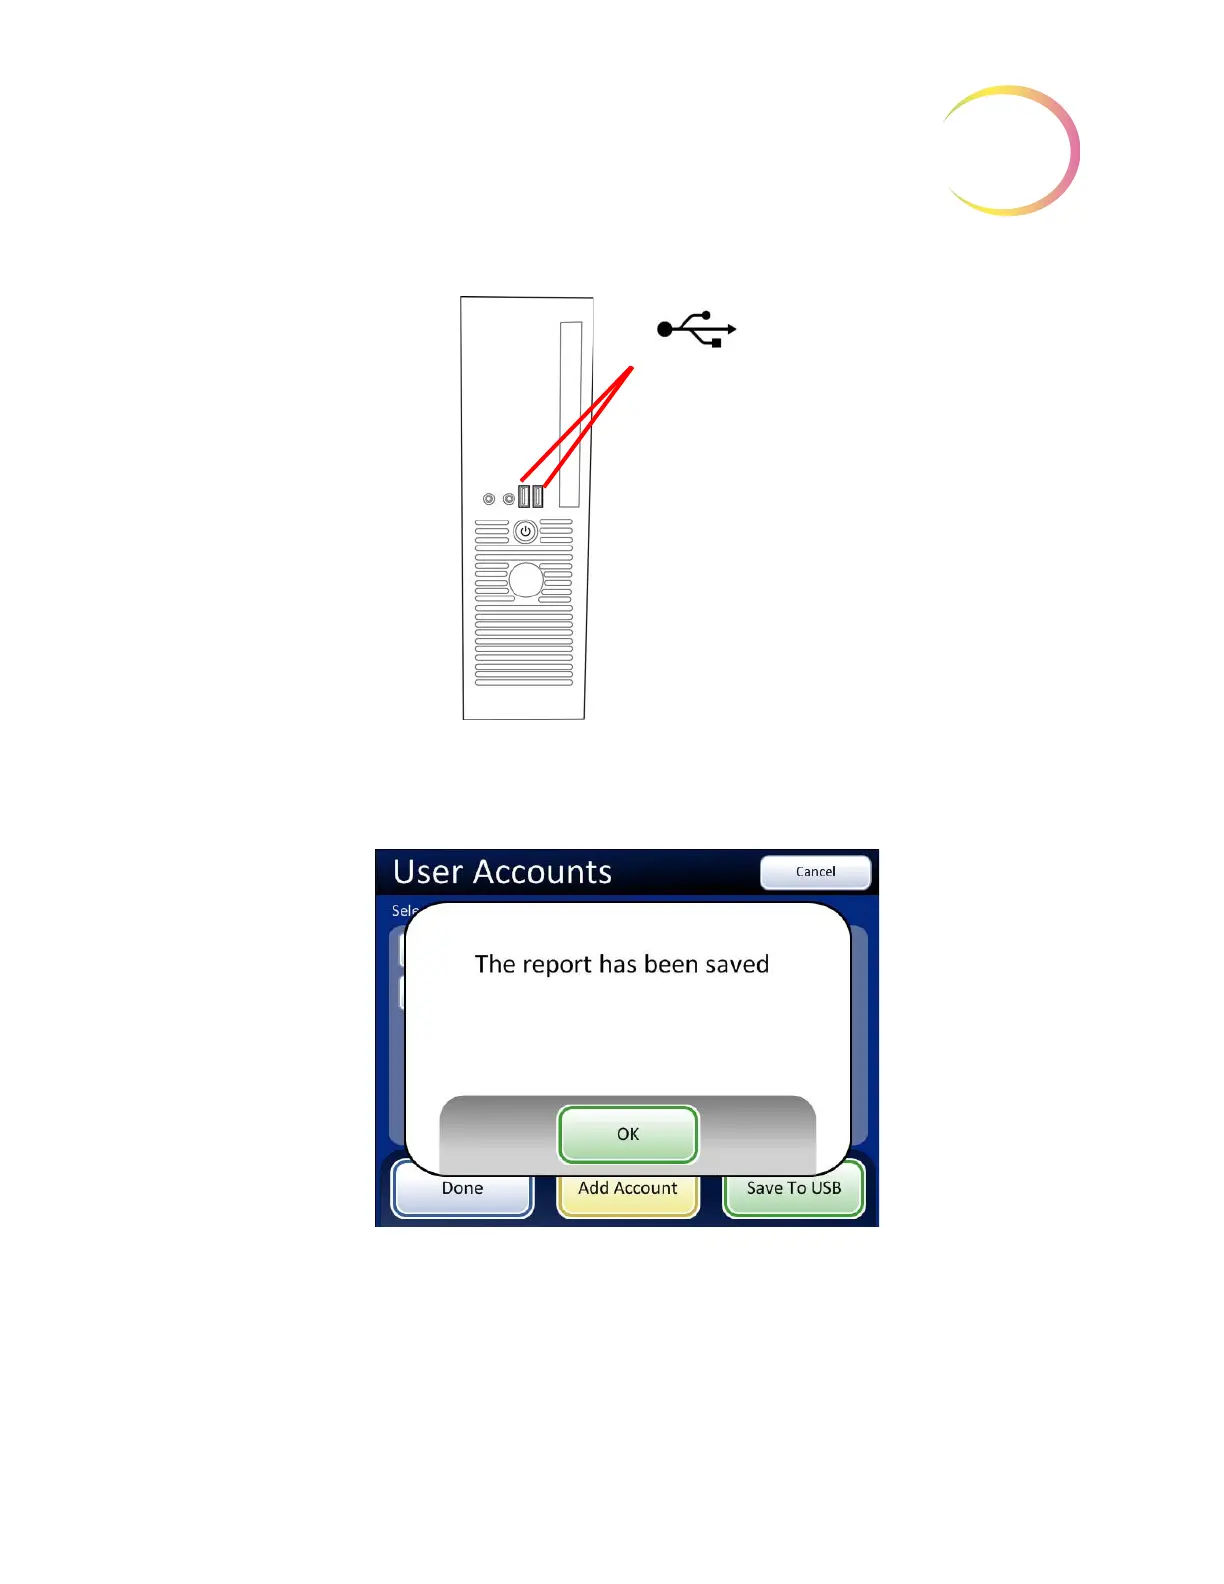
Figure 3-66 USB Drive Ports
Insert a USB key into either of the ports on the computer. From the touch screen, press the
Save to
USB
button. A message indicates that the report was saved.
Figure 3-67 Report Has Been Saved Message
The USB key can then be removed and taken to any computer.
The system creates a folder titled “IIReports” on the USB device. Each report is written to this folder.
Reports are automatically named by the convention of “Report type - Instrument Name - Year Month
Day Hour Minute Second. XML.” This is illustrated below. A style sheet file IIReports.xsl” is also
written to the USB key. This is needed to view the reports on a browser.
USB ports
(The ports may be
located differently,
depending on the
PC model you
have.)