NOTE
If, alternatively, only a single transformer is available, when connecting a laptop, PC, web
browser, CL-Touch, or 3
rd
-party touch panel to the USB 2.0 Device Interface on the front of
the CIPer Model 50 controller, use an optical isolator for the USB connection or substitute an
M-Bus Mikro-Master USB (Relay GmbH, D-33106 Paderborn) for the PW M-Bus Adapter.
M-Bus Connection Procedure
1.
Install the PW M-Bus Adapter on DIN rail. Insert a screwdriver into the slot in the DIN rail clamp on
the underside of the PW and pry downward to loosen clamp until the unit snaps onto the rail.
Figure 55: Mounting of PW (PW3 shown here)
2.
Connect the M-Bus devices to the PW M-Bus Adapter. All M+ and M- terminals are connected in
parallel in the PW M-Bus Adapter.
Figure 56: PW M-Bus adapter connections
3.
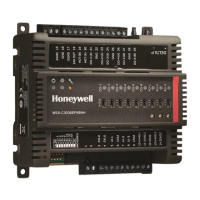
Connect the PW M-Bus Adapter to the RS232 / RJ45 socket of the CIPer Model 50 using the
TECHTOO USB 3.0 and YIOVVOM DB9 Breakout Connector cable.
Both a USB RS-232 DB-9 male adapter (since most PCs and laptops no longer have a conventional DB-9
male jack) as well as a nifty little DB-9 female Jack with (small) screw terminals to connect wires (your cut
Ethernet cable) to the pins.

 Loading...