FINAL TRIM SIZE : 7.0 in x 8.5 in
B
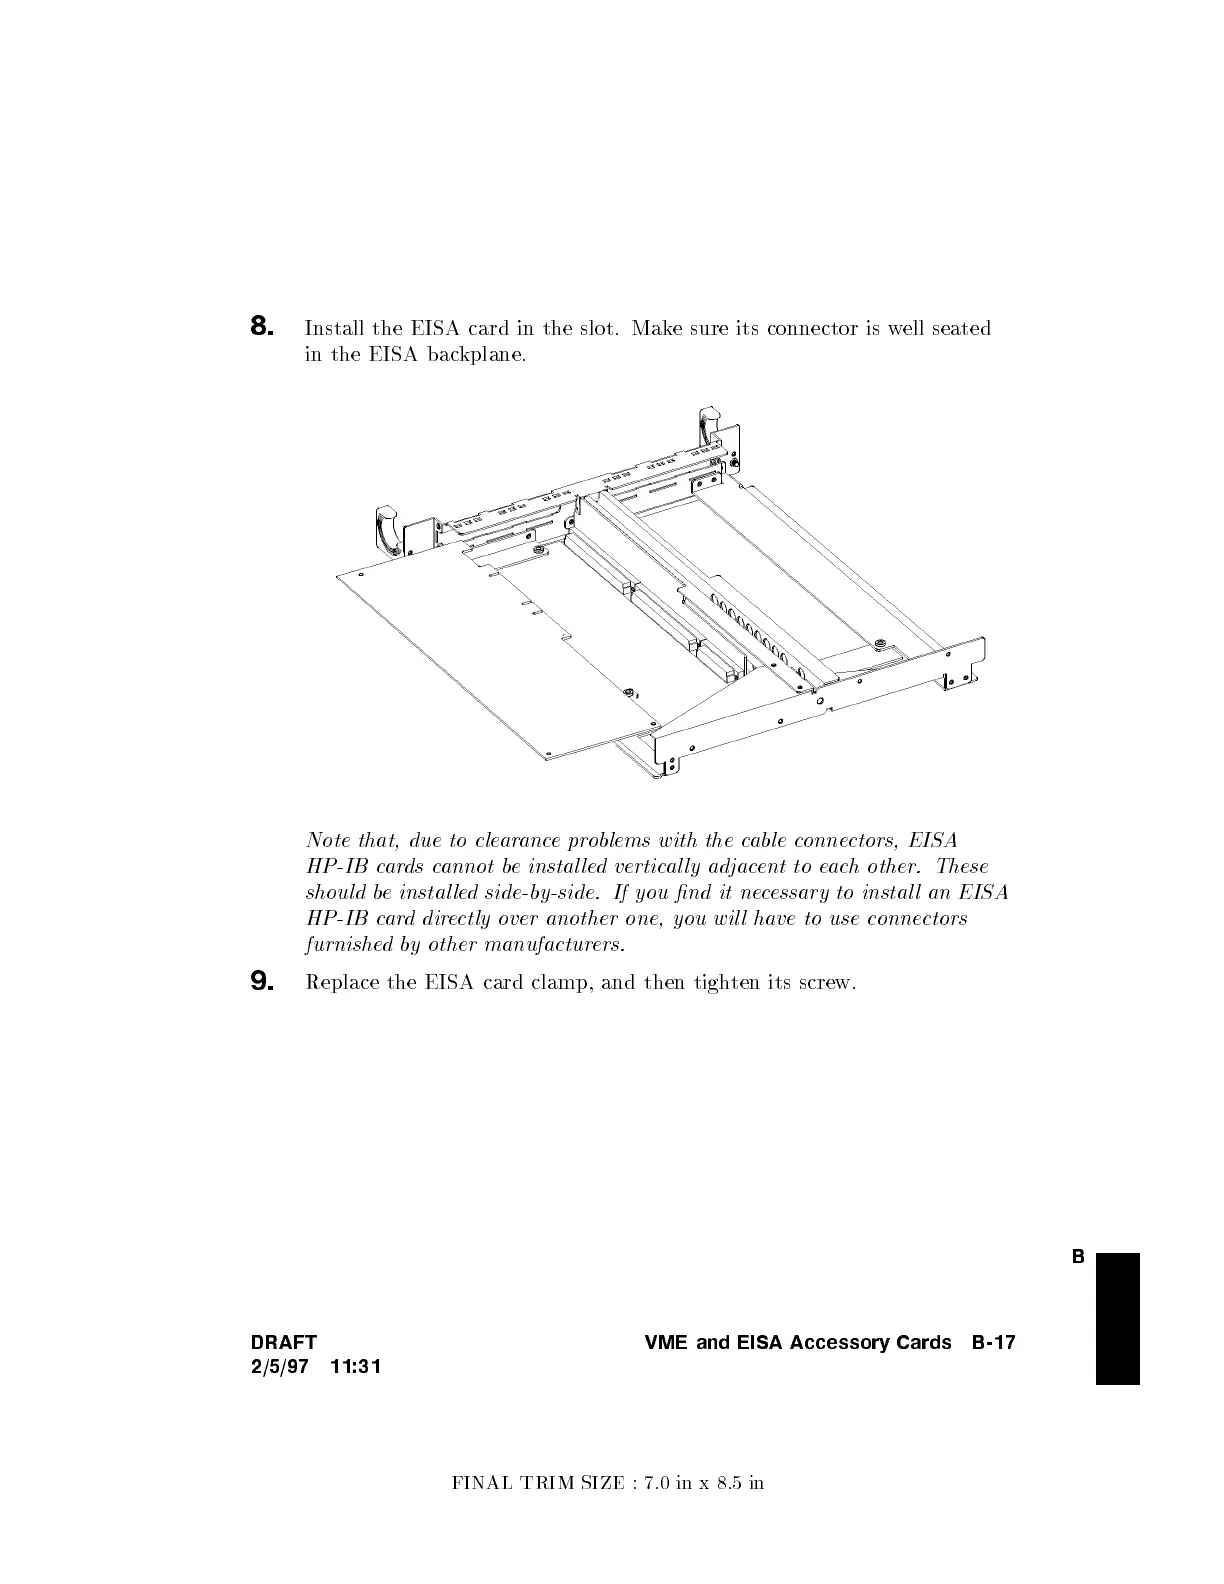
8.
Install the EISA card in the slot. Mak
e sure its connector is w
ell seated
in the EISA backplane.
Note that, due to clearanceproblems with the cable connectors, EISA
HP-IB cards cannot be instal led vertical ly adjacent to each other. These
should be instal led side-by-side. If you nd it necessary to instal l an EISA
HP-IB card directly over another one, you wil l have to use c
onnectors
furnished by other manufacturers.
9.
Replace the EISA card clamp, and then tighten its screw.
DRAFT
2/5/97 11:31
VME and EISA Accessory Cards B-17

 Loading...


