Removal and Replacement Procedures
Access Panel
WARNING: To reduce the risk of personal injury from hot surfaces, allow the internal
server components to cool before touching them.
WARNING: To reduce the risk of personal injury and to prevent damage to the
equipment or loss of information, before removing the access panel, be sure that the
server is powered down, all cables are disconnected from the back of the server, and
the power cord is disconnected from the grounded (earthed) AC outlet.
CAUTION: Do not operate the server while the access panel is removed. This panel is an
integral part of the cooling system, and removing the panel while the server is running may
adversely affect data integrity.
To remove the access panel:
1. Perform the preparation procedures. Refer to “Preparation Procedures” in this chapter.
2. Remove the front bezel. Refer to “Front Bezel” in this chapter.
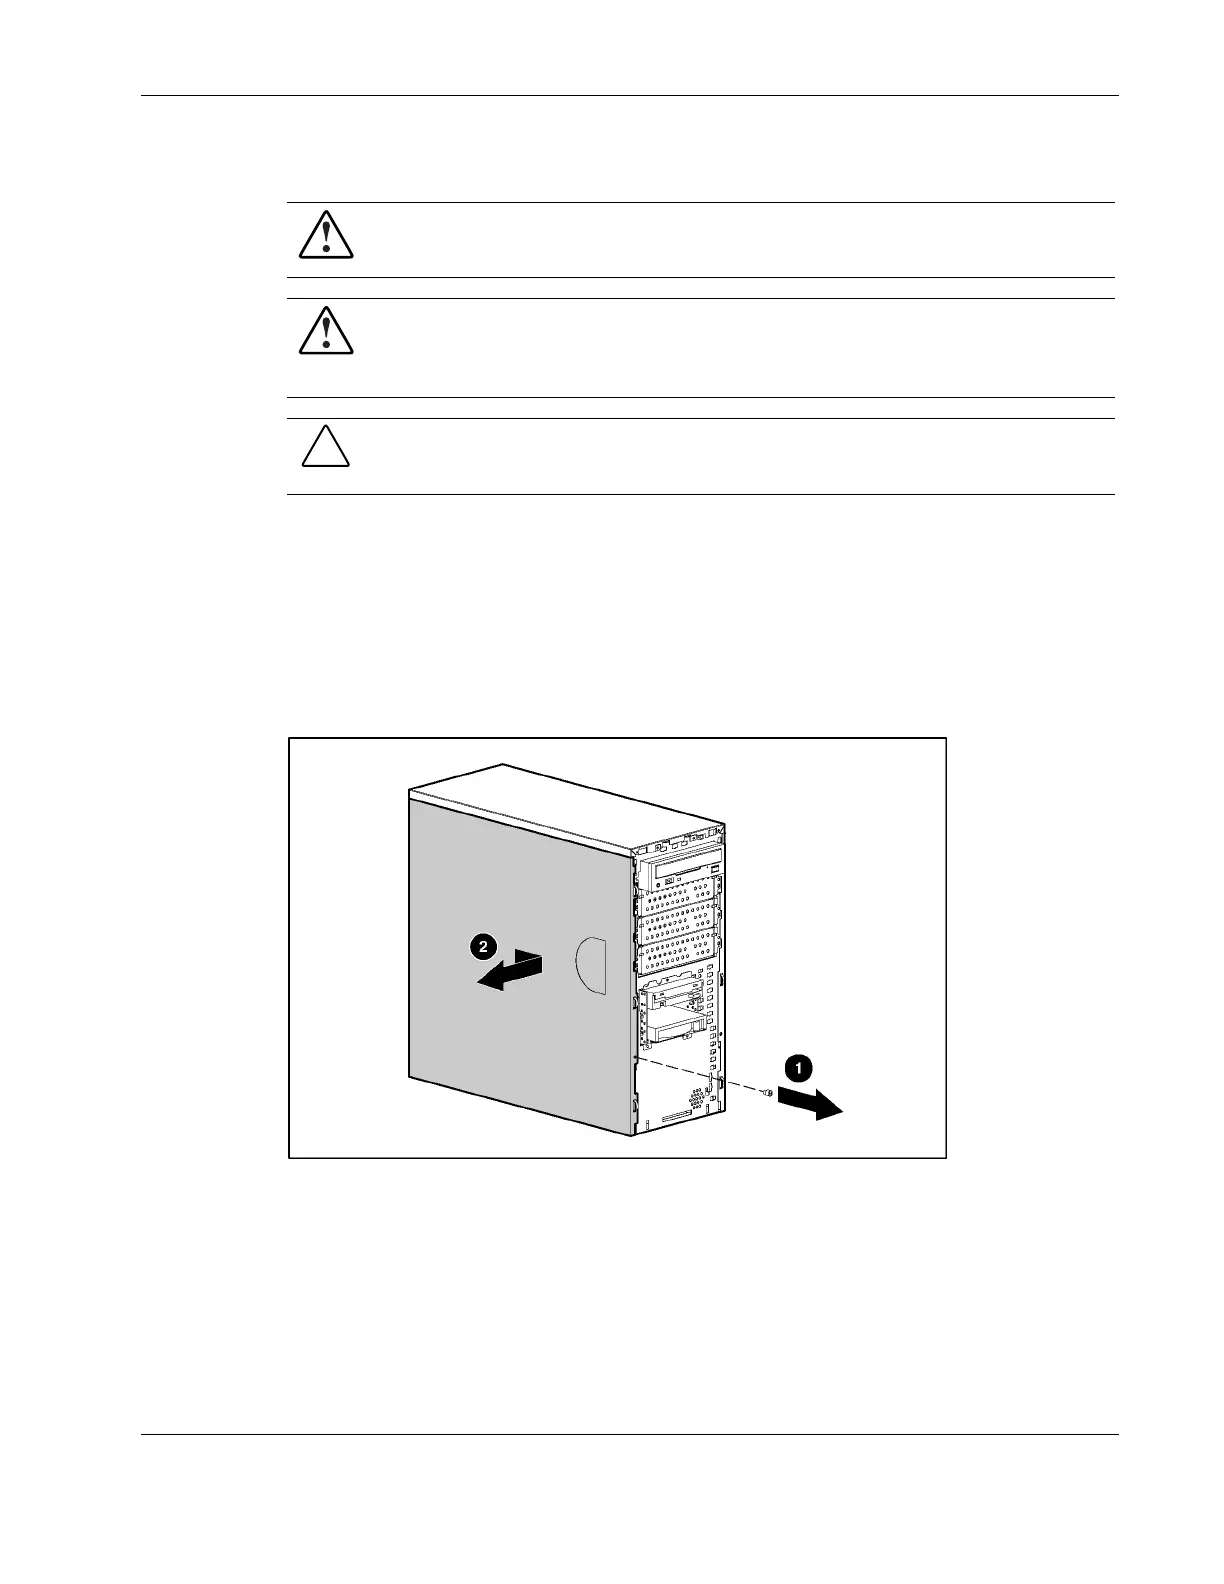
3. Remove the thumbscrew located on the left side of the front chassis (1).
4. Slide the access panel forward, pull from the top of the access panel, and then lift the
panel from the chassis (2).
Figure 2-2: Removing the access panel
NOTE: Turn the access panel over to locate the server configuration label. This label provides
information about the system board of the server.
To replace the access panel, reverse steps 3 and 4.
HP ProLiant ML310 Server Maintenance and Service Guide 2-7