1. On the rear of the rail, squeeze the scissor latch (1, Figure 6) together to insert the rail and pins
through the cabinet holes (2, Figure 6) until the latch engages.
Figure 6 Attaching the rail
2. On the front of the rail, pull the locking latch and then squeeze the scissor latch to insert the rail
and pins through the cabinet upright holes until the latch engages.
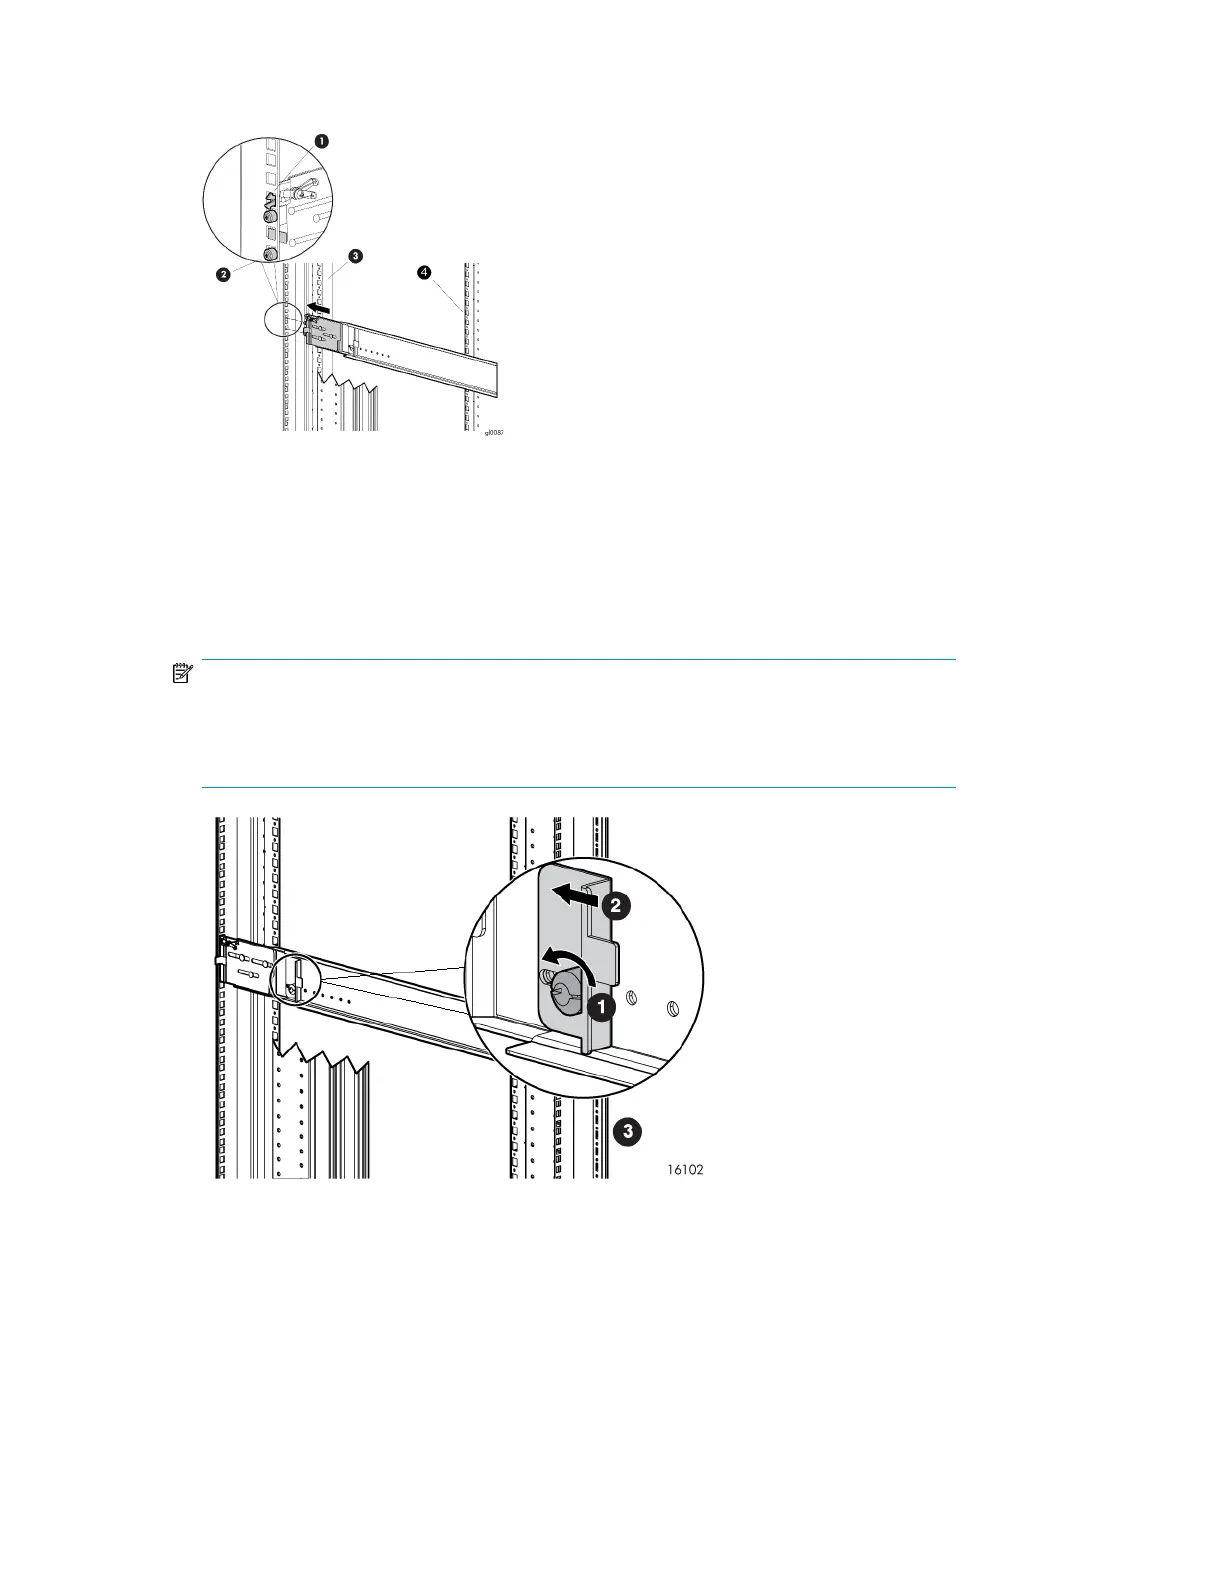
3. As shown in Figure 7, loosen the locking nut (1) on the shipping retaining bracket (2) and slide
the bracket to the farthest position on the rear of the rail. This moves the bracket out of the way
to allow you to install the chassis in the rails.
NOTE:
Figure 7 shows a drive enclosure rail and bracket. If you are installing a longer chassis into
your cabinet, such as for a controller enclosure, see Attach the brackets for a longer chassis
for additional information.
Figure 7 Locking nut and retaining bracket
4. After attaching the rail, grab and move the rail gently to be sure it is firmly engaged in the cabinet
and that all latches are engaged in the cabinet holes.
5. Repeat the above steps for the other rail.
Install components28
 Loading...


