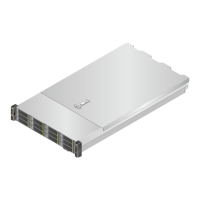
Figure 5-62 Installing the right mounting ear
Step 9 Install the right mounting ear in the arrow direction. See (2) in Figure 5-62.
Step 10 Tighten the screws. See (3) in Figure 5-62.
Step 11 Connect the mounting ear signal cable to the right mounting ear connector on the mainboard.
See (4) in Figure 5-62.
Step 12 Install the air duct or the built-in drive assembly. For details, see 3.9 Installing the Air Duct
or 3.11 Installing the Built-in Drive Assembly.
Step 13 Install the chassis cover. For details, see 3.5 Installing the Chassis Cover.
Step 14 Install the server. For details, see 4.4 Installing the Server on Guide Rails.
Step 15 Connect the power cables. For details, see 5.4 PSU.
Step 16 Power on the server. For details, see 3.1 Powering On the Server.
Step 17 Power on the server and check that the indicators on the right mounting ear indicate no fault.
For details about the indicator location and status, see 2.2 Front Panel Indicators and
Buttons.
----End
2288H V5 Server
User Guide
5 Optional Part Installation
Issue 04 (2018-09-04) Copyright © Huawei Technologies Co., Ltd. 173
 Loading...

