182
AutoChart Live
2. RECORD YOUR CUSTOM MAP
1
. Preparation: Before you start mapping for the day, confirm that the control head is set up as shown in the section Prepare
t
he Control Head for Mapping.
2. Chart X-Press Menu: With a Chart View displayed on-screen, press the MENU key once.
3. Select AutoChart Live. Press the RIGHT Cursor key.
4. Select Record.
5. Select On.
Display: Select AutoChart Live. Select Visible.
Zoom In: Press the +ZOOM key to see the depth data on the Chart View.
Navigate your boat in a zig-zag pattern, first in one direction and then in the other. For optimal performance, maintain a
consistent speed between 0 and 8 mph. See Plan your Map for details.
depth map
scale
heading line
(green line)
turn on
Record
select Visible
to display the
depth map on
the Chart
View
current track
(red line)
boat icon
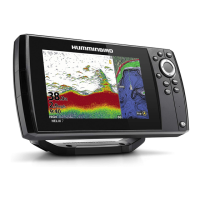
Starting an AutoChart Live Recording
 Loading...