48
9
CONNECTIONS AND MAINTENANCE
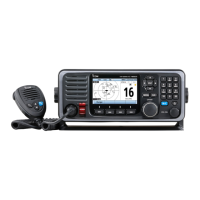
■ Mounting the transceiver
D Using the supplied mounting bracket
The universal mounting bracket supplied with your trans-
ceiver allows overhead or onboard mounting.
•
Mount the transceiver securely with the 4 supplied screws
(5 × 20 mm) to a surface which is more than 10 mm (
11
⁄32 in)
thick and can support more than 5 kg (11 lb).
• Mount the transceiver so that the face of the transceiver is
at 90° to your line of sight when operating it.
KEEP the transceiver and microphone at least 1 m (3.3 ft)
away from the vessel’s magnetic navigation compass.
NOTE:
• Check the installation angle; the function display may
not be easy-to-read at some angles.
• When mounting the transceiver on the place that is
prone to strong vibration, use the supplied sponges be
-
tween the transceiver and mounting bracket for reduc
-
ing the effect of the vibration.
• OVERHEAD MOUNTING
• MOUNTING ON THE BOARD
Sponges reduce the
vibration effects.
See NOTE to the left.
*
These bolts are shown a
mounting example only.
Not supplied with acces-
sories.
Sponge*
Sponge*

 Loading...