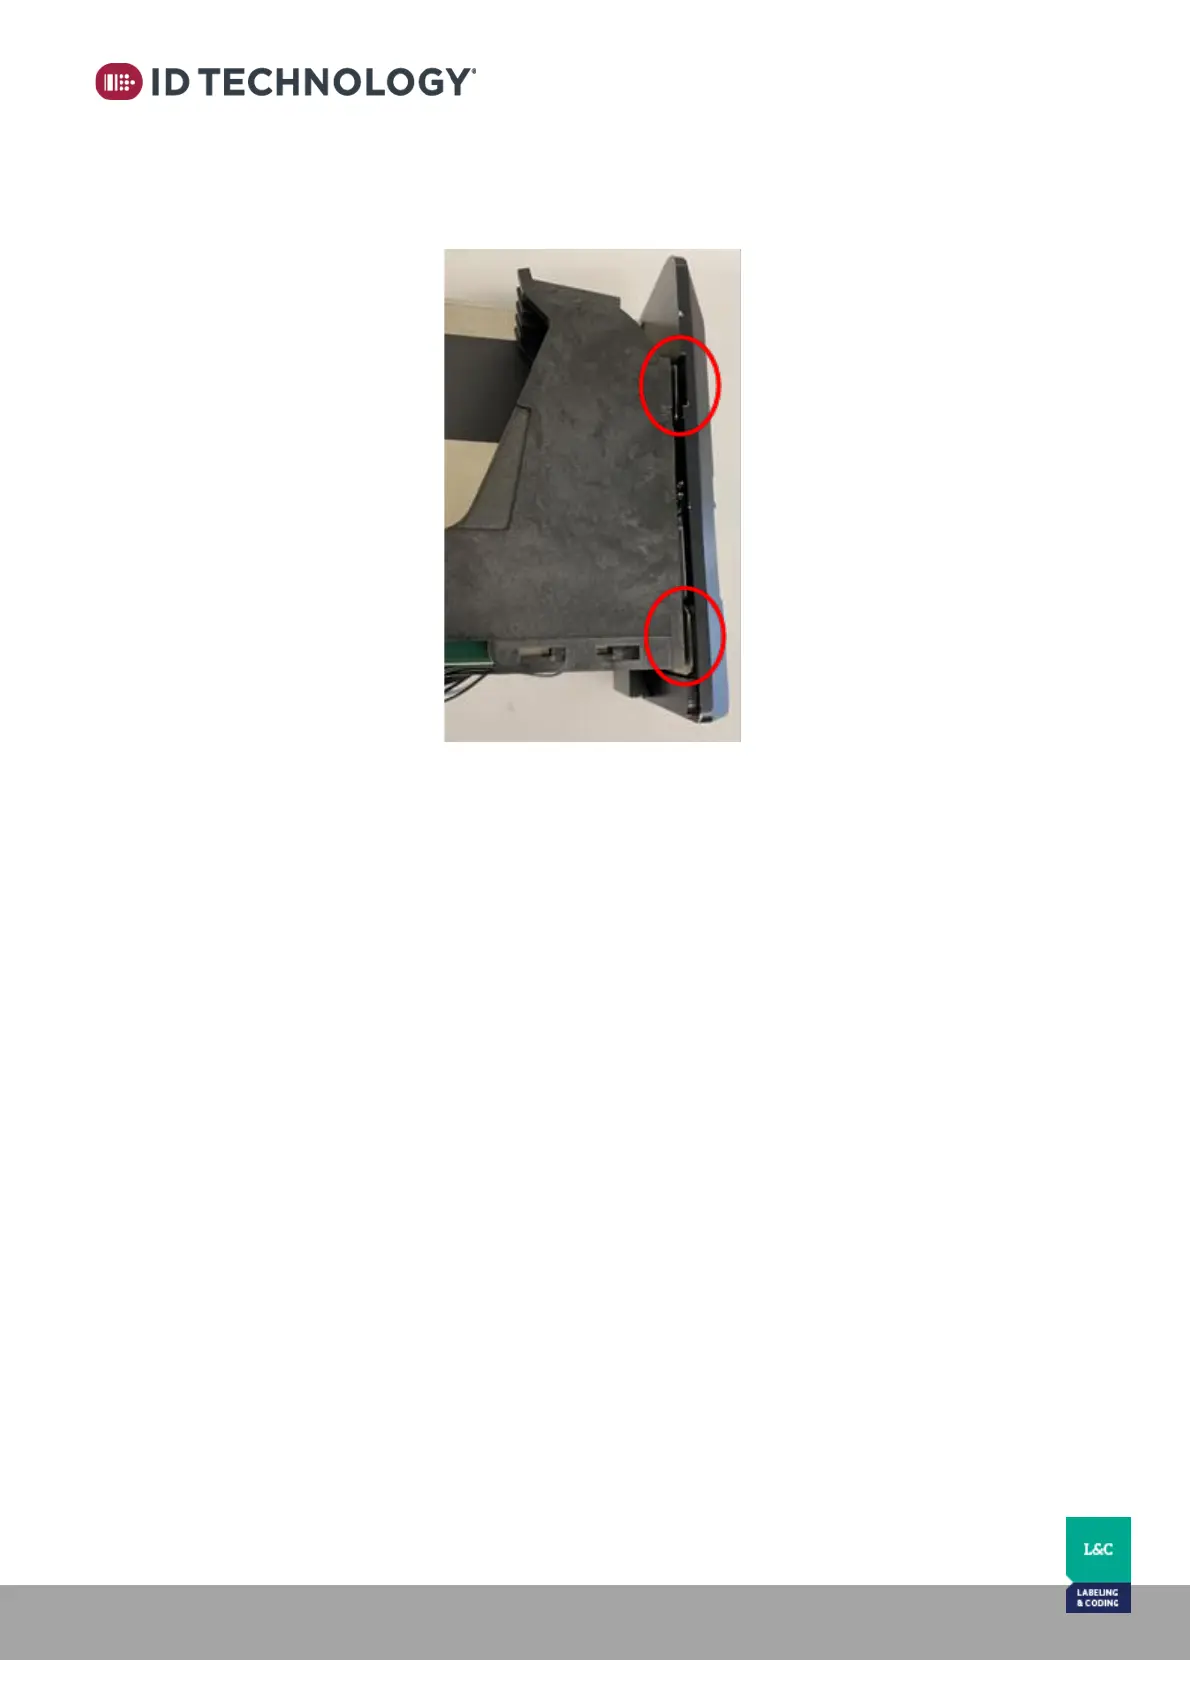
4. Now, remove the 2 plates. They should easily slip out by tilting the head. Safely store
the spacers in case they need to be reinstalled for future applications.
5. Once the spacers are removed, reassemble the head:
- Tighten the lower to stall screws
- Reinsert the bottom plate and tighten the 2 screws
- Connect the ribbon cables
- Replace the right-side cover and tighten the upper cartridge stall screw
- Replace the left cover and replace and tighten the 2 bottom cover screws