the LDC-3700 Series Laser Diode Controller will wait indefinitely for an input, yet not allow any input
until the calibration is finished.
If the "*OPC?" query is issued during
ITE
calibration, the time out
period
of the GPIB driver should
be
at
least 1 minute to prevent the GPIB driver from timing out and "hanging" the system. Refer to your GPIB
driver instruction manual for information on setting the GPIB driver time out
period.
The operation complete flag (bit
0
of the Standard Event Status Register) may be used to trigger a senice
request. This type of interrupt is enabled by setting bit 0 of the Service Request Enable register (via the
*ESE command) and bit
5
of the Service Request Enable register (via the *SRE command). Service
request (SRQ) handling depends on your GPIB hardware. Refer to your
GPIB
user's
manual
for details.
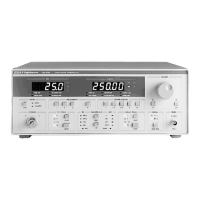
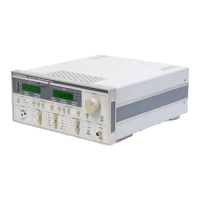
6.1
LASER
Controller Calibration Adjustments
There are three calibration adjustments that need to
be
made for the LASER side of the LDC-3700 Series Laser
Diode Controller. They are calibration of the constant current source for
both
bandwidths and ranges, calibration of
the laser voltage measurement, and calibration of the constant light power
(I,,)
feedback circuits.
The LDC-3700 Series Laser Diode Controller implements
a
two-point calibration for the Laser current source. Two
currents are applied to a load, and the resulting measured currents are fed back (by the user) to the LDC-3700
Series Laser Diode Controller. The LDC-3700 Series Laser Diode Controller calibration program uses the two
sets
of data to calculate calibration constants that it will thereafter use to set went.
If
you have the optional Model 123 1 IEEE-488.2/GPIB interface you may follow the procedure in sections
6.4.2,
6
4 4
and
6.4.5
to calibrate the LDC-3700 Series Laser Diode Controller remotely.
6.4.1
Local
Operation Current Source Calibration
The following procedure is for local (front panel) operation. See Section
6.4.2
for remote calibration of the current
source.
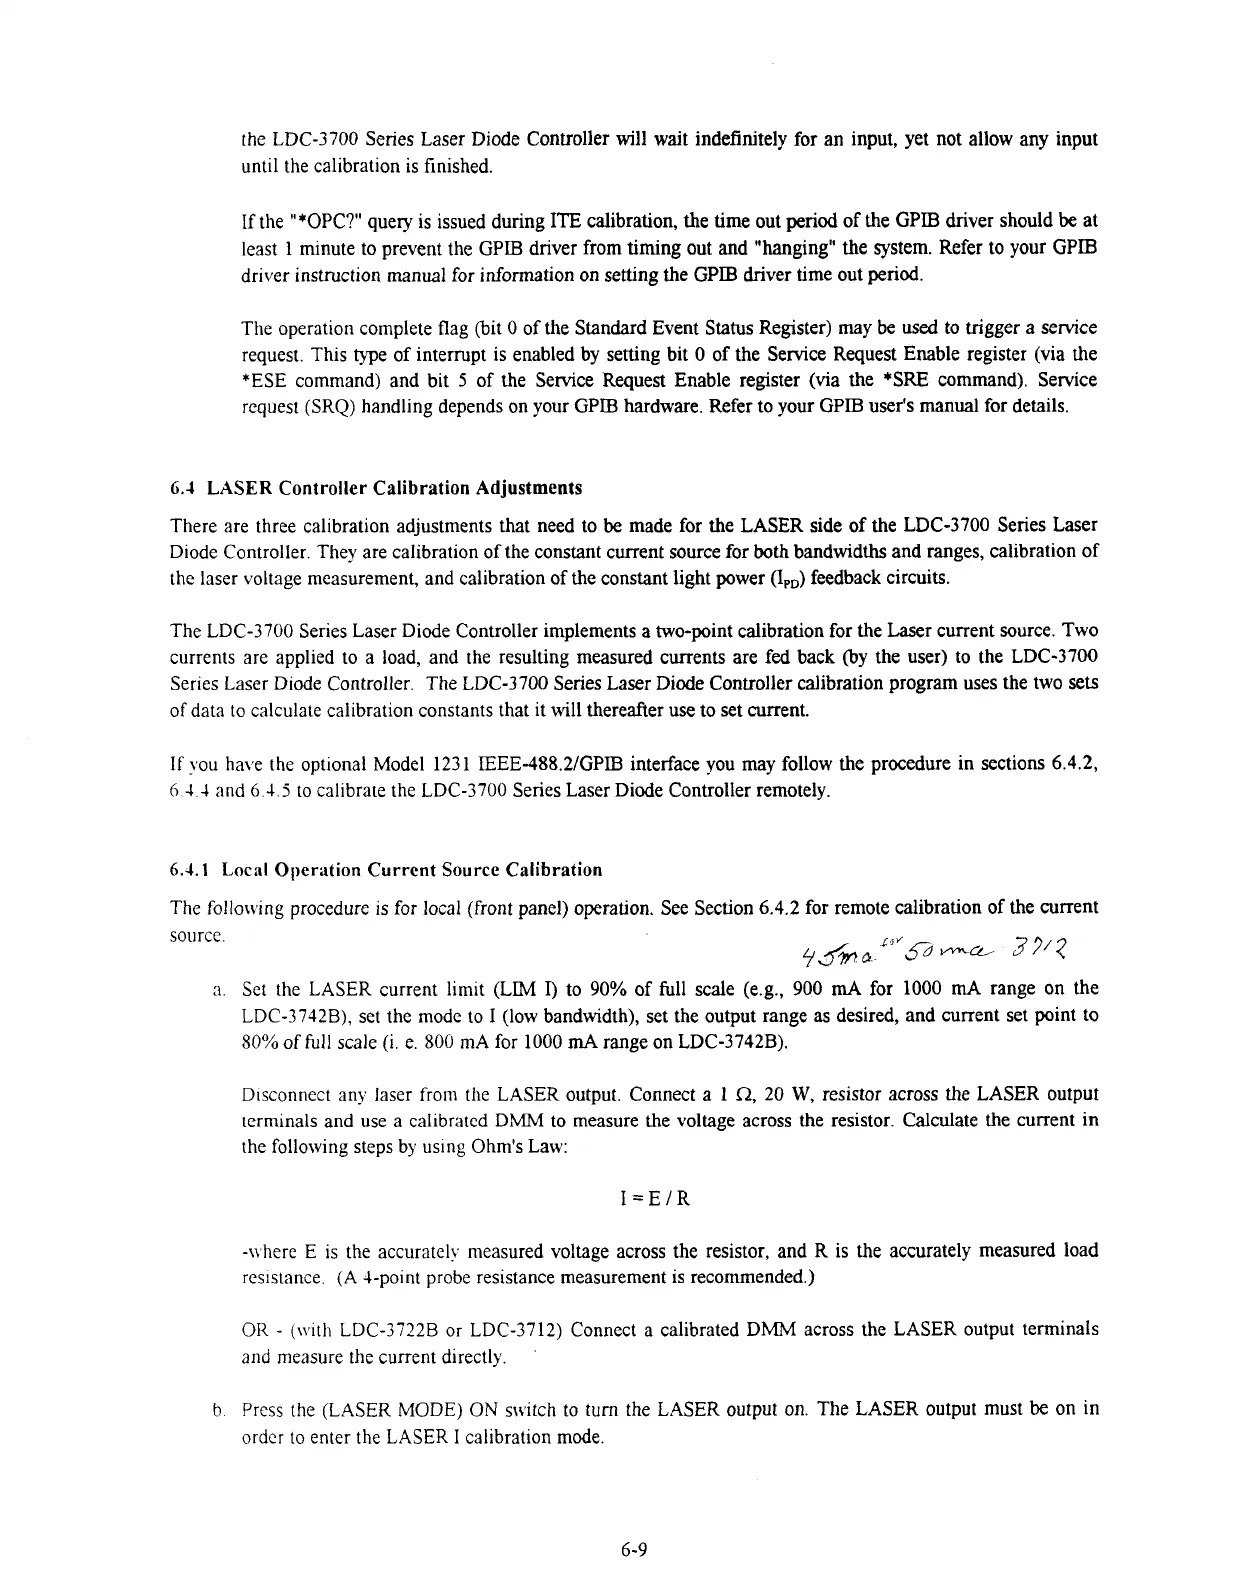
a.
Set the LASER current limit (LIM
I)
to 90% of full scale (e.g., 900
mA
for 1000
mA
range on the
LDC-3742B), set the mode to
I
(low bandwidth), set the output range
as
desired, and current set point to
80%
of
full
scale (i. e. 800 mA for 1000
mA
range on LDC-3742B).
D~sconnect any laser from the LASER output. Connect a
1
R,
20
W,
resistor across the LASER output
terniinals and use a calibrated DMM to measure the voltage across the resistor. Calculate the current in
the following steps by uslng Ohm's Law:
-where
E
is the accurately measured voltage across the resistor, and R is the accurately measured load
resistance.
(A
+point probe resistance measurement is recommended.)
OR
-
(\vith LDC-3722B or LDC-3712) Connect a calibrated DMM across the LASER output terminals
and measure the current directly.
b
Press the
(LASER
MODE)
ON
switch to turn the LASER output on. The LASER output must
be
on in
order to enter the
LASER
I
calibration mode.
Artisan Technology Group - Quality Instrumentation ... Guaranteed | (888) 88-SOURCE | www.artisantg.com
 Loading...