B Software Setup
B.1 Setup Network IP Address
After shipment or after a reset to factory defaults, the scanner will have the
default IP address 192.168.1.50.
This IP address is most likely not a valid address in your local network, therefore the
address has to be changed.
To perform this, a connection to the scanner must be established. First, note all network
settings in your local PC. Then change the settings in your local PC to IP address
192.168.1.1 and subnet mask to 255.255.255.0.
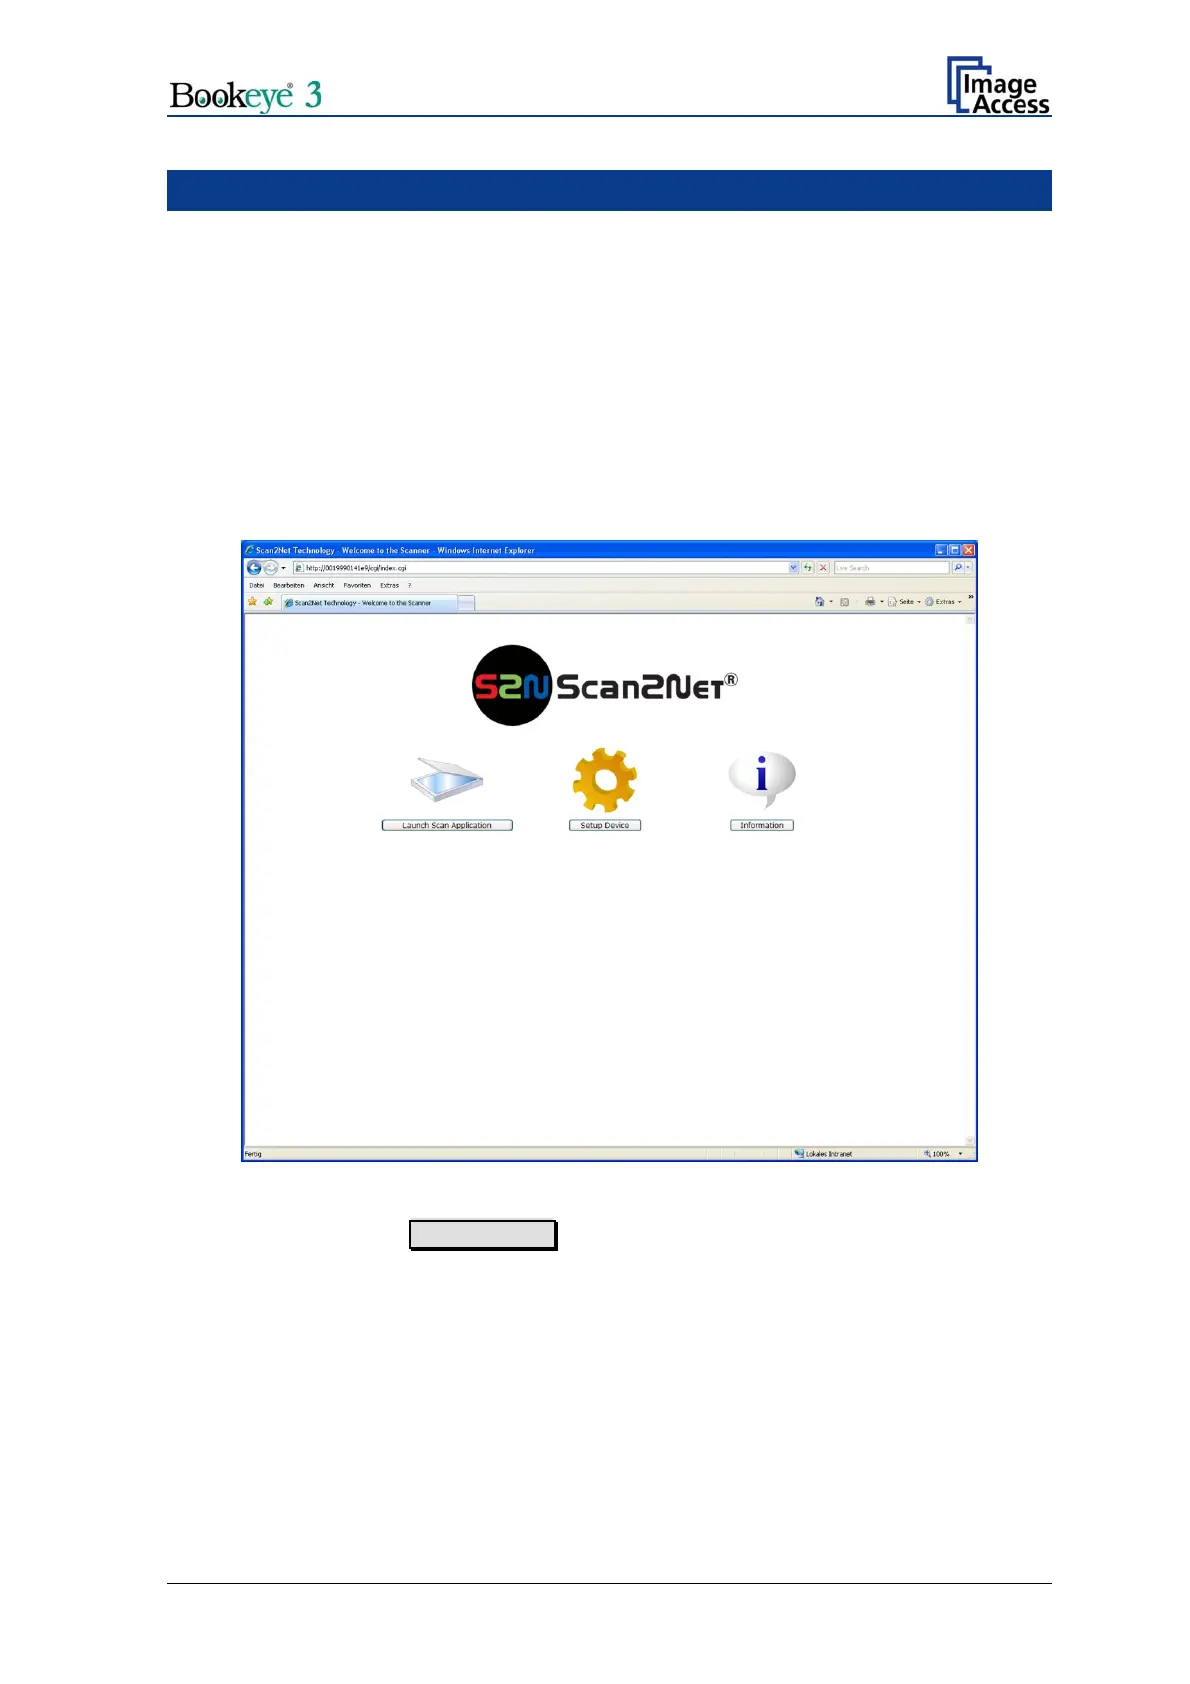
Enter the IP of the scanner into your browser. The start screen of the scanner opens.
Picture 45: Start screen
In the start screen go to Setup Device .
Setup and Assembly Manual Page 39

 Loading...


