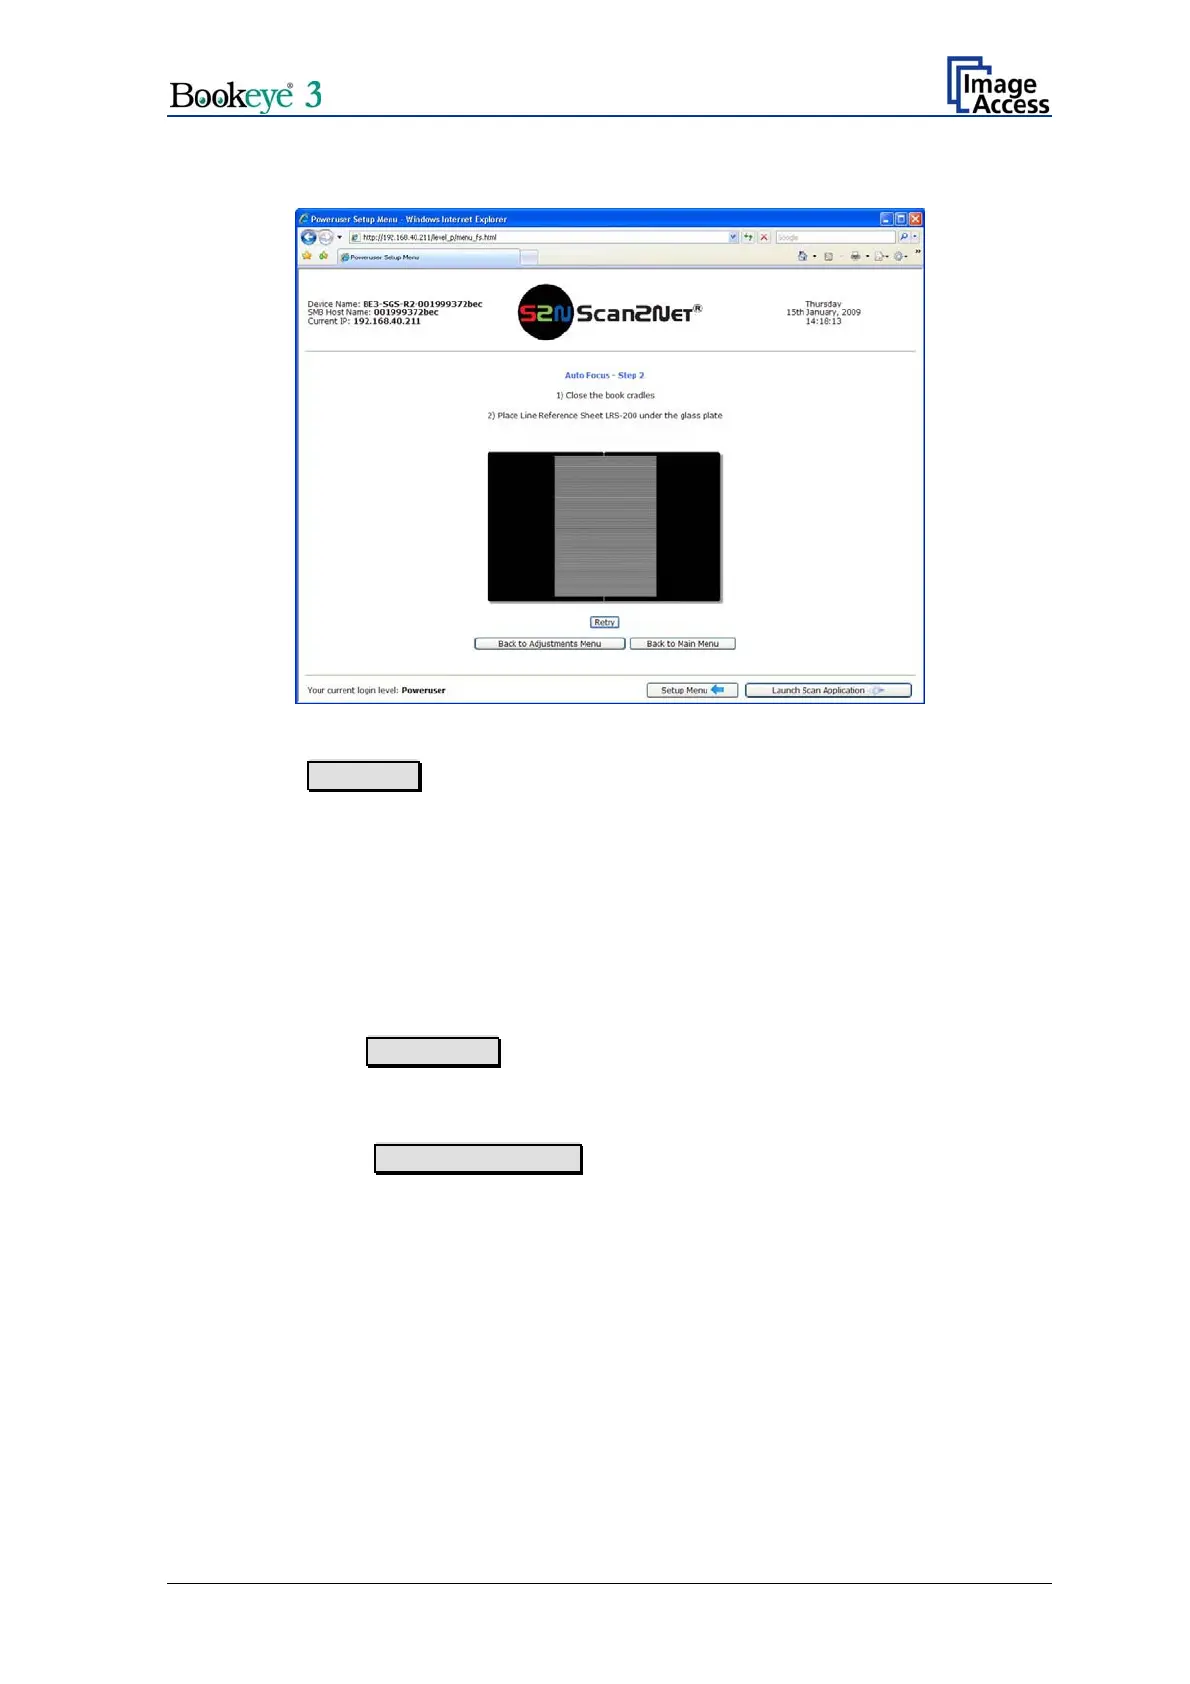
When the book cradles are in the upper position the screen shows the following:
Picture 59: Auto focus measurement screen
10. Press the Next Step button The measurement starts.
After the Autofocus function has completed, the results will be displayed. Values displayed
in green indicate valid results. Any error will be shown in red text, followed by some
explanatory remarks.
Note: It is normal that the measurement will return different values each time the
measurement is repeated. The lens motor has a very high resolution and the
best focal point has to be found in the already large focal range, therefore a
variation of 50 – 100 in values is normal.
11. Click the button New Values in the section Controls to repeat the measurement.
Or
12. Click the button Back to Adj. Menu in the section Menu controls to return to the
adjustments menu (see Picture 52).
Setup and Assembly Manual Page 51

 Loading...


