18
USING THE TABLET
OBD2 Diagnostics
Viewing Live Data
1. From OBD2 Menu, select Live Data - $01, then press the OK button.
2. A “One moment please . . .” message displays while the Tablet Scan Tool establishes communication with the
vehicle.
n If the Scan Tool fails to establish communication with the vehicle, a “Communication Error” message
displays.
━ Ensure the vehicle is OBD2 compliant.
━ Verify the connection at the DLC, and verify the ignition is ON.
━ Turn the ignition OFF, wait 5 seconds, then back ON to reset the computer.
━ Press Relink to continue.
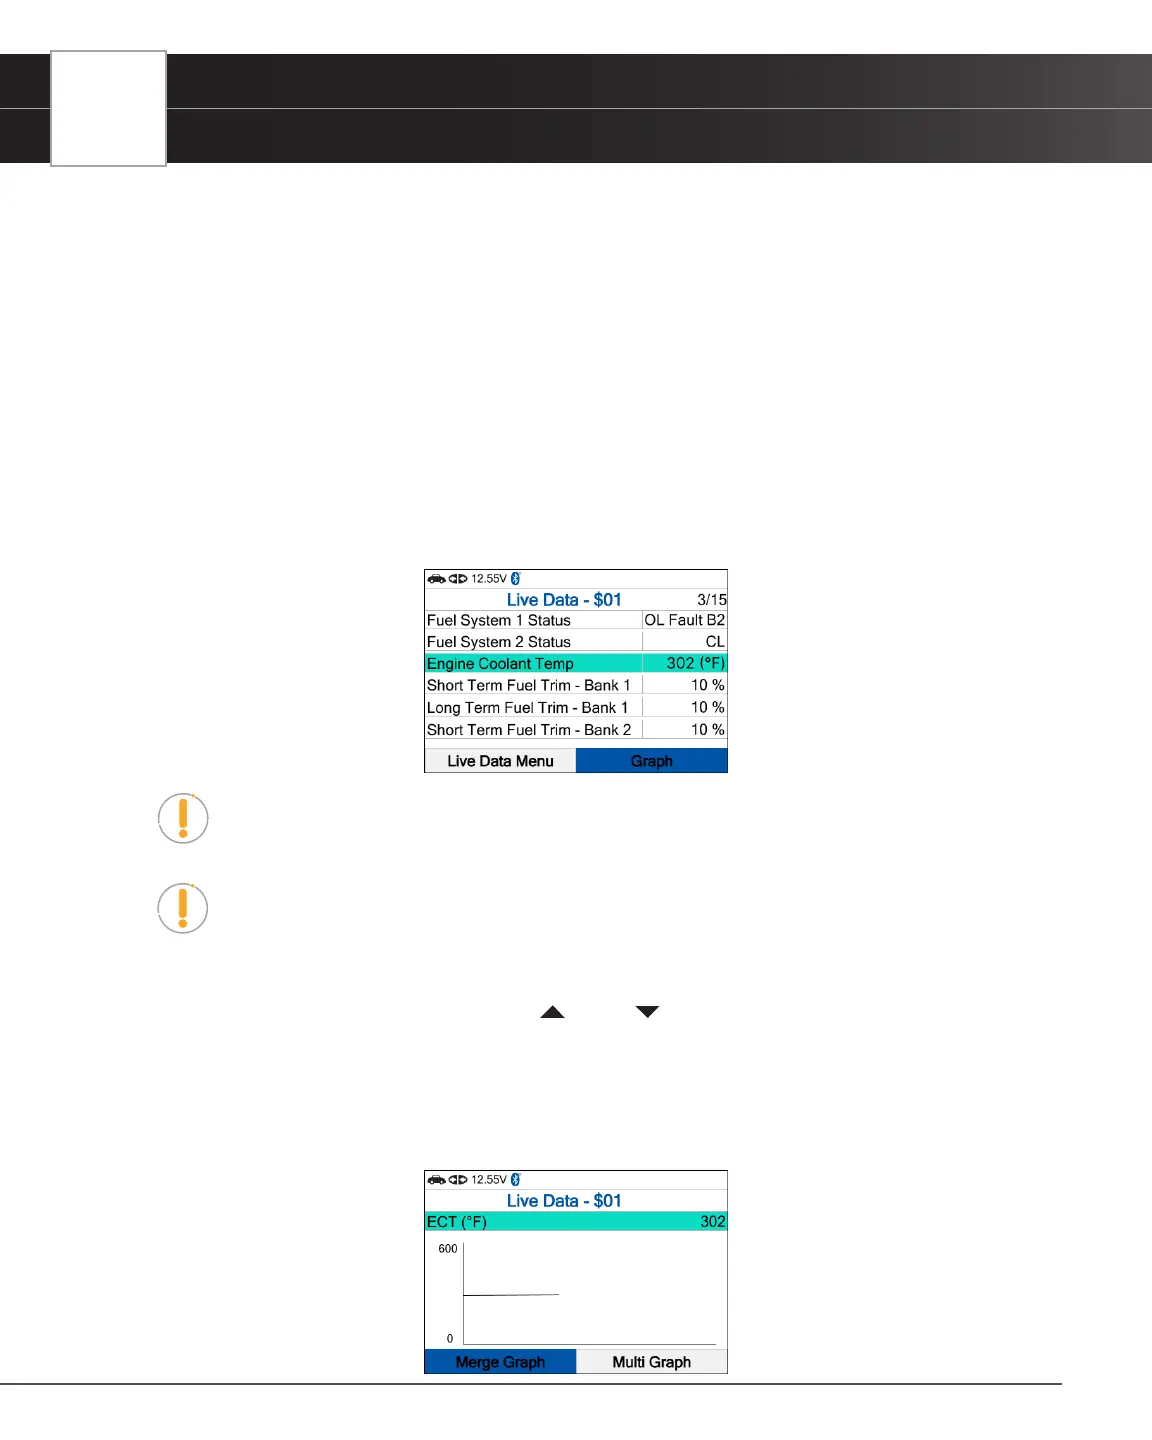
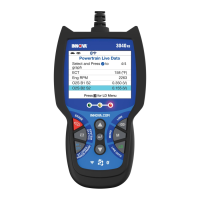
3. Real-time Live Data (PID) information supported by the vehicle under test displays.
NOTE: The values for the various PIDs displayed may change as the vehicle’s operating
conditions change.
NOTE: The Graph function button will stay inactive if the selected PID does not report a
numerical value. An example is the Fuel System Status PID, which reports either Open
Loop (OL) or Close Loop (CL).
4. Only a limited amount of PID data can be displayed on the screen at one time. If additional PID data is available,
a small arrow is shown on the display. Press UP and DOWN, as necessary, to view available PID data.
n If communication with the vehicle is lost while viewing Live Data, an advisory message is displayed.
5. Press OK to view expanded denition and description for the currently selected PID.
n Press the Back button to return to the Live Data – $01 screen after you have nished viewing.
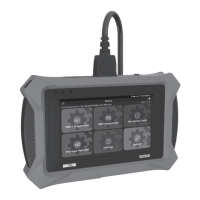
6. Select Graph and press OK to view the currently selected PID in “graph” mode.