73
X-Series Waterblast Unit
the belt if necessary. Refer to “Adjusting
Belt Tension”.
Adjusting Belt Tension
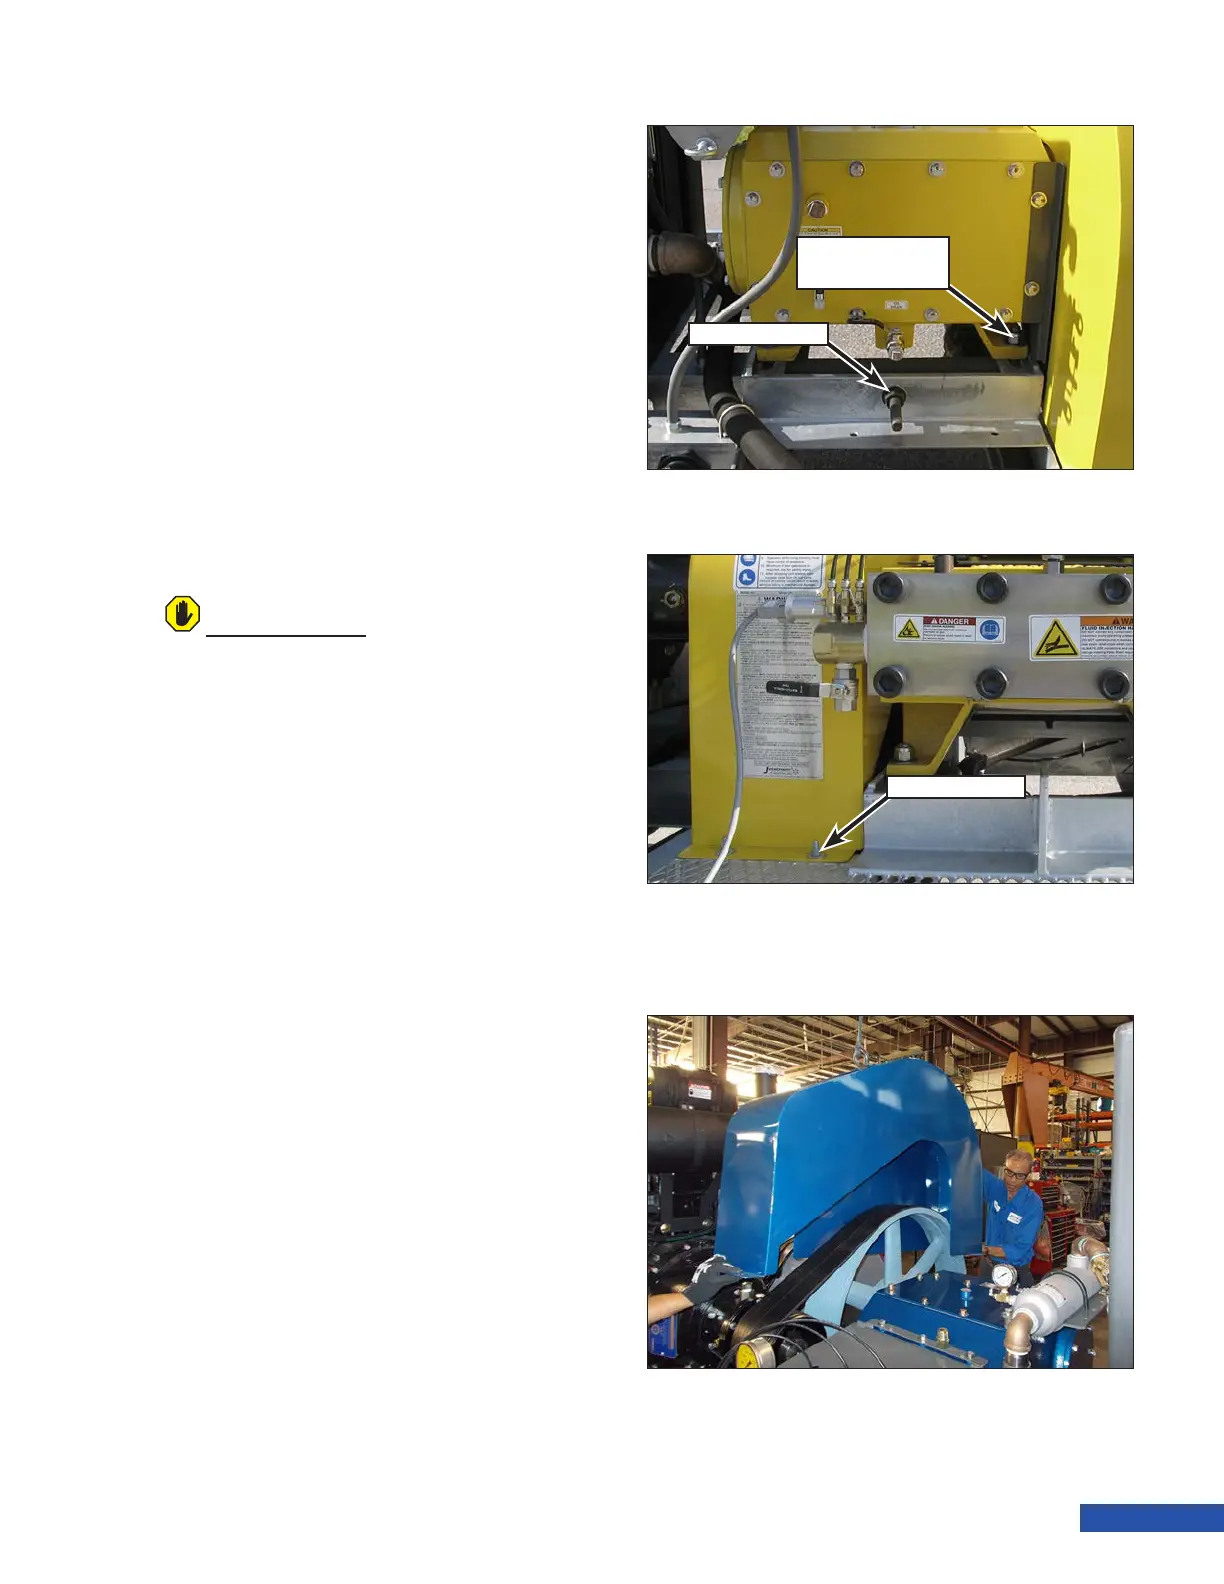
1. Loosen the four pump mounting bolts
(Figure 140). the bolts are located on each
corner of the pump.
2. Adjust the tension by turning the tension
nut . Turn clockwise to increase belt ten-
sion. Turn counter-clockwise to decrease
belt tension.
3. Tighten the four pump mounting bolts to
ensure a proper tension reading.
4. Recheck the belt tension as outlined in
“Checking Belt Tension” on page 72.
Replacing the Belts
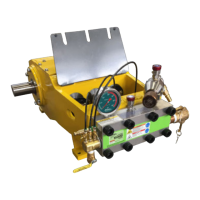
1. Remove the ve mounting nuts (Figure
141) that secure the belt guard to the unit.
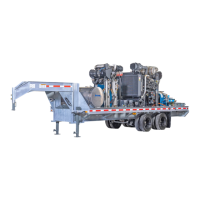
2. If a hoist is available, attach a hoist and
appropriate lifting apparatus to the belt
guard. Lift the belt guard from the unit.
The weight of the belt guard is approxi-
mately 70 lb (32 kg). If a hoist is not avail-
able, use two people to carefully lift the
guard from the unit.
3. Loosen the four pump mounting bolts
(Figure 140).
4. Turn the tensioner nut counter-clockwise
and move the pump to decrease the belt
tension enough to allow belt removal.
5. Remove the belts and discard. Place the
new belts into position.
6. Adjust the tension using the tensioner
nut and then check the tension as out-
lined in “Checking Belt Tension” on page
72.
7. Lift the belt guard back onto the unit and
install the ve nuts and washers that
secure the guard to the unit.
ATTENTION
If belt slippage occurs after tensioning, replace
the belts. Check the tension after the rst 20
minutes of operation with the new belts.
Figure 142: Belt Guard Removal.
Figure 140: Adjustment Hardware.
Tensioner Nut
Pump Mounting
Bolts
Figure 141: Belt Guard Hardware.
Mounting Nut