– 117 –
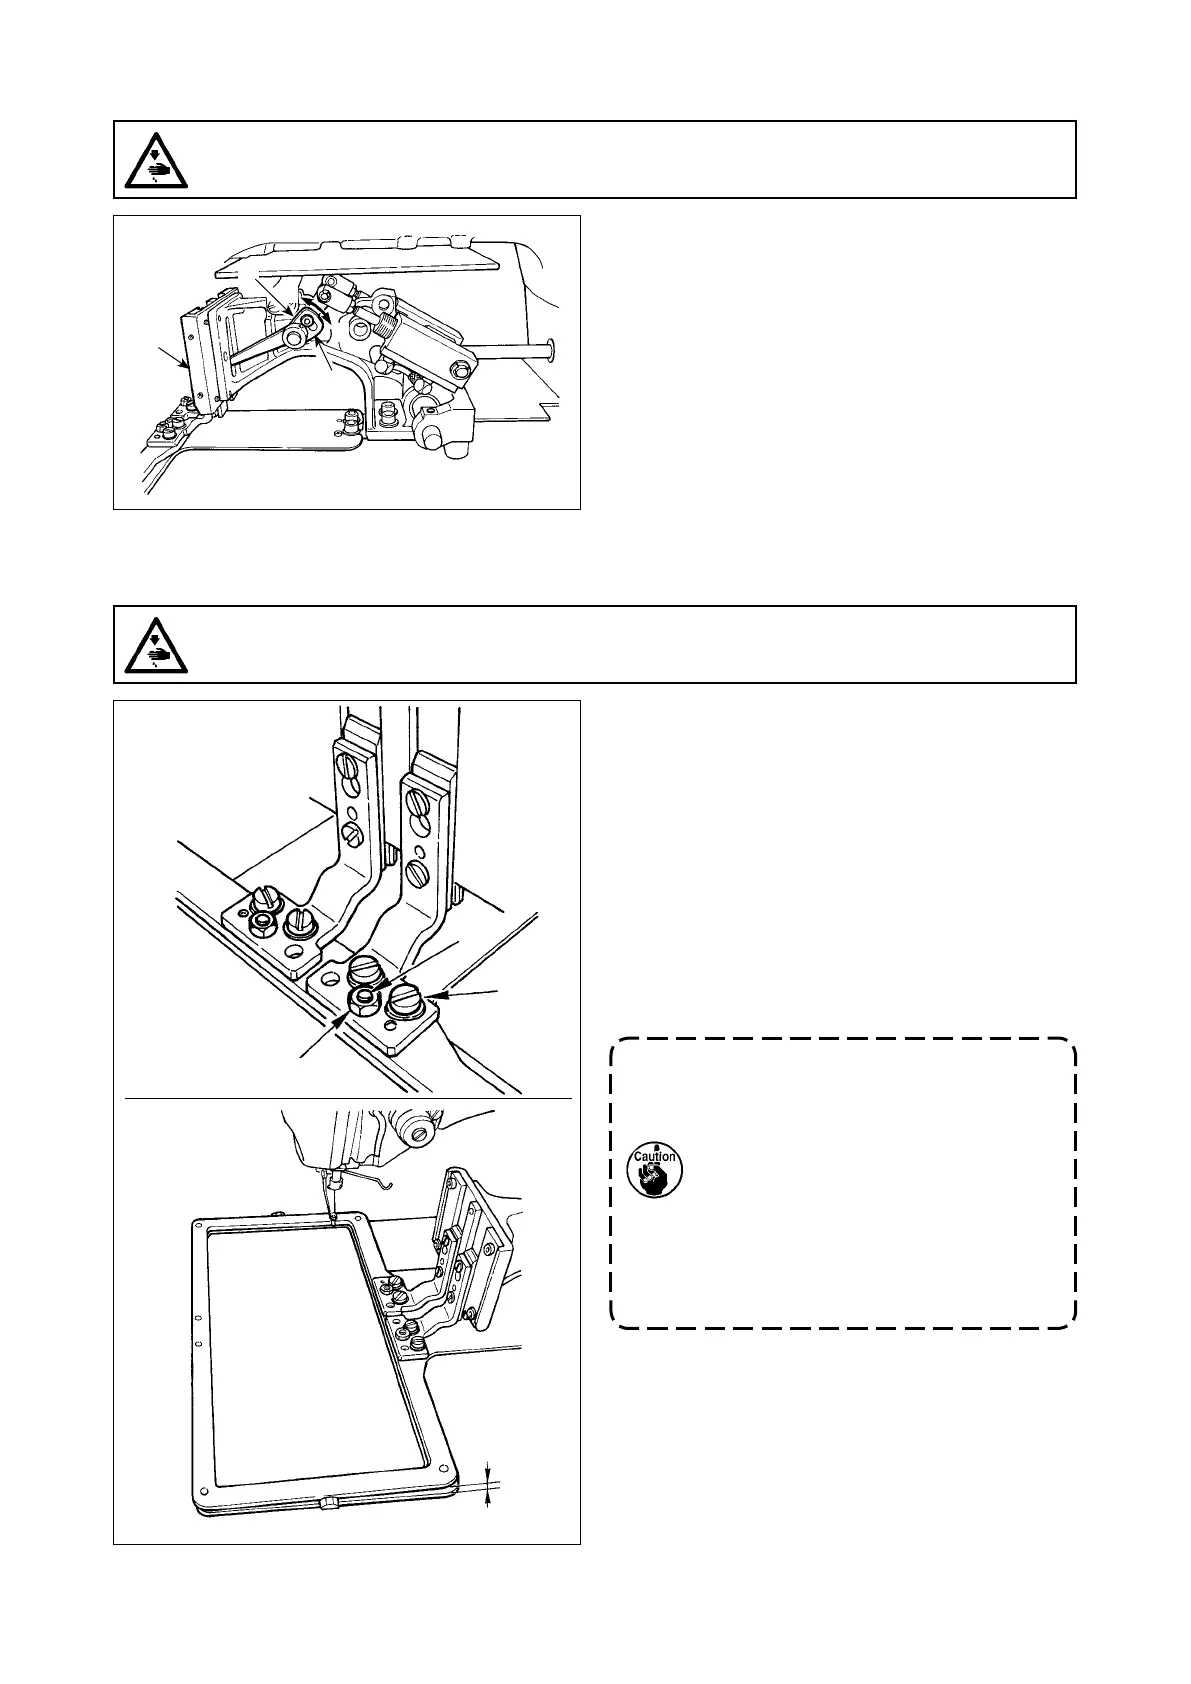
1) Loosen screws
2
located on the right and left
sides of feed bracket
1
. Moving cloth presser
stopper
3
to the direction
B
will increase the
height of feeding frame.
2) After the adjustment of the height of the feed-
ing frame, securely tighten the screws
2
.
WARNING :
Turn OFF the power before starting the work so as to prevent accidents caused by abrupt start or
the sewing machine.
(2) Height of the work clamp (L type)
3 mm
WARNING :
Turn OFF the power before starting the work so as to prevent accidents caused by abrupt start or
the sewing machine.
If the feeding frame is in parallel to the throat
plate, the pressure of the front side of the feeding
frame is likely to drop. Consequently, be sure to
adjust the inclination of the feeding frame so that
the front side of the feeding frame is slightly lower
than its rear side.
1) Loosen screw
1
and nut
3
. Turning adjust-
ment screw
2
clockwise will lower the front
side of the feeding frame.
2) After the adjustment of the degree of angle,
tighten screw
1
and nut
3
.
If the feeding frame is excessively
tilted, troubles may result such as the
feeding frame fails to go up.
As reference of the adjustment, the
rear end of the feeding frame should
be approximately 3 mm above the
throat plate surface when the front end
of the feeding frame meets the throat
plate surface.
(3) Angle of the work clamp (all models excluding 1306L type)
1
3
2
1
3
A
B
2