– 5 –
1) Fit the holes of hinges
A
to the holes of table
and x as shown in the gure.
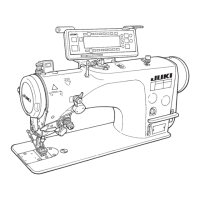
3-3. Installation of the sewing machine head
In case of the pneumatic type, x sole-
noid valve installing plate
1
as well.
WARNING :
To prevent possible accidents caused by the full of the sewing machine, perform the work by two
persons or more when the machine is moved.
A
1
3-4. Installing the drain receiver and the head support rubber
1) Fix drain receiver
2
in the installing hole of
table
1
with two setscrews
3
.
2) Screw in drain bin
4
to drain receiver
2
.
3) Insert sewing machine drain pipe
5
into drain
bin
4
.
4) Insert head support rubbers
6
to machine bed
7
.
5) Bundle the cables with clip bands
8
as shown
in the gure. (Excluding air tube)
1. Insert drain pipe
5
until it will go
no further so that it does not come
off drain bin
4
when tilting the ma-
chine head.
2. Remove the tape xing drain pipe
5
.
1
2
4
6
6
6
6
3
6
5
7
6
8

 Loading...

