20
English
English
Recording onto CD-R/RW Discs
Notes on Recording
• Do not use CD-R or CD-RW discs with dust and/or scratches on
the surface as this may cause the recording to sound rough and
may cause skipping when played backed. It may even cause the
unit to malfunction.
• When using a recording function (one of the recording indica-
tors in the display window is illuminated), do not subject the
unit to any shock or vibration.
• Before recording on a CD-R disc, it is recommended to make a
sample recording on a CD-RW disc.
• If the source CD being recorded from the 3-CD changer is itself
a first-generation digital copy, digital recording cannot be per-
formed. When this occurs, the recording type will switch from
digital to analog automatically, and you should adjust the
recording level.
Read through this section before recording.
- Discs not manufactured for holding audio data (such as discs for
standard computer use) cannot be recorded using this CDR.
- Discs with a format other than CD-DA (Compact Disc-Digital
Audio) cannot be recorded.
- The recording of discs over 80 minutes in length is not supported.
- Multi-session discs cannot be recorded.
Types of recording
The following types of recording are possible with this unit.
Manual recording (see page 21)
Manually control the recording source used and the tracks you
want to record. The following is a list of possible settings. (High-
speed recording is not possible.)
• DIGITAL (digital recording from external sources connected to
the DIGITAL IN OPTICAL terminal or COAXIAL terminal)
• CD (digital/analog recording of CDs loaded in the 3-CD
changer)
• LINE (analog recording of external sources connected to the
LINE IN terminal)
• MIC (analog recording of input from a microphone connected
via the MIC jack)
Synchronized one-button recording of one entire CD
(See page 23)
Press the CD REC button while the main unit is in the stop mode to
instantly dub the entire selected CD in the 3-CD changer to a CD-R
or CD-RW disc. New to this feature is an automatic disc finaliza-
tion function that can be set before recording begins.
Synchronized one-button recording of a single track
(See page 24)
Press the CD REC button while the unit is playing or paused to
instantly dub the current track on a CD in the 3-CD changer to a
CD-R or CD-RW disc.
Listening Edit recording (see page 26)
Select tracks to be recorded from one or all of the CDs in the 3-CD
changer while listening to them. New to this feature is an automatic
disc finalization function that can be set before recording begins.
(High-speed recording; CD-R 4x, CD-RW 2x)
Program Edit recording (see page 27)
Program tracks to be recorded from one or all of the CDs loaded in
the 3-CD changer. New to this feature is an automatic disc finaliza-
tion function that can be set before recording begins. (High-speed
recording; CD-R 4x, CD-RW 2x)
Synchronized recording from external sources
(see page 30)
Start recording from an external source as soon as the CDR detects
the signal being input. (High-speed recording is not possible.)
Mixed input recording (see page 31)
Simultaneously record the inputs from two analog sources.
(Recording level and mixing balance can be adjusted manually.)
Automatically finalize at the end of a recording onto a CD-R disc
when recording the sound from the 3-CD changer using the CD
REC button. The Add Finalize feature is enabled at the time of pur-
chase. This feature can also be set to disable finalization at the end
of a recording.
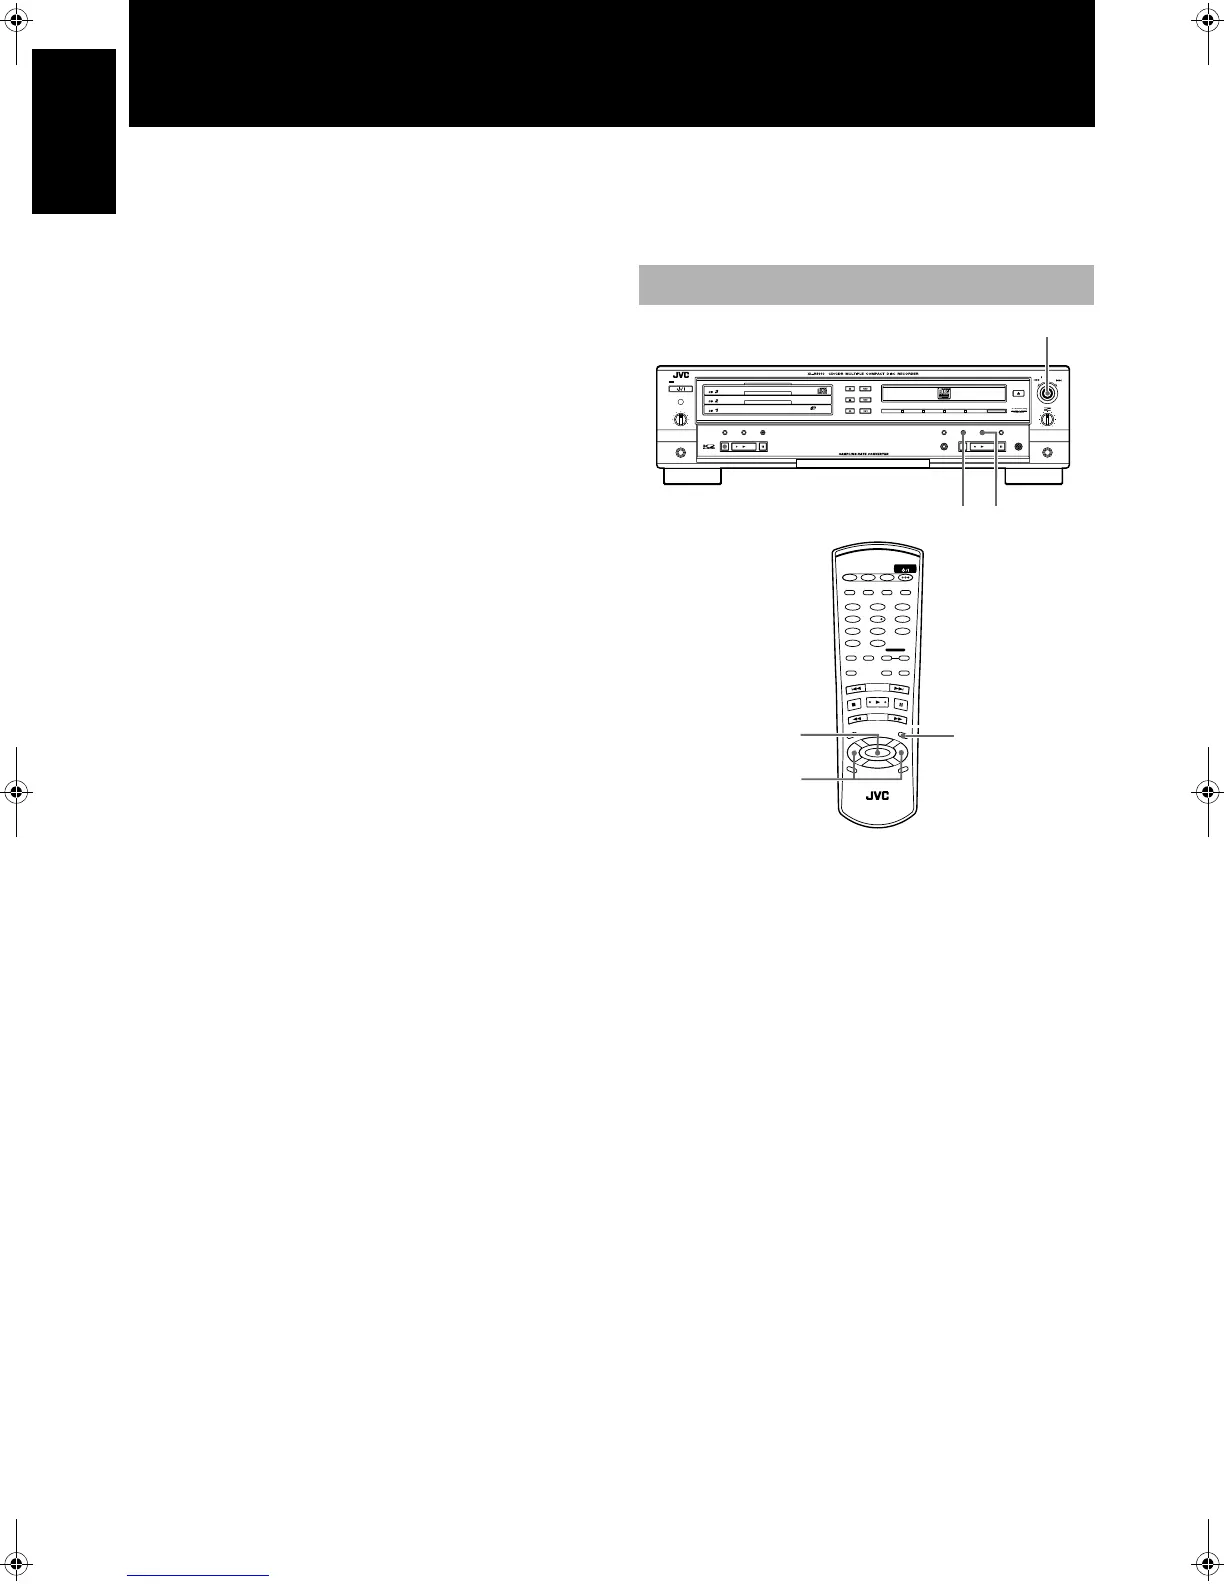
To disable the Add Finalize feature
Place the unit in the stop mode and follow the steps below.
1
Press the MENU button.
• "TRACK ERASE" is shown in the information display.
2
Turn the MULTI JOG to display "FINALIZE".
3
Press the SET button.
4
Turn the MULTI JOG to select "OFF".
5
Press the SET button.
Finalization will not be performed upon completion of a recording
with the CD RED button.
- To enable the Add Finalize feature, follow the steps 1 through 3 in
the above procedure and select "ON" in step 4.
To disable/enable the Add Finalize feature with the
remote control
1
Press the MENU button.
2
Press the 2
22
2 or 3
33
3 button to select "FINALIZE".
3
Press the SET button.
4
Press the 2
22
2 or 3
33
3 button to select "OFF" or "ON".
5
Press the SET button.
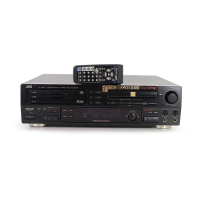
Add Finalize Feature
STANDBY
STANDBY/ON
PLAY & EXCHANGE
3
-
CD
MAXMIN
PHONES
PLAY MODE
PHONES LEVEL
EJECT
REC SOURCE SELECTOR
MIX BLANCE
CD
LINE
LINE
MIC
MULTI JOG
REC LEVEL
+
–
MIC
CANCELSETMENU
PAUSE
REC/
REC MUTING
PLAYSTOP
SYNCHRO
CD EDIT CD REC
STOP PLAY PAUSE
FINALIZE
MICLINECDDIGITAL
3,5
1
2,4
STANDBY/ON
CD1 CD2 CD3
CD REC
PLAY
MODE
•
REC
REC MUTING
R
E
C
S
O
U
R
C
E
M
E
N
U
P
IT
C
H
0
CHANCEL
REPEAT CD
PITCH
+
SET
PITCH–
RM
–
SXLR5010A
REMOTE CONTROL
CDR
CD EDIT FINALIZE DISPLAY
1 2
4 5
7 8
3
6
9
10
+
10
FAD E SYNCHRO
CONTROL
1
3,5
2,4
XL-R5010BK.book Page 20 Monday, June 4, 2001 11:40 AM
 Loading...