30
English
English
4
Turn the MULTI JOG control or press the
2¥3
(menu) button on the remote control and
choose the setting “TR SPACE ON” or “TR
SPACE OFF”.
• Press the CANCEL button (main unit/remote control) to cancel
the procedure and return to the normal display.
5
Pess the SET button.
Notes
• There is no indicator to show the status of this function.
• This function will work when you begin recording from the
recording pause mode except when performing synchronized
one-button recording.
This unit offers the ability to record from various external sources
to the CDR using synchronized START and START&STOP func-
tions. This feature is applicable to external digital audio equipment
connected via the DIGITAL IN OPTICAL and COAXIAL termi-
nals and the LINE IN (REC) terminal.
• Synchronized recording to the CDR from an external
source.
1
Load a recordable CD-R or CD-RW disc in the
CDR tray.
• The disc is read if required.
2
Press the REC SOURCE SELECTOR button on
the main unit or the REC SOURCE button on the
remote control repeatedly to select the
recording source.
• Each press of the selection button on either the main unit or
remote control, toggles one step through the following source
choices.
DIGITAL IN: Record digital signals via the OPTI-
CAL terminal.
COAXIAL IN: Record via the COAXIAL terminal.
CD DIGITAL: Record digital signals from 3-CD
changer.
CD ANALOG: Record analog signals from 3-CD
changer.
LINE IN: Record via the LINE IN terminal.
MIC IN: Record via the MIC jack.
CD+LINE MIX: Record via 3-CD changer and LINE
mix.
CD+MIC MIX: Record via 3-CD changer and MIC
mix.
LINE+MIC MIX: Record via LINE and MIC mix.
• Press REC SOURCE SELECTOR on the main unit or REC
SOURCE button on the remote control to choose the proper ter-
minal connection for the source to be recorded from (DIGITAL
IN, COAXIAL IN or LINE IN).
• If DIGITAL IN or COAXIAL IN is selected, the LED lamp
under DIGITAL IN selection to the left of the REC SOURCE
SELECTOR will light.
3
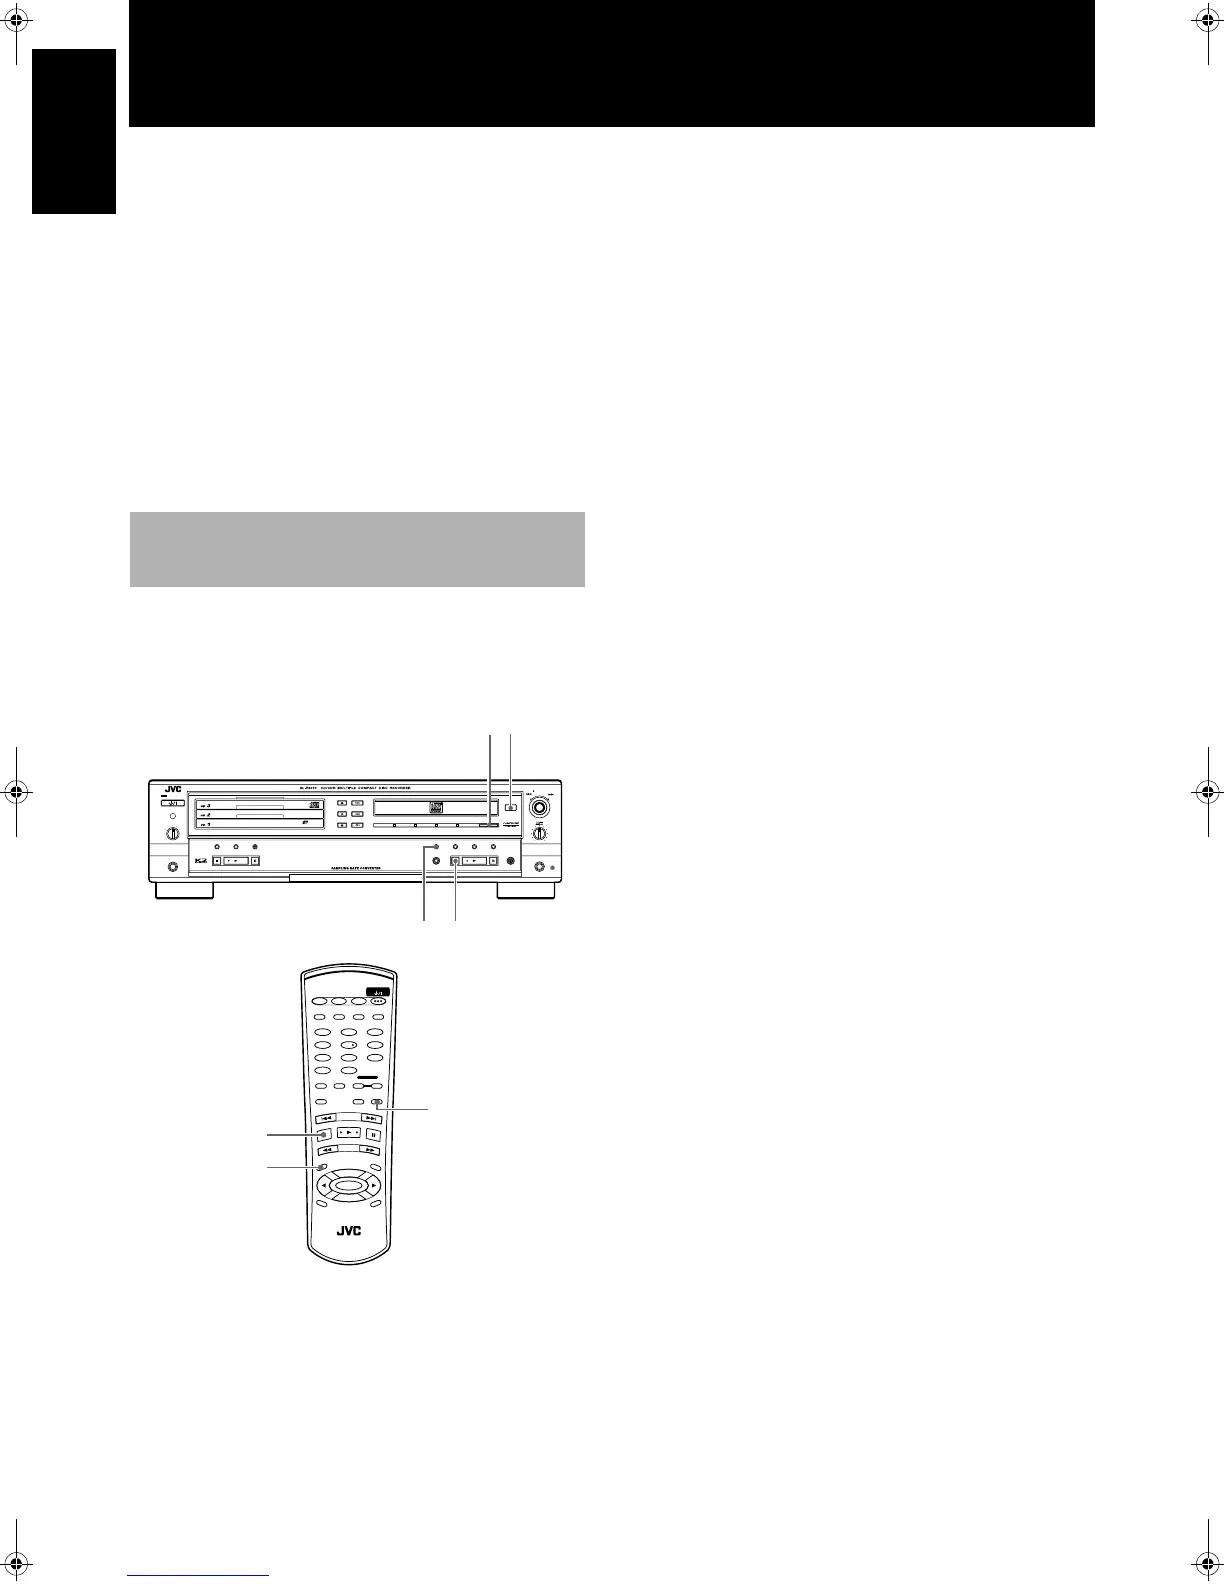
Press the SYNCHRO button (main unit/remote
control).
• The CDR is put into the synchronized recording pause mode.
• The source device must be stopped (cannot be playing) at this
time.
4
Start playing of the source unit
Note
• When recording with the SYNCHRO button, recording starts
when the input level is detected. If the track starts very quietly
(with a low input level), the beginning of the track may not be
recorded. When recording from an analog source, such as records
or tapes, recording may not start if the recording level is too low.
When this occurs, please perform manual recording.
Performing synchronized recording of a digital source
• Recording is started based on the digital signal.
• Track marking is based on track information recorded in the
digital signal. For digital sources other than CD, MD and DAT,
track marking is based on silent track space.
Performing synchronized recording of an analog source
• Recording is started when the unit detects an audio signal.
• Track marking is based on silent track space which the unit
interprets to be track breaks. If automatic track marking has
been turned off, manual track marking is necessary during the
recording process.
To stop recording at any time
Press the CDR Control STOP 7 button on the main unit or the 7
(stop) button on the remote control.
Synchronized Recording from
External Sources
STANDBY
STANDBY/ON
PLAY & EXCHANGE
3
-
CD
MAXMIN
PHONES
PLAY MODE
PHONES LEVEL
EJECT
REC SOURCE SELECTOR
MIX BLANCE
CD
LINE
LINE
MIC
MULTI JOG
REC LEVEL
+
–
MIC
CANCELSETMENU
PAUSE
REC/
REC MUTING
PLAYSTOP
SYNCHRO
CD EDIT CD REC
STOP PLAY PAUSE
FINALIZE
MICLINECDDIGITAL
3
1
2
STANDBY/ON
CD1 CD2 CD3
CD REC
PLAY
MODE
REC
REC MUTING
REC
SOURCE
MENU
PITCH
0
C
H
A
N
C
E
L
REPEAT CD
PITCH
+
SET
PITCH
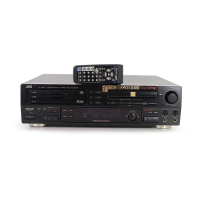
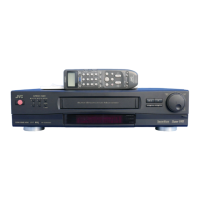
RM SXLR5010A
REMOTE CONTROL
CDR
CD EDIT FINALIZE DISPLAY
1 2
4 5
7 8
3
6
9
10
+
10
FA DE SYNCHRO
CONTROL
3
2
7
7
XL-R5010BK.book Page 30 Monday, June 4, 2001 11:40 AM
 Loading...