38
English
English
Setting the Clock
Set the timer immediately after turning on the power to the main
unit for the first time. Additionally, should there be a power black-
out that lasts for longer than a few seconds, or if the AC power cord
of the unit is unplugged from the wall socket for longer than a few
seconds, please check to see if the clock needs to be reset again
before using any other operation.
• This unit uses a 12-hour clock to indicate time.
If the time has never been set or input time has been canceled due
to loss of power (backup failure), etc., “TRACK ERASE” will be
shown in the information display when the unit’s AC power cord is
plugged into a power source. The time can be set regardless of the
unit’s power switch being turned on or off.
Example
Setting the time to 1:15 PM when first using the system.
1
Press the MENU button (main unit) while the
unit is in the stop mode.
If the time has not been set, the system will go directly to the “XX
HH:MM” setting (shown in the information display), bypassing the
timer settings. (The only commands that the unit accepts at this
time are the MENU, SET and JOG control functions. Pressing of
any other button such as CD Control button, CDR Control button
or the or CANCEL buttons will end the setting mode.)
2
Turn the MULTI JOG to select “CLOCK/TIMER”.
3
Press the SET button.
4
Press the MENU button twice.
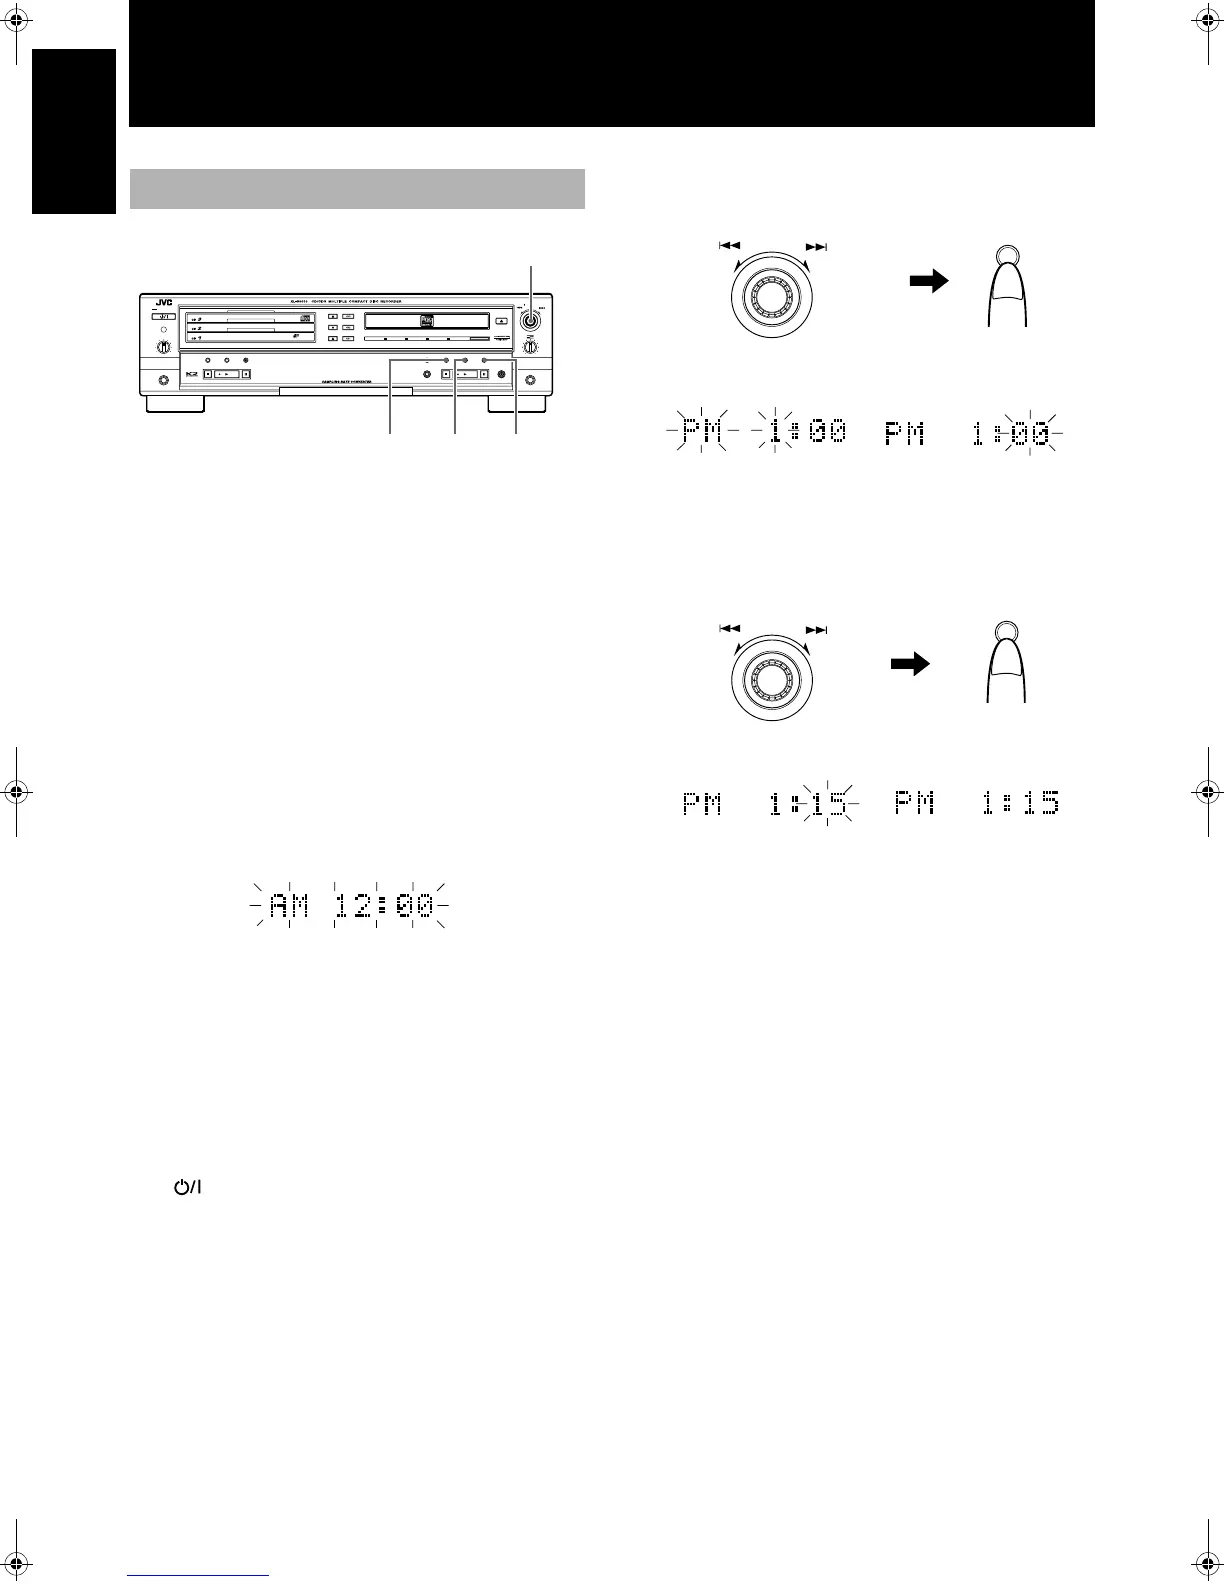
5
Turn the MULTI JOG control on the main unit
the hour column reads “PM 1”.
6
Press the SET button (main unit).
The hour column stops flashing and the minutes column starts
flashing.
7
Turn the MULTI JOG control on the main unit
until the minutes column reads“15”.
8
Press the SET button.
• The current time “PM 1:15” is shown in the information dis-
play.
• If the CANCEL button is pressed while setting the minutes col-
umn, the procedure returns to the previous step, and the hour
column starts flashing. This is convenient for correcting the
hour column.
Ways to change or adjust the time display
There are two different ways for accessing the time setting function
in order to adjust the time.
1
With the main unit in the standby mode, press
the MENU button three times.
- The present time is shown in the information dis-
play.
- Follow the instructions for Steps 5-8 above.
Setting the Present Time
STANDBY
STANDBY/ON
PLAY & EXCHANGE
3
-
CD
MAXMIN
PHONES
PLAY MODE
PHONES LEVEL
EJECT
REC SOURCE SELECTOR
MIX BLANCE
CD
LINE
LINE
MIC
MULTI JOG
REC LEVEL
+
–
MIC
CANCELSETMENU
PAUSE
REC/
REC MUTING
PLAYSTOP
SYNCHRO
CD EDIT CD REC
STOP PLAY PAUSE
FINALIZE
MICLINECDDIGITAL
3,6,8
2,5,7
1,4
CANCEL
(When the time is to be reset, the
present time will flash.)
MULTI JOG
REC LEVEL
+
–
SET
Time forward
Time
backward
Turn the MULTI JOG control
until “PM 1:00” is displayed.
Press the SET button.
Minutes column starts
flashing. startsplayted.
MULTI JOG
REC LEVEL
+
–
SET
Time
forward
Time
backward
Turn the MULTI JOG control
until “PM 1:15” is displayed.
Press the SET button.
“PM 1:15” is displayed.
XL-R5010BK.book Page 38 Monday, June 4, 2001 11:40 AM
 Loading...