37
English
English
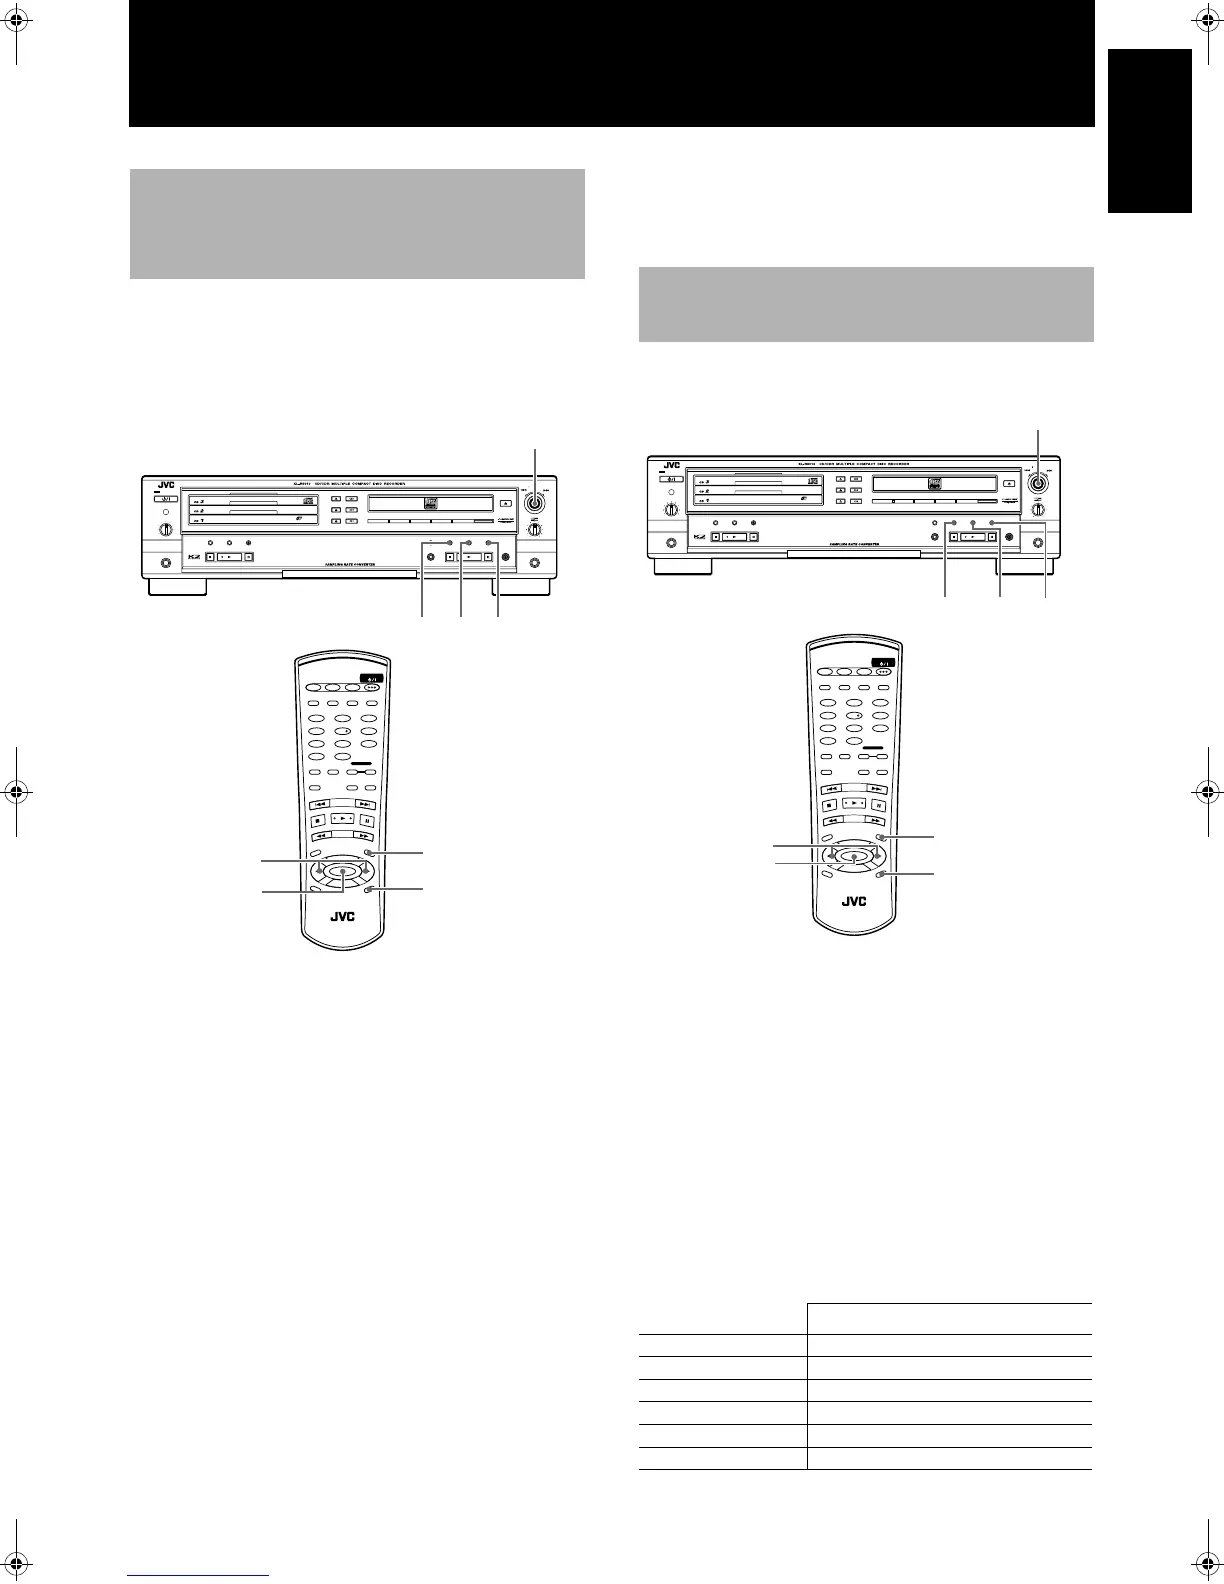
When performing digital synchronized start recording of an exter-
nally connected digital source, synchronized start recording begins
when a digital signal is encountered in the record pause mode.
However, if the recording source is connected to the DIGITAL IN
(DIGITAL IN OPTICAL) terminal, it is also possible to set this unit
to start and stop recording when you are recording a single track.
1
When the unit is in stop mode, press the MENU
button.
2
Turn the MULTI JOG on the main unit or press
the 2
22
2 / 3
33
3 button on the remote control until “D-
IN SYNCHRO” appears in the display.
3
Press the SET button.
• The current setting appears in the display.
4
Turn the MULTI JOG on the main unit or press
the 2
22
2 / 3
33
3 button on the remote control to select
“START” or “START&STOP”.
• When “START” is selected, only the start of the digital signal is
recorded synchronously.
• When “START&STOP” is selected, both the start and stop of
single track recroding are controlled by information in the
source digital signal.
• Press the CANCEL button if you do not want to perform this
procedure. The setting is not changed.
5
Press the SET button.
• Please note that the type of synchronized recording being per-
formed as set in the above procedure is not indicated in the display
during actual recording. Even when recording is started, only the
“SYNCHRO” indicator remains lit until recording is stopped.
• Even if this setting is set to “START&STOP”, recording is con-
cluded automatically if the source is stopped, the disc is
changed, or if a track search is performed.
Note
• Pressing the SNCHRO button when unlocked displays
“UNLOCK” in the information window and releases the syn-
chronized condition.
By performing the following procedure, all menu settings stored in
the unit are cleared and the unit is reset to the factory default settings.
1
When the unit is in stop mode, press the MENU
button (main unit/remote control).
2
Turn the MULTI JOG control on the main unit or
press the
2
/
3
(menu) button on the remote
control until “SET DEFAULT” is shown in the
information display.
3
Press the SET button (main unit/remote control).
•“SET DEFAULT?” is shown in the information display.
• Press the CANCEL button (main unit/remote control) if you do
not want to perform this procedure.
4
Press the SET button (main unit/remote control).
• The unit is reset to the factory default settings and returns to the
stop mode.
Setting Up Synchronized Start
Recording for External Digital
Sources (CD, MD, and DAT only)
STANDBY
STANDBY/ON
PLAY & EXCHANGE
3
-
CD
MAXMIN
PHONES
PLAY MODE
PHONES LEVEL
EJECT
REC SOURCE SELECTOR
MIX BLANCE
CD
LINE
LINE
MIC
MULTI JOG
REC LEVEL
+
–
MIC
CANCELSETMENU
PAUSE
REC/
REC MUTING
PLAYSTOP
SYNCHRO
CD EDIT CD REC
STOP PLAY PAUSE
FINALIZE
MICLINECDDIGITAL
1 3,5
2,4
CANCEL
STANDBY/ON
CD1 CD2 CD3
CD REC
PLAY
MODE
•
REC
REC MUTING
R
E
C
S
O
U
R
C
E
M
E
N
U
P
IT
C
H
0
CHANCEL
REPEAT CD
PITCH
+
SET
PITCH–
RM
–
SXLR5010A
REMOTE CONTROL
CDR
CD EDIT FINALIZE DISPLAY
1 2
4 5
7 8
3
6
9
10
+
10
FAD E SYNCHRO
CONTROL
2,4
3,5
1
CANCEL
At the time of purchase
DUB- SPEED HIGH (CD- R:4x,CD- RW:2x)
FINALIZE ON
AUTO TRACK ON
TRACK SPACE ON
CONVERTER ON
D- IN SYNCHRO START
Resetting the Unit to the
Factory Default Settings
STANDBY
STANDBY/ON
PLAY & EXCHANGE
3
-
CD
MAXMIN
PHONES
PLAY MODE
PHONES LEVEL
EJECT
REC SOURCE SELECTOR
MIX BLANCE
CD
LINE
LINE
MIC
MULTI JOG
REC LEVEL
+
–
MIC
CANCELSETMENU
PAUSE
REC/
REC MUTING
PLAYSTOP
SYNCHRO
CD EDIT CD REC
STOP PLAY PAUSE
FINALIZE
MICLINECDDIGITAL
1 3,4
2
STANDBY/ON
CD1 CD2 CD3
CD REC
PLAY
MODE
•
REC
REC MUTING
REC
SOURCE
MENU
PITCH
0
C
H
A
N
C
E
L
REPEAT CD
PITCH
+
SET
PITCH–
RM
–
SXLR5010A
REMOTE CONTROL
CDR
CD EDIT FINALIZE DISPLAY
1 2
4 5
7 8
3
6
9
10
+
10
FAD E SYNCHRO
CONTROL
2
3,4
1
CANCEL
CANCEL
XL-R5010BK.book Page 37 Monday, June 4, 2001 11:40 AM
 Loading...