3-6
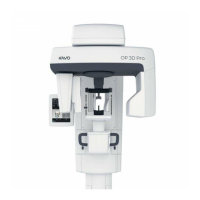
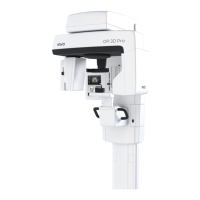
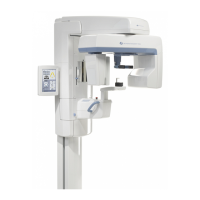
KaVo OP 3D Vision Service Manual
032-0358-EN Rev B
4. Select Start. A warning is displayed that the disk will be erased on the PC.
5. Select Continue. A message displays stating the disk will be erased.
6. Select Continue again. The disk is erased and software installation begins.
7. After the software is written to the internal
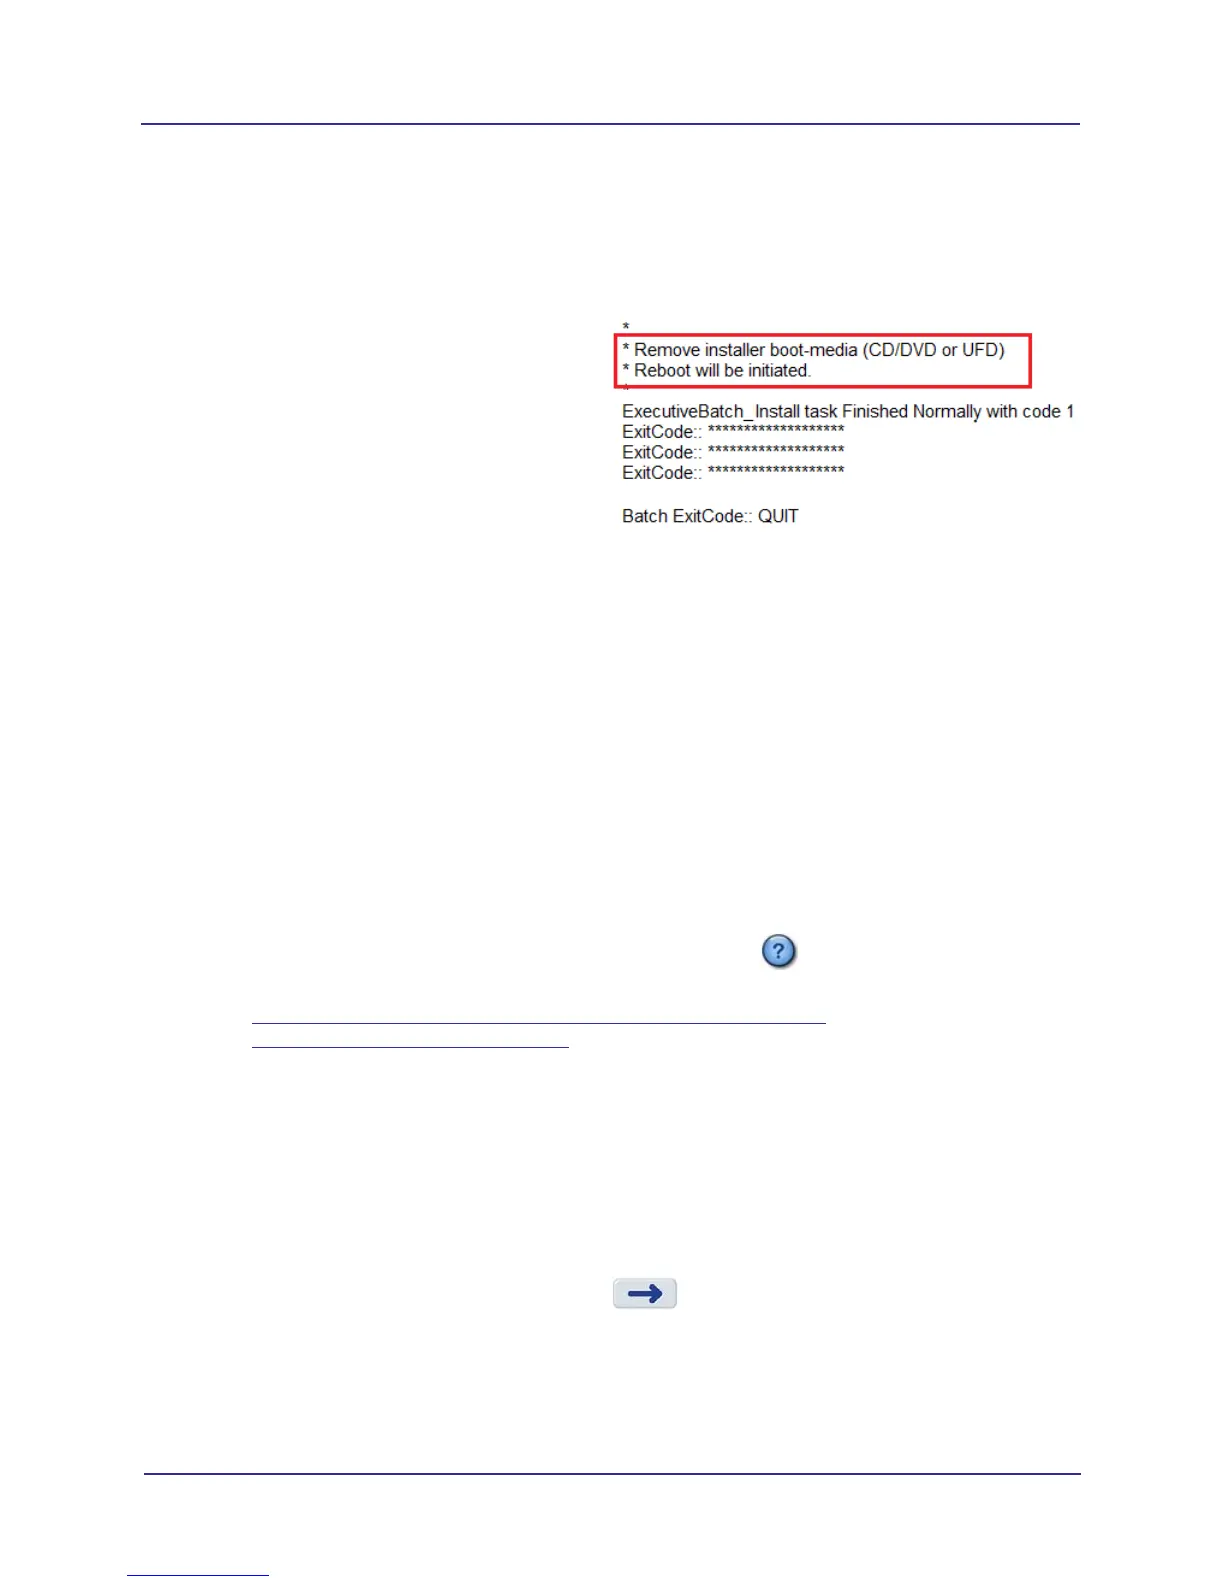
hard drive, remove the UFD from the USB
port.
8. Select Quit. The scanner controller will
reboot and start first-time boot processing
(5-10 minutes). It will reboot again.
NOTE: Failure to remove the UFD will
cause the scanner controller to boot from
it again. In this case, remove the UFD and
turn the scanner controller off, then on.
9. When the Login screen is displayed, log in using the Service account and select Explorer from the
menu. Check to see if Imagers is empty:
a. Navigate to Imagers (typically D drive). Check for a folder named for the serial number of the
detector panel (for example: E259-04B). If this file exists, installation is complete. Otherwise,
continue with step b.
b. Obtain the Imagers DVD for the panel. Obtain an external DVD drive or copy the DVD
contents to a UFD.
c. Navigate to the Imagers content on the DVD or UFD.
d. Start Setup.exe and follow instructions.
Software Updates
To check the current software version on the scanner controller, select on the login screen. To perform
a software update, use the following procedures:
• Update Scanner Controller Software to Latest Version (page 3-6)
• Update Clinical Software (page 3-7)
Update Scanner Controller Software to Latest Version
1. Insert the bootable UFD into an available USB port on the scanner controller.
2. Login to SmartScan STUDIO using the Service Account.
3. Select Upgrade from the menu. The system searches for the update package, then displays the
package information.
4. Verify the listed update is correct, then select . A status window is displayed with Setting Up
Package selected. This process may take about 5 minutes to complete.
5. When the package set up is complete, the update window displays with the message: Verifying
packages. Wait until the message Package verification passed is displayed and options on the
window become active. If package verification fails, obtain a new bootable UFD.
 Loading...