
K
Kelly BonillaSep 9, 2025
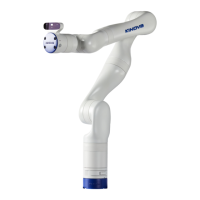
What to do if there is a joint detection error in Kinova Gen3 Robotics?
- NNatasha LewisSep 9, 2025
If you encounter a joint detection error in Kinova Robotics, it is due to a communication issue. Check communication connections.