38
Chapter 1 Handling the Product
1
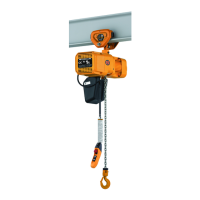
AssemblingAssembling Parts to Electric Chain Hoist
Assembling (continued)
Chapter 1 Handling the Product
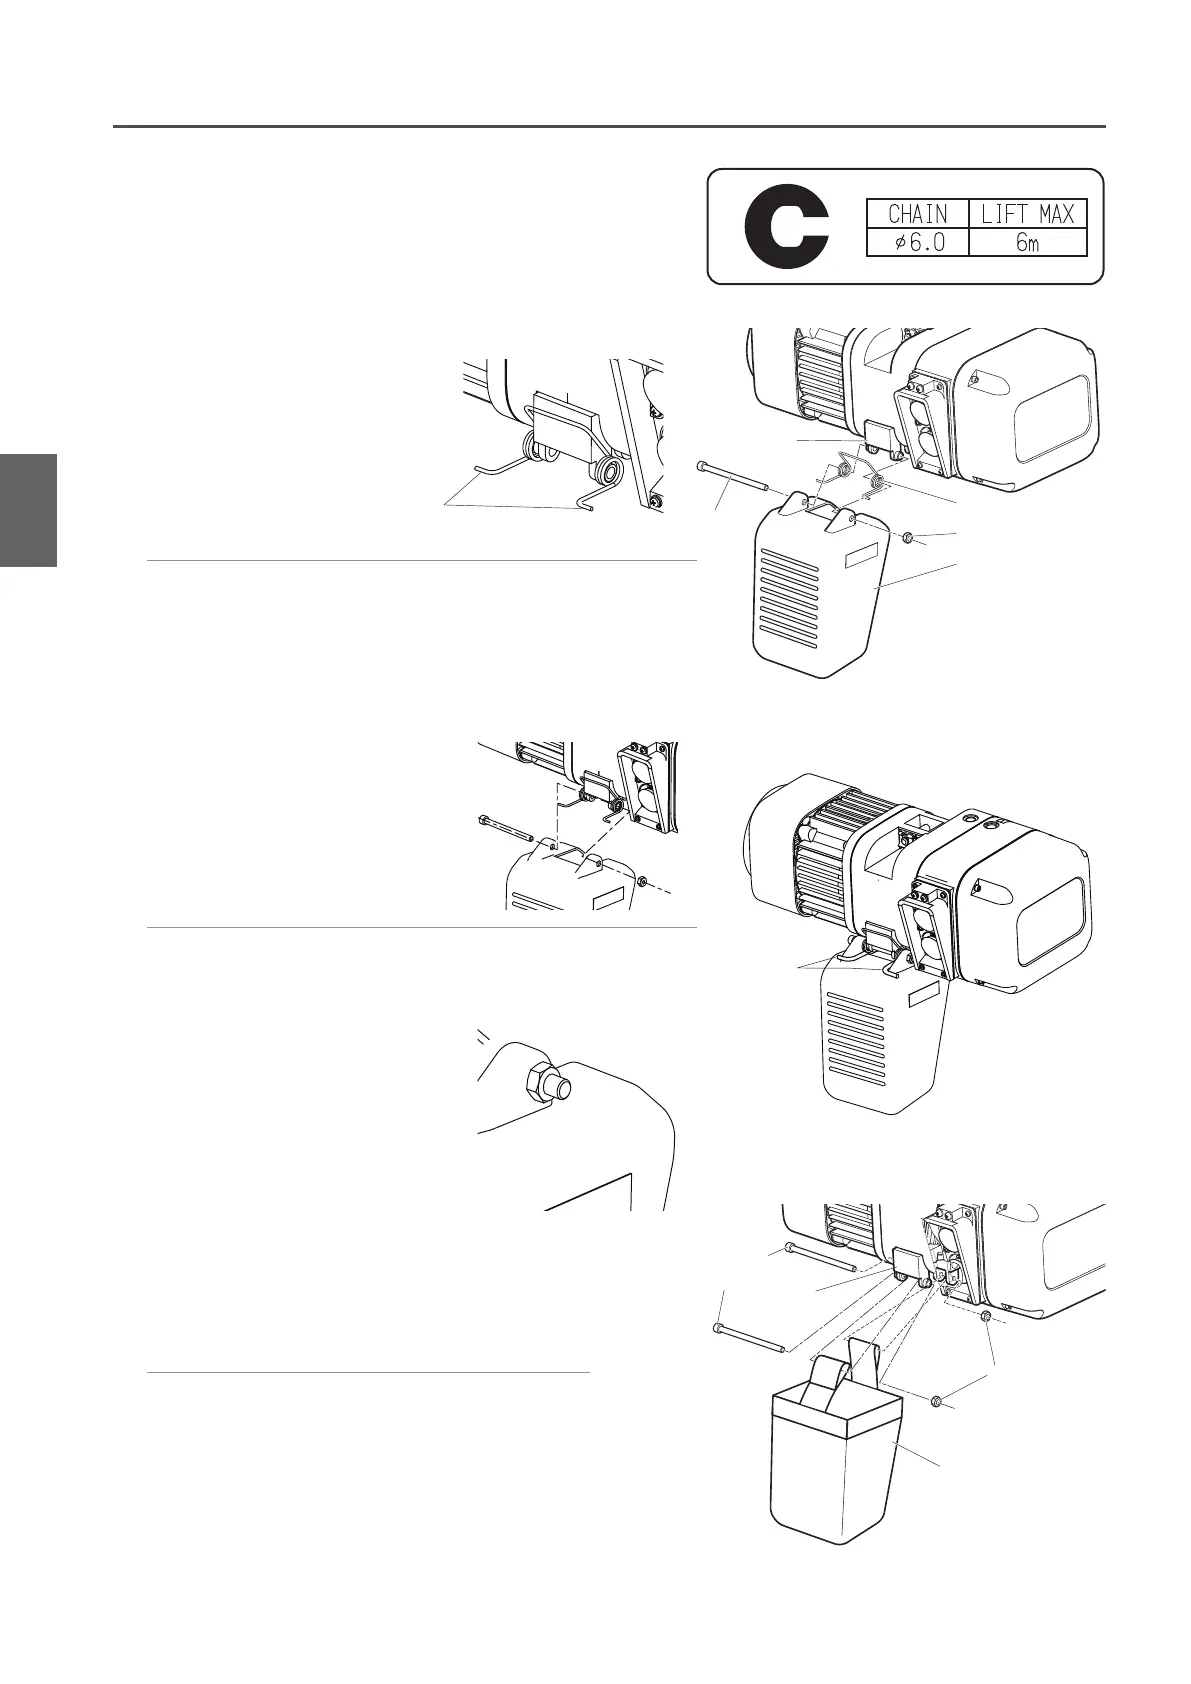
●
Chain Container Seal
A seal in the right to indicate the relation between the size of the
Load Chain and the lift is attached to the Chain Container. Be
sure to check it before installation.
●
Plastic Container
1) Mount the Container Spring to the Chain Guide A.
2) Pass a Socket Bolt through all holes of the
Chain Container, the Chain Guide A and the
Chain Container, in this order to mount the
Chain Container.
• Be careful to the direction of the Container Spring.
• As the portion A shown in the right assembly figure, make
sure that the edge of the Container Spring is set out of
the container when assembling.
3) Screw the U nut into the Socket Bolt and tighten
it securely.
• The Socket Bolt must protrude from the end face of the nut
by three threads or more.
Socket
Bolt
Container Spring
Chain Guide A
U nut
Chain Container
●
Canvas Container
1) Pass two Socket Bolts through all
holes of the Chain Guide A, the Canvas
Container and the Chain Guide A in this
order to mount the Chain Container.
2) Screw the U nut securely.
• The Socket Bolt must protrude from the end
face of the nut by three threads or more.
Socket
Bolt
U nut
Chain Container
Chain
Guide A
A
Edge of the
Names of each part
Assembly figure

 Loading...