Klereo Kompact installation manual V 3
6
2. USAGE LIMITATIONS
The installation must meet the following conditions to ensure the Klereo system operates
correctly:
– Pool containing no more than 200 m
3
water by volume.
– The Klereo Kompact control box unit is not fitted with electrical modules to drive
directly the filter pump. You need to make the connection with the filter pump control box
equipped with a thermal overload circuit breaker and a contactor.
– Water pressure: 1.5 bar max
– Minimum water flow rate: 4m
3
/h
– Maximum water flow rate for the probes: 18 m
3
/h
– Klereo is suitable for traditional installations using sand or cartridge filters.
– Disinfectant used previously: liquid Chlorine, Chlorine tablets, active Oxygen, UV,
Ozone and salt chlorinator (non-stabilized salt), Bromine.
– The TH value (hardness) must be between 10°F and 2 5°F (or 100 to 250mg/l). The
TAS value (alkalinity) must be between 5°F and 20°F (or 50 to 200mg/l).
– If stabilizer is used, it must not exceed 75mg/l (we advised not to exceed 50 mg/l). If
the rate exceeds this, it is advisable to drain some or all the water from the pool, to avoid
upsetting the measurements, so that the pool is effectively disinfected.
– Automatic filter adjustment depends on the water temperature as well as on the
volume of water and pump flow rate. The pump flow rate must be sufficient to renew the
volume of water in the pool every 4 to 6 hours, in order to ensure this function operates
correctly.
– For solar heating used with another heating system (electric, heat exchanger or
pump), the installation must have several water temperature sensors fitted. In some cases,
Klereo may not be able to run the heating system correctly (consult Klereo).
– When the disinfectant is a salt chlorinator, it is very important to install a ground
pool before the heating system and before the salt chlorinator.
3. HYDRAULIC INSTALLATION
3.1 Before starting installation
Let the pH and ORP probes sit in a glass of tap water for at lest 30 minutes so that they will
be ready for calibration. Do it before starting installation in order to save time later on.
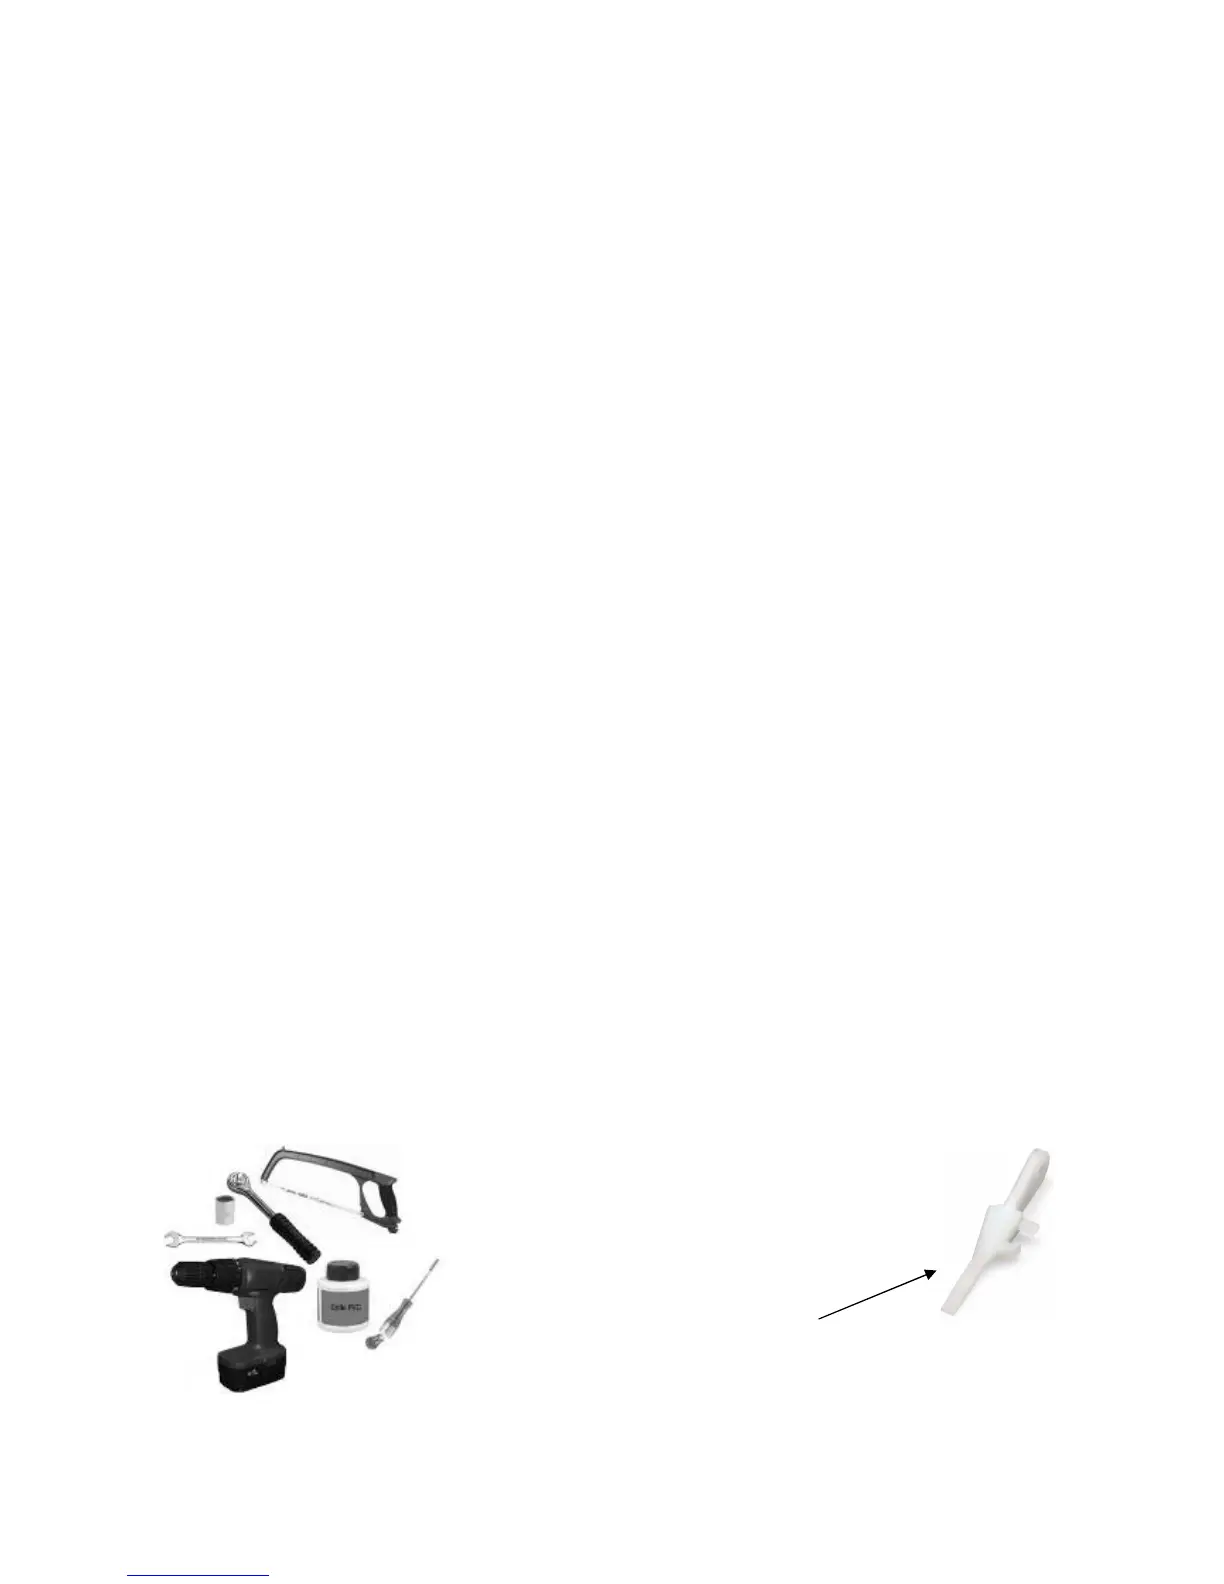
The following tools are needed for installing the Klereo system:
Figure 4. Tools for installation
- A saw
- A drill
- A screwdriver
- A cross-head screwdriver
- A ratchet spanner Ø 13
- PVC glue
- A spanner Ø 13mm