Klereo Kompact installation manual V 3
9
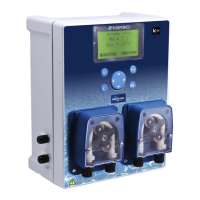
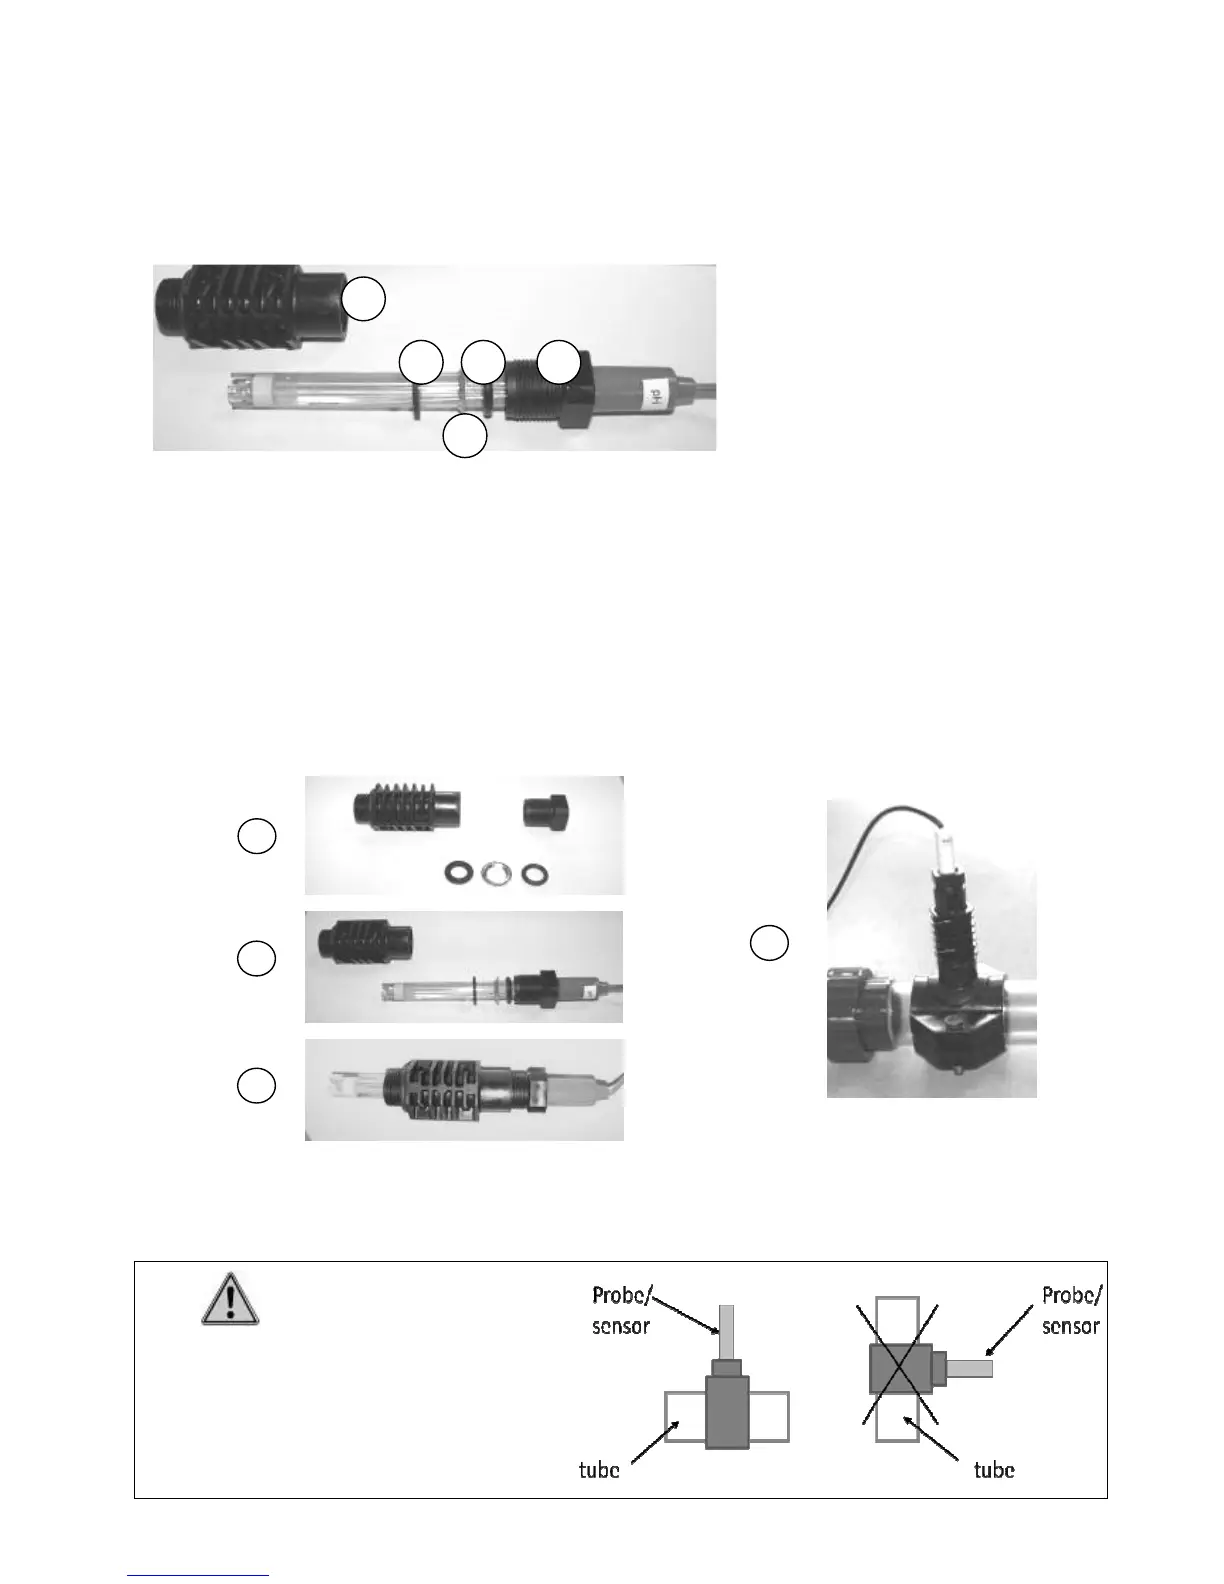
Figure 9. Positioning the probes in the chamber of analysis
3.4 Fixing the probes.
The necessary parts to fix the pH, ORP probes and water temperature sensor are detailed as
follows:
Figure 10. Fixing parts
The following procedure should be used when inserting the probes into the holders. Do not
force them into place but rather:
1. Unscrew the probe holder, and remove the metal and rubber washers.
2. Then thread on the top of the probe holder and the washers one after another
3. Slide on the body of the probe holder
4. Screw it up so it is fixed at the top of the probe (using Teflon tape to seal them). The
end of the probes is fragile, adjust the height of the probe so that it does not touch the
bottom of the plastic tube (1 to 2 cm space clear)
Taps are delivered together with the multi-sensor tube and are to be screwed onto the
unused holding collars.
Figure 11. Assembly of probe-holders and water temperature sensor
IMPORTANT
The holding collars must be placed so that
the pH and ORP probes are held vertically
(+/- 10°) with or without the multi-sensor tube.
2