4. Position the base with the embossed UP toward the ceiling and fasten it
directly to a vertical 2x4 inch electrical box. For horizontal boxes or
4x4 applications, use a wall plate kit. See Installation accessories on page
12 for part numbers.
5. Connect the wires for the AppStat to the terminals in the mounting base.
6. Place the top of the sensor over the top of the mounting base and swing
it down over the Allen screw bracket. Be careful not to pinch any wiring.
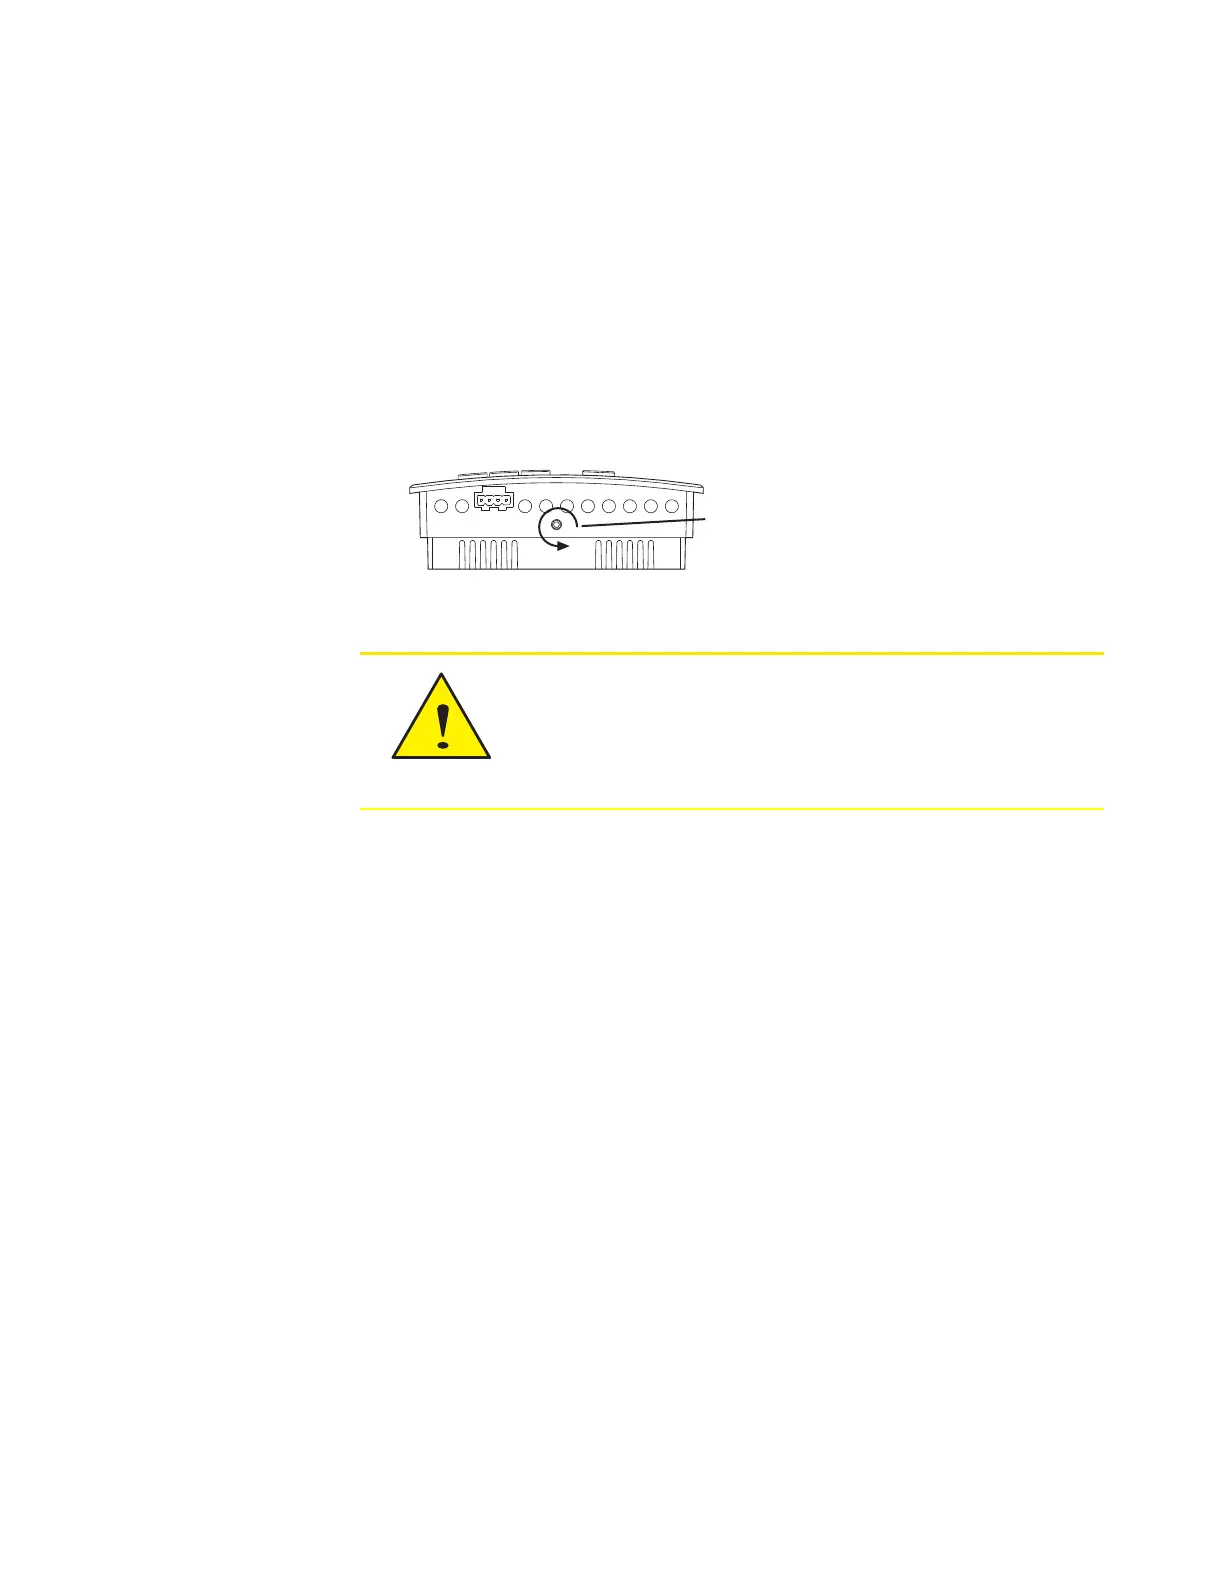
7. Turn the Allen screw counterclockwise until it backs out of the mounting
base and engages the case.
Turn counterclockwise
until the screw engages
the base.
To prevent mounting screw heads from touching the circuit
board in the controller, use only the mounting screws
supplied with the controller. Using screws other than the
type supplied may damage the AppStat.
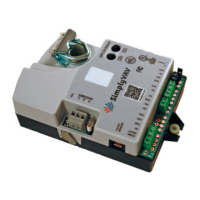
Connecting inputs
The inputs for the AppStat are configured for specific functions and do not
require set up in the field. Not all inputs are required for every model or
application. See the topic BACnet objects on page 114 for the configuration
properties of the input objects.
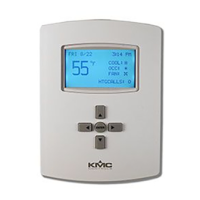
Remote space temperature sensor (optional)
Connect a 10kΩ, TypeII thermistor temperature sensor to the remote space
temperature (RS) input and ground (GND) terminals. The input includes the
internal pull-up resistor. An STE-6011W10 sensor is suitable for this
application. Follow the instructions supplied with the sensor for installation.
When a remote space temperature input is connected to the AppStat, the
remote temperature is used instead of the internal temperature sensor.
Section 2: Installing the AppStat KMC Controls, Inc.
20 Revision G

 Loading...