- 25 -
Workshop Manual KD 441_cod. 1.5302.865_2
nd
ed_ rev. 01.
4
28
29
31
30
A
Disassembly
Remove the cap on the connecting rod big end using the unthreaded
part of the special tool p/n 1460-340.
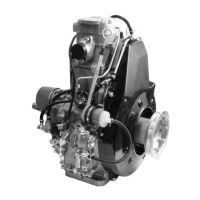
Cylinder
After removing the connecting rod cap, remove the cylinder, piston
and connecting rod assembly from its seat.
Remove the piston and the connecting rod from the cylinder by ma-
nually pushing the piston downwards with respect to the cylinder.
For dimensional checks of the connecting rod, piston and cylinder as-
sembly see pages 37-38.
6
- Operate the decompression lever on the rocker arm cover to reduce
compression resistance.
Push the connecting rod inwards so as to disconnect it from the
crankshaft.
7
- Rotate the crankshaft to release the connecting rod.
8
- Using a nylon bar, keep the connecting rod shaft lifted and move the
bar of the special tool from the upper hole to the lower hole.
Connecting rod - upward replacement of the connecting rod half
bearings
If necessary, it is possible to replace only the connecting rod half bea-
rings without disassembling the connecting rod and the cylinder head
assembly.
1
-Removethebottomcap(g.21-22-23)
2
- Position the crankshaft to the B.D.C.
Removetheconnectingrodcapscrews(g.24)
3
-Insertthespecialtoolp/n1460-340,unthreadedpartrst,replacing
the screws on the cap.
4
- After forcing carefully the two bars of the special tool to the right and
to the left, disconnect the connecting rod cap from the shaft and
removeit(g.28).
5
- Tighten threaded bar A of the special tool in the threading of the
connectingrodshaft(g.30).