Using RPPR (Realtime Pattern Play/Record) Recording an RPPR performance
99
Quick Start
Introduction
SetupProgram
Combination
Sequencer
SamplingGlobalMediaEffectKARMA
Drum Track
Other
Appendices
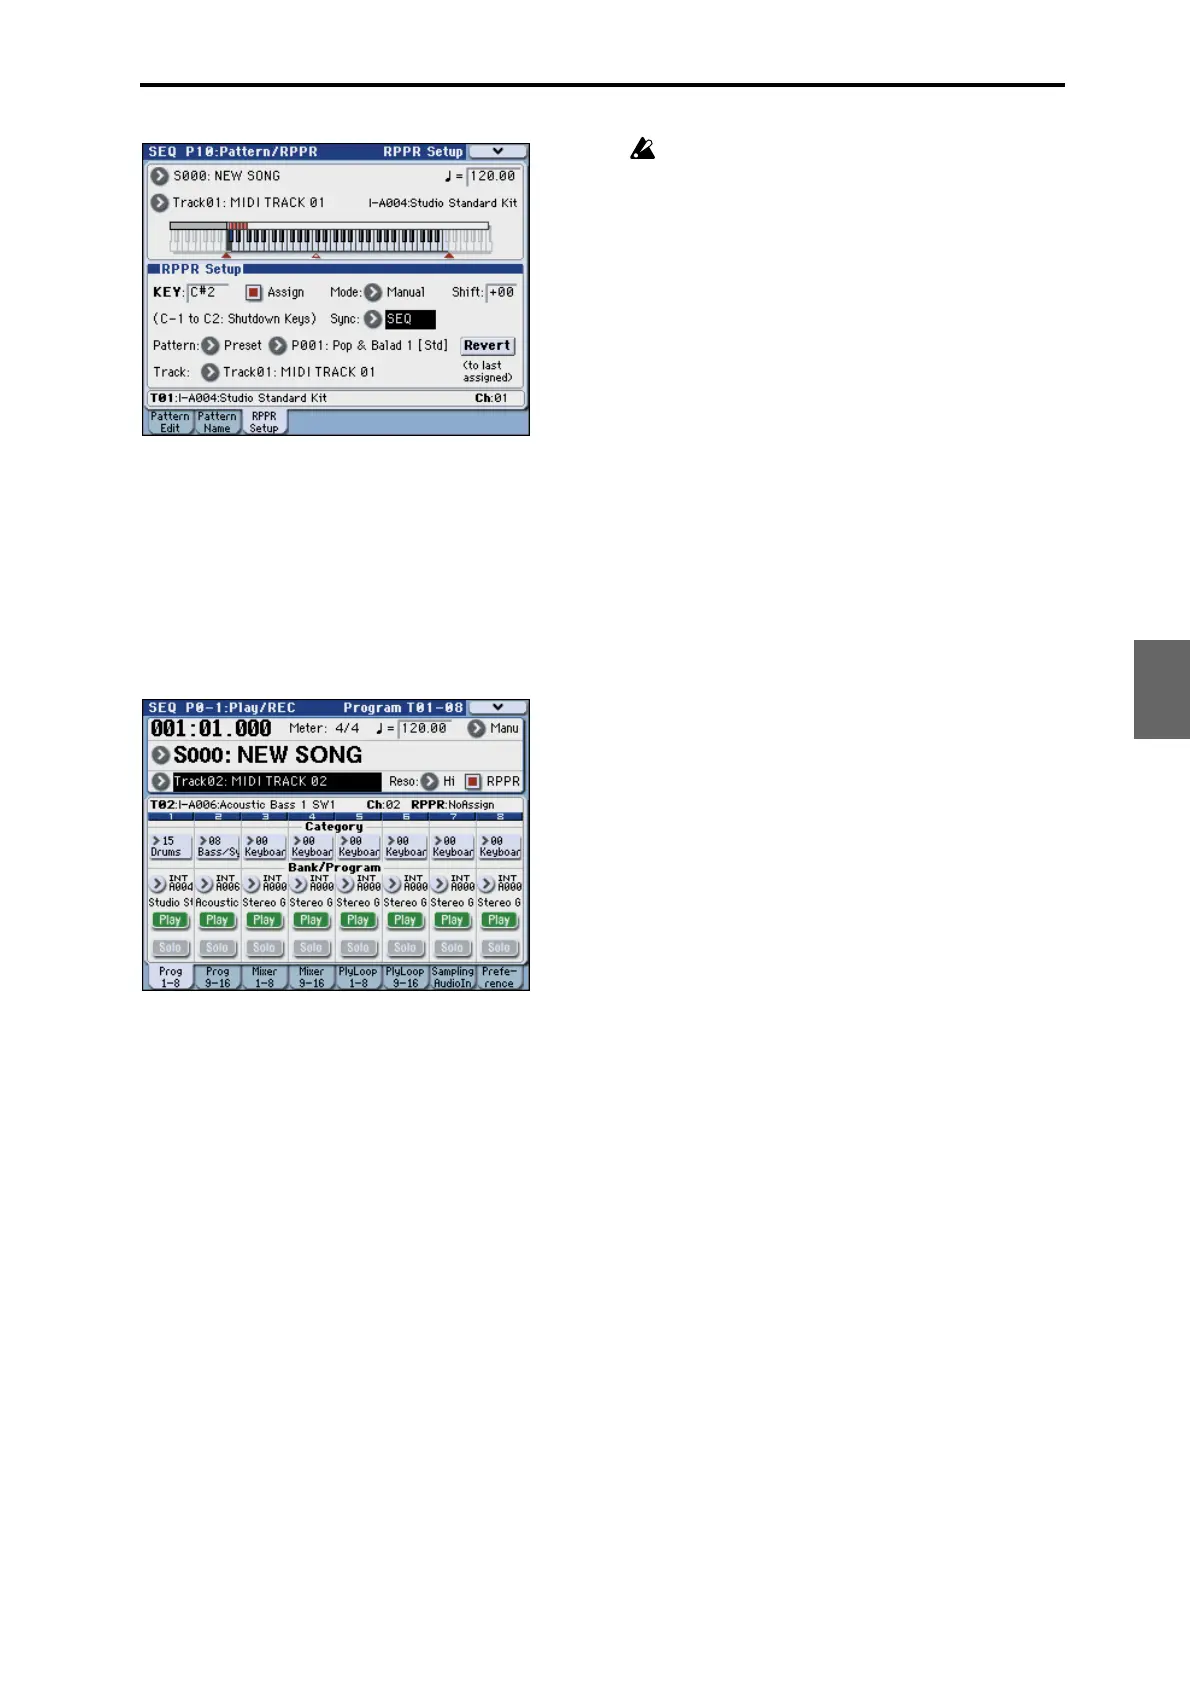
3. Access the P0–1: Play/REC– Program T01–08 page.
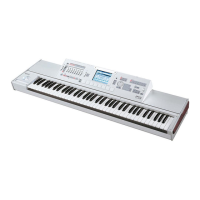
4. Check the “RPPR” check box, and set Track Select
to MIDI Track 02.
When the RPPR function is on, pressing a key to which
a pattern is assigned will cause the assigned pattern to
start playing, regardless of the track that’s selected in
Track Select.
Keys to which patterns are not assigned can be played
in the usual way. You can play the program that’s
assigned to the MIDI track you select here.
5. Since you want the tracks you play via RPPR and
the track you play from the keyboard to be
recorded at the same time, check the Multi REC
check box. (See page 87)
Note: If Recording Setup is set to Loop All Tracks, it
will not be possible to select Multi REC. Set the
Recording Setup to Overwrite.
6. Press the SEQUENCER REC/WRITE switch to
enter record-ready mode.
7. For the tracks you will be recording (MIDI Track 1,
2), press Play/Rec/Mute to make them indicate
REC.
Make sure that the tracks you’re not recording are
indicated as Play or Mute.
8. Press the LOCATE switch to set the location to
001:01.000.
9. Press the SEQUENCER START/STOP switch, and
then press a key that plays an RPPR pattern.
If, during the pre-count before recording, you press a
key that’s assigned to an RPPR pattern, the pattern will
begin playing (and being recorded) the moment that
recording begins.
Record the RPPR pattern playback and keyboard
performance.
When recording the playback of patterns triggered
by RPPR, the timing of the recorded events may be
slightly skewed. If this occurs, try setting REC
Resolution to a setting other than Hi.
10.When you are finished performing, press the
SEQUENCER START/STOP switch.
Recording will end, and the sequencer will return to
the location at which recording began.
If you made a mistake during your performance or
would like to re-record, you can use the Compare
function (press the COMPARE switch) to re-record as
many times as you wish.
11.If you want to record other tracks, un-check the
Multi REC (See step 5) or “RPPR” (See step 4)
check boxes as necessary.