Sampling and editing in Sampling mode Basic sampling procedure
113
Quick Start
Introduction
SetupProgram
Combination
Sequencer
SamplingGlobalMediaEffectKARMA
Drum Track
Other
Appendices
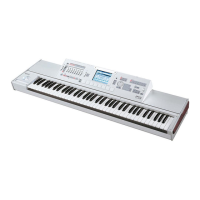
Adjust the recording level
1. Use the rear panel LEVEL knob to adjust the level
appropriately.
If the “ADC OVERLOAD !” (AD converter input
overload) indication appears, turn the rear panel
LEVEL knob toward MIN to adjust the level
appropriately.
For the best sound, adjust the level as high as possible
without allowing the “ADC OVERLOAD !” indication
to appear.
2. Press the SAMPLING REC switch.
Speak into the mic, and notice that the level meter
indicates the volume of the sound that will be
recorded.
If the “CLIP !” indication appears, use the VALUE
controller to lower the Recording Level slider (shown
in the right of the display) from the +0.0 setting to an
appropriate position.
3. When you’ve finished making adjustments, press
the SAMPLING REC switch.
Record
1. Press the SAMPLING REC switch.
The M3 will be in record-ready mode.
2. Speak into the mic, saying the word(s) you want to
sample.
(Example: “It’s”)
Recording will start when the level exceeds the Level
–30 dB setting.
3. When you’ve finished saying the word(s), press
the SAMPLING START/STOP switch.
This completes the sampling operation. The new
sample will be automatically assigned to Sample
(Sample Select).
Hear the sampled result
1. The sample you just recorded will (by default) be
assigned to Index 001.
When you press the OrigKey key (C2) for Index 001,
you will hear the sound you just sampled.
You can also strike pad 1 to hear this sound.
Notice that the sample will loop (play repeatedly) if
you hold down the key or pad. We’re going to turn
looping off.
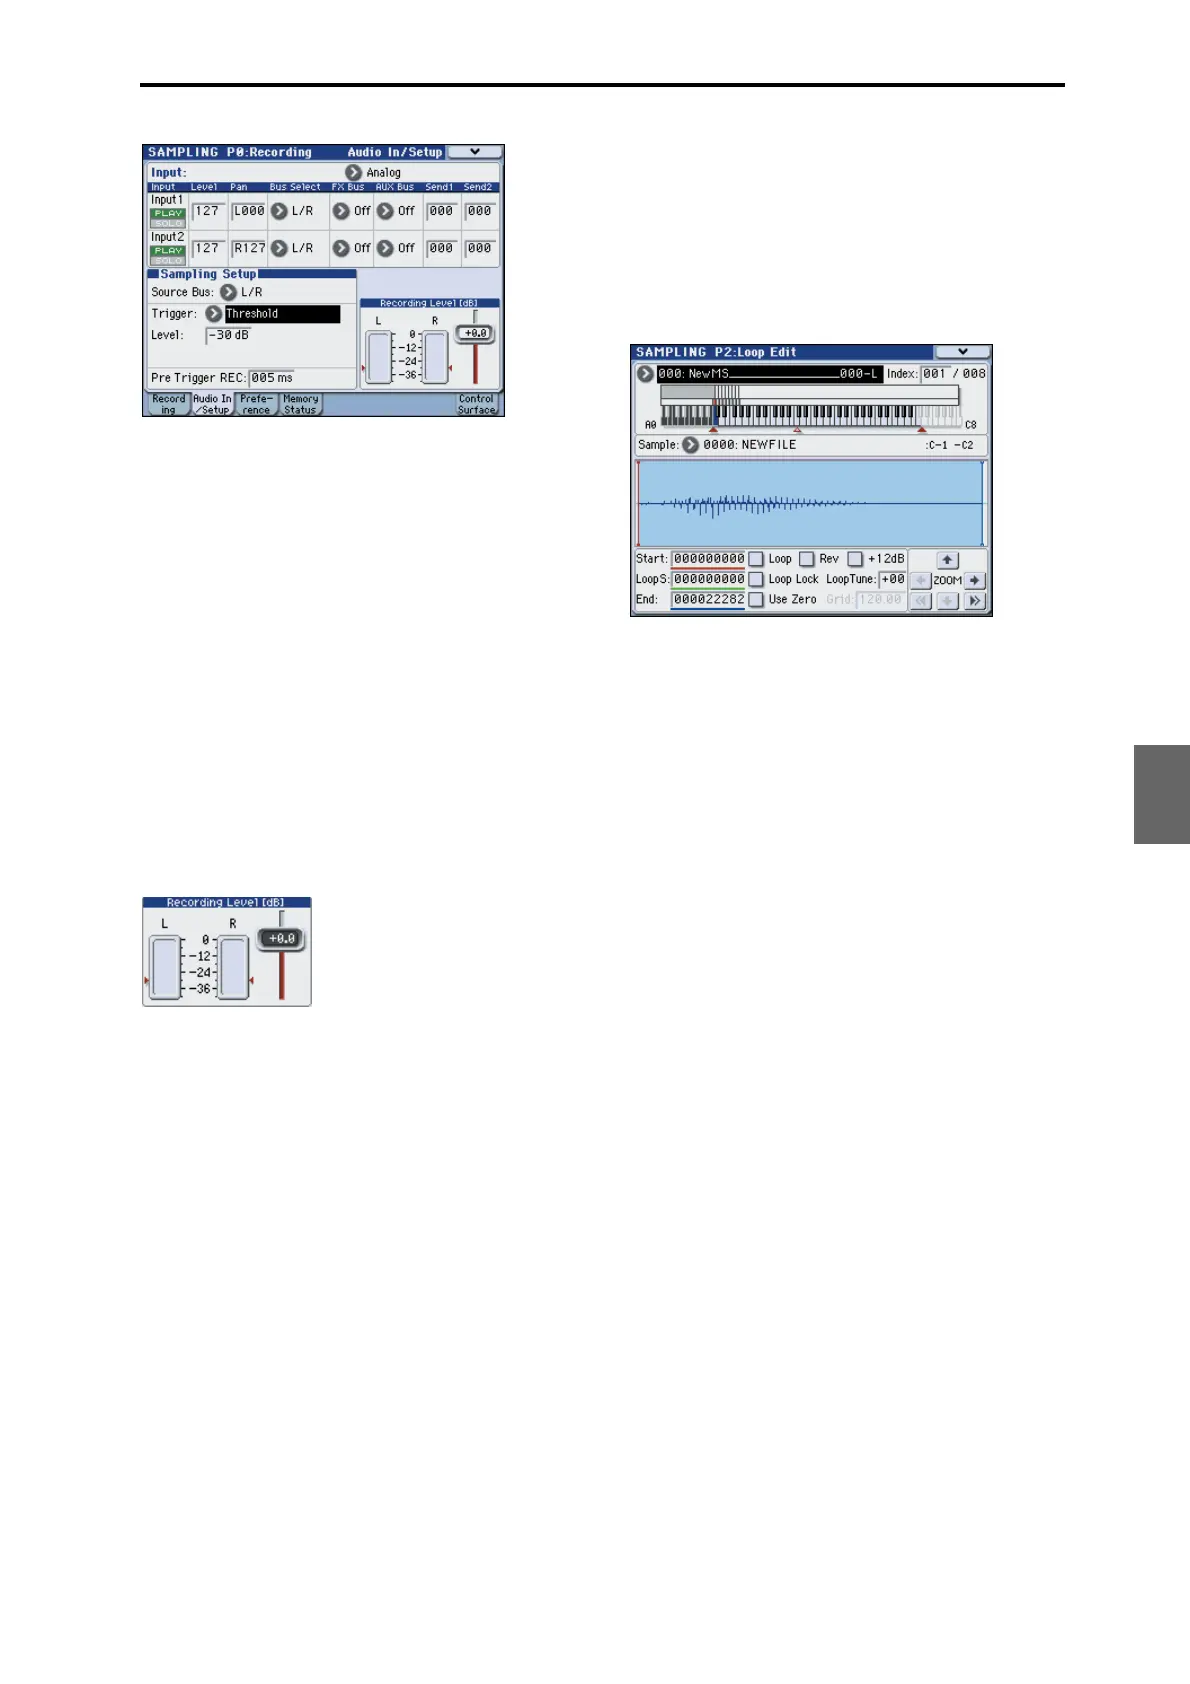
Turn looping off
1. Access the P2: Loop Edit page.
Uncheck Loop. Now the sample will not loop even if
you hold down the C2 key.
2. Now we’ll specify that looping will be turned off
for each newly recorded sample.
Access the P0: Recording– Preference page.
Uncheck Auto Loop On.
If Auto Loop On is checked, the Loop setting will
automatically be turned on when you sample, so that
the sample will loop.
Record the next sample
1. In the P0: Recording– Recording page, select
“Index” and press the q switch to select 002.
2. Press the SAMPLING REC switch and then the
SAMPLING START/STOP switch.
Speak into the mic, saying the word(s) you want to
sample.
(Example: “So”)
When you’ve finished speaking, press the SAMPLING
START/STOP switch.
3. Repeat steps 1 and 2 several times more to record a
few more samples.
(Example: “Easy,” “To,” “Sample,” “With,” “M3”)
Listen to the recorded result
1. Play the keys one after another.
Play the keys starting at C2 in semitone steps. The
samples you just recorded will play one after another.
(For example if you sequentially play the keys from C2
through F#2, you will hear “It’s So Easy To Sample
With M3.”)
The multisample you created can be used as a program
or combination. (See “Converting a multisample to a
program” on page 120)
Sampling from the S/P DIF input
In general, sampling from the S/P DIF inputs is very
similar to sampling from the analog inputs. For
instance, to record a stereo sample from the S/P DIF
inputs, set up the sampling parameters as below:
Source Bus: S/P DIF IN L/R