71
3
© 2018 KOSTAL Solar Electric GmbH
Installation
3.14 Initial commissioning
Procedure for initial commissioning
1. Activate the supply voltage via the line circuit breaker.
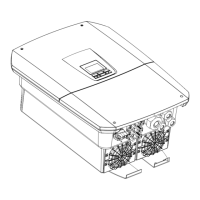
2. Switch the DC switch of the inverter to ON.
Fig. 10
If external DC voltage separators are present, activate
the DC strings consecutively.
P
The installation wizard is shown on the display.
3. Press the right arrow key to start the installation.
P
The “Language” menu is displayed.
4. Select language and confirm.
To do so, use the arrow keys to select a language.
Confirm using “ENTER”.
5. Press the right arrow key to go to the next installation
item.
P
The “Date and time” menu is displayed.
6. Select time zone and set date/time or run automatic
detection. Confirm using “ENTER”.
7. Press the right arrow key to go to the next installation
item.
P
The “Energy management” menu is displayed.
8. Use the arrow keys to select the corresponding
menu item and press the “ENTER” key.
IMPORTANT
INFORMATION
At least the "Min. input voltage
(U
DCmin
)" must be present for initial
commissioning. The output must
also be able to cover the inverter's
self-consumption during initial
commissioning.
INFO
The installation process can vary
depending upon the software version
of the inverter.
Information on using the menu:
Ch. 4.4
INFO
The entry of date/time ensures that
the downloaded log data has the
correct time assigned to it.