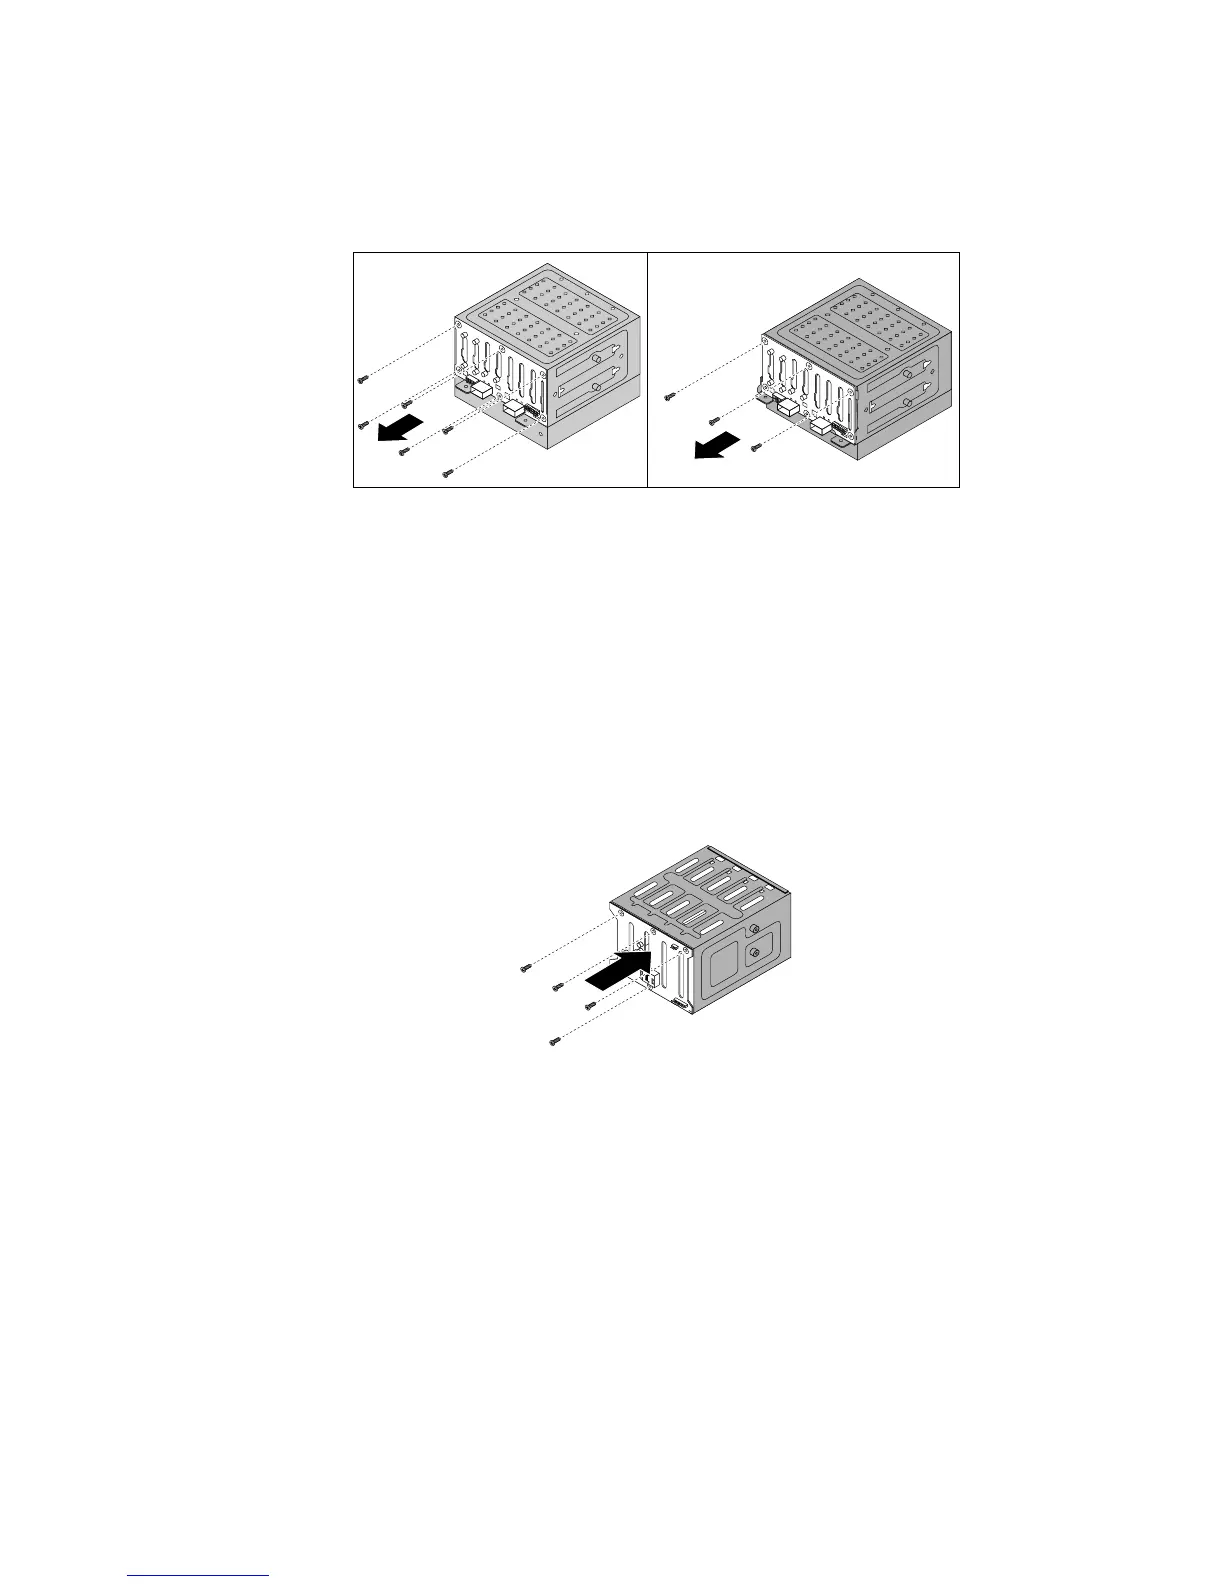
•Forthe2.5-inchhot-swaphard-disk-drivebackplane,removethesixscrewsorthreescrewsthat
securethebackplanedependingonthetypeofthebackplane.Then,removethebackplanefromthe
hard-disk-drivecage.
Figure115.Removingthe2.5-inchhot-swaphard-disk-drivebackplane
10.Touchthestatic-protectivepackagethatcontainsthenewbackplanetoanyunpaintedsurfaceonthe
outsideoftheserver.Then,removethenewbackplanefromthepackage.
Note:Carefullyhandlethebackplanebyitsedges.
11.Positionthenewbackplaneonthehard-disk-drivecagesothatthescrewholesinthenewbackplane
arealignedwiththecorrespondingholesinthehard-disk-drivecage.Then,dooneofthefollowing
dependingonthehard-disk-drivecage:
•Forthe3.5-inchhot-swaphard-disk-drivecage,installthefourscrewstosecurethebackplaneon
thecage.
Figure116.Installingthe3.5-inchhot-swaphard-disk-drivebackplane
Chapter6.Installing,removing,orreplacinghardware175