Getting Started
RET
eval
Device User Manual 10
Testing
Select Tested eye to define which eyes you want to test. For example,
you may be involved in a clinical trial where only the right eye is to be
tested. By selecting Right eye, all protocols will only test the right eye.
Choosing Both eyes, the default, tests both eyes. Selecting Choose
at test time gives you the option to choose after pressing New Test to
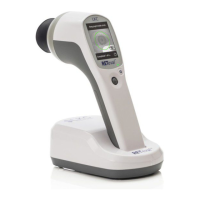
start running a test. Alternatively, the Done (OD) and Done (OS)
buttons can be used on the connect electrode screen to skip all
remaining tests for that eye.
Immediately after sensing an electrode being connected, the device
measures the electrical noise. If the noise is above a certain threshold, a warning message is
display about excessing electrode noise (See the Troubleshooting section for details). If the noise
is below that level, by default the measured value is not displayed. Under the Display noise
option, you can choose to always have the electrode noise visible.
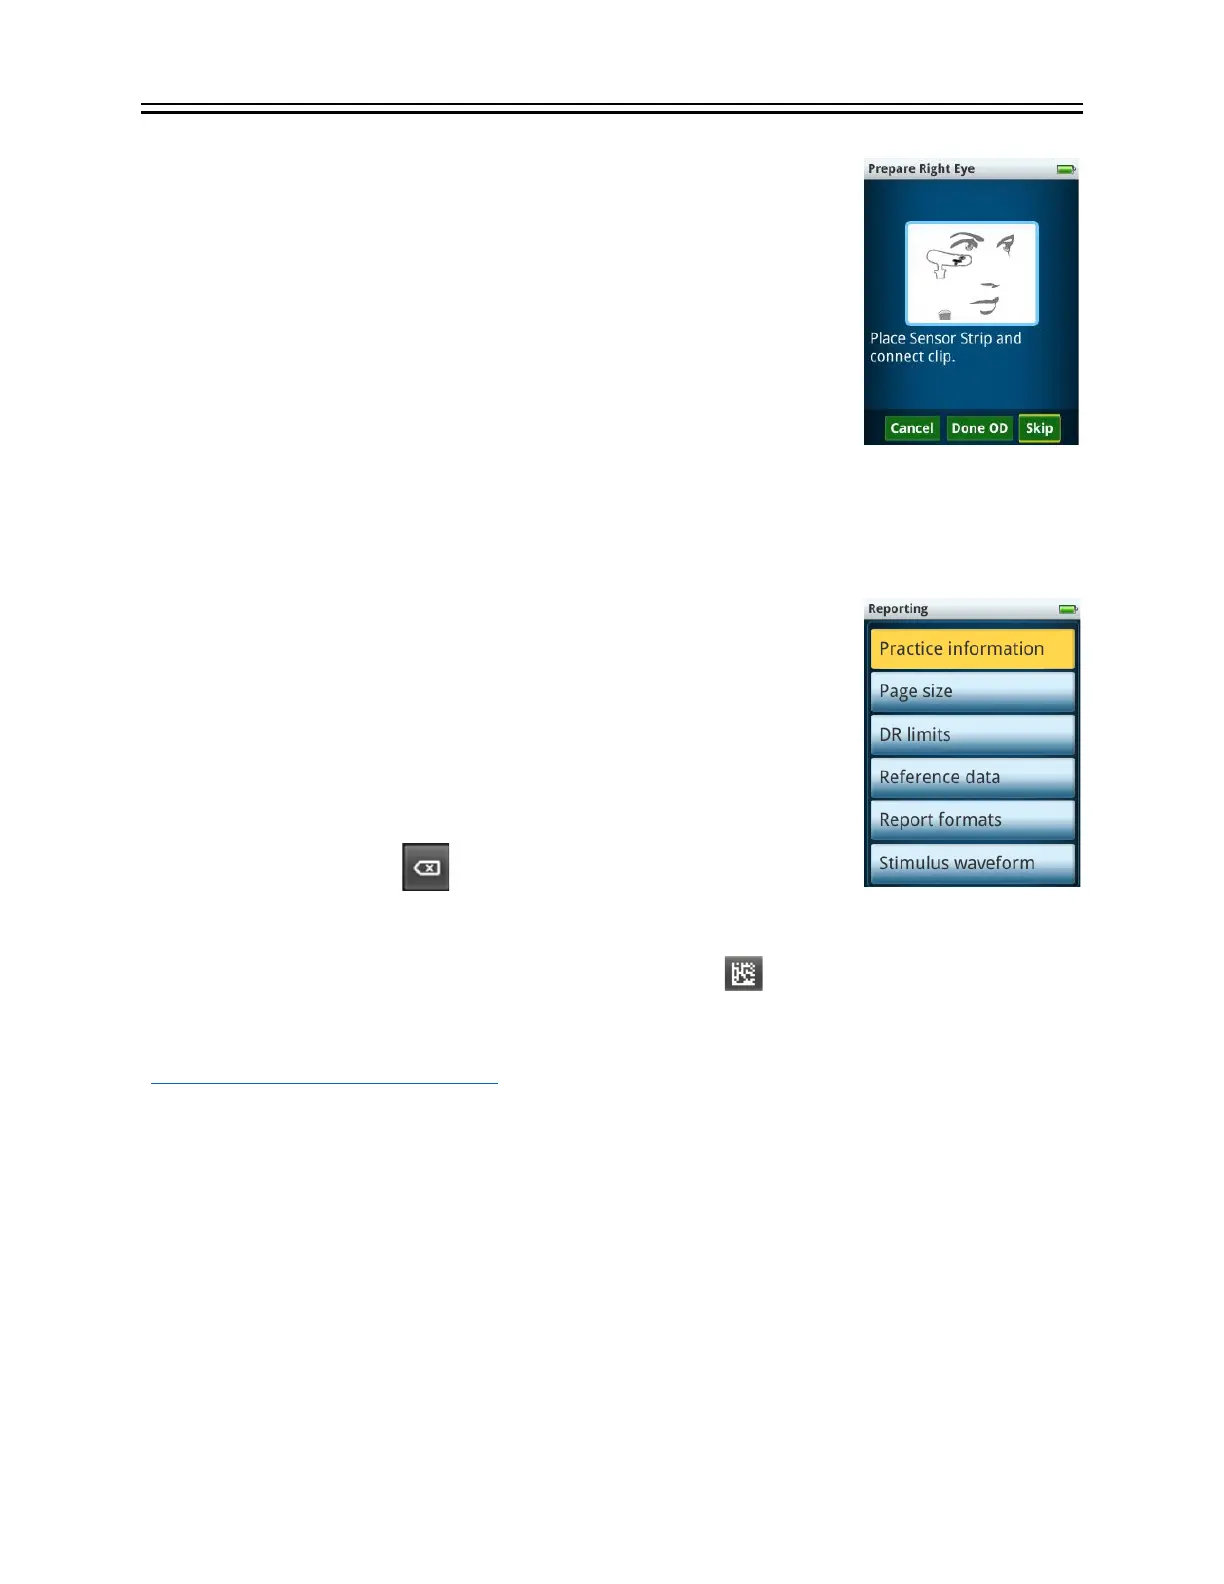
Reporting
Under the reporting menu, there are many different options that affect
the displaying of results both on the device and in the reports.
Practice Information
Practice information is used to label reports. It includes the practice
name and three lines for practice address. You can use these lines for
other information if you like. Text is inserted at the blinking vertical
cursor. Use the delete key to move to the left. Practice information
is displayed on the report above the patient information as shown in the sample report on Page
18. That sample report has LKC Technologies and its address as the practice information, which
is the default for all devices. Pressing the barcode symbol enables practice information to
be scanned from an external display such as a PC monitor. Scanning is automatic and does not
require the joystick to be pressed. The free data barcode application which runs on Windows
(https://bit.ly/retevalbarcodereader) and smartphones (search for RETeval on your phone’s app
store). If the RET
eval
device has trouble scanning the barcode, ensure the eyecup is on or very
close to the display and the display brightness is set to maximum.
Page Size
The PDF reports created by the RET
eval
device can be formatted for either A4 sized paper or
letter (8.5” x 11”) sized paper.
DR limits
As described in DR Assessment section on page 20, the limit criteria for the classification of
normal for this test can be modified here.