46 The GS550 System
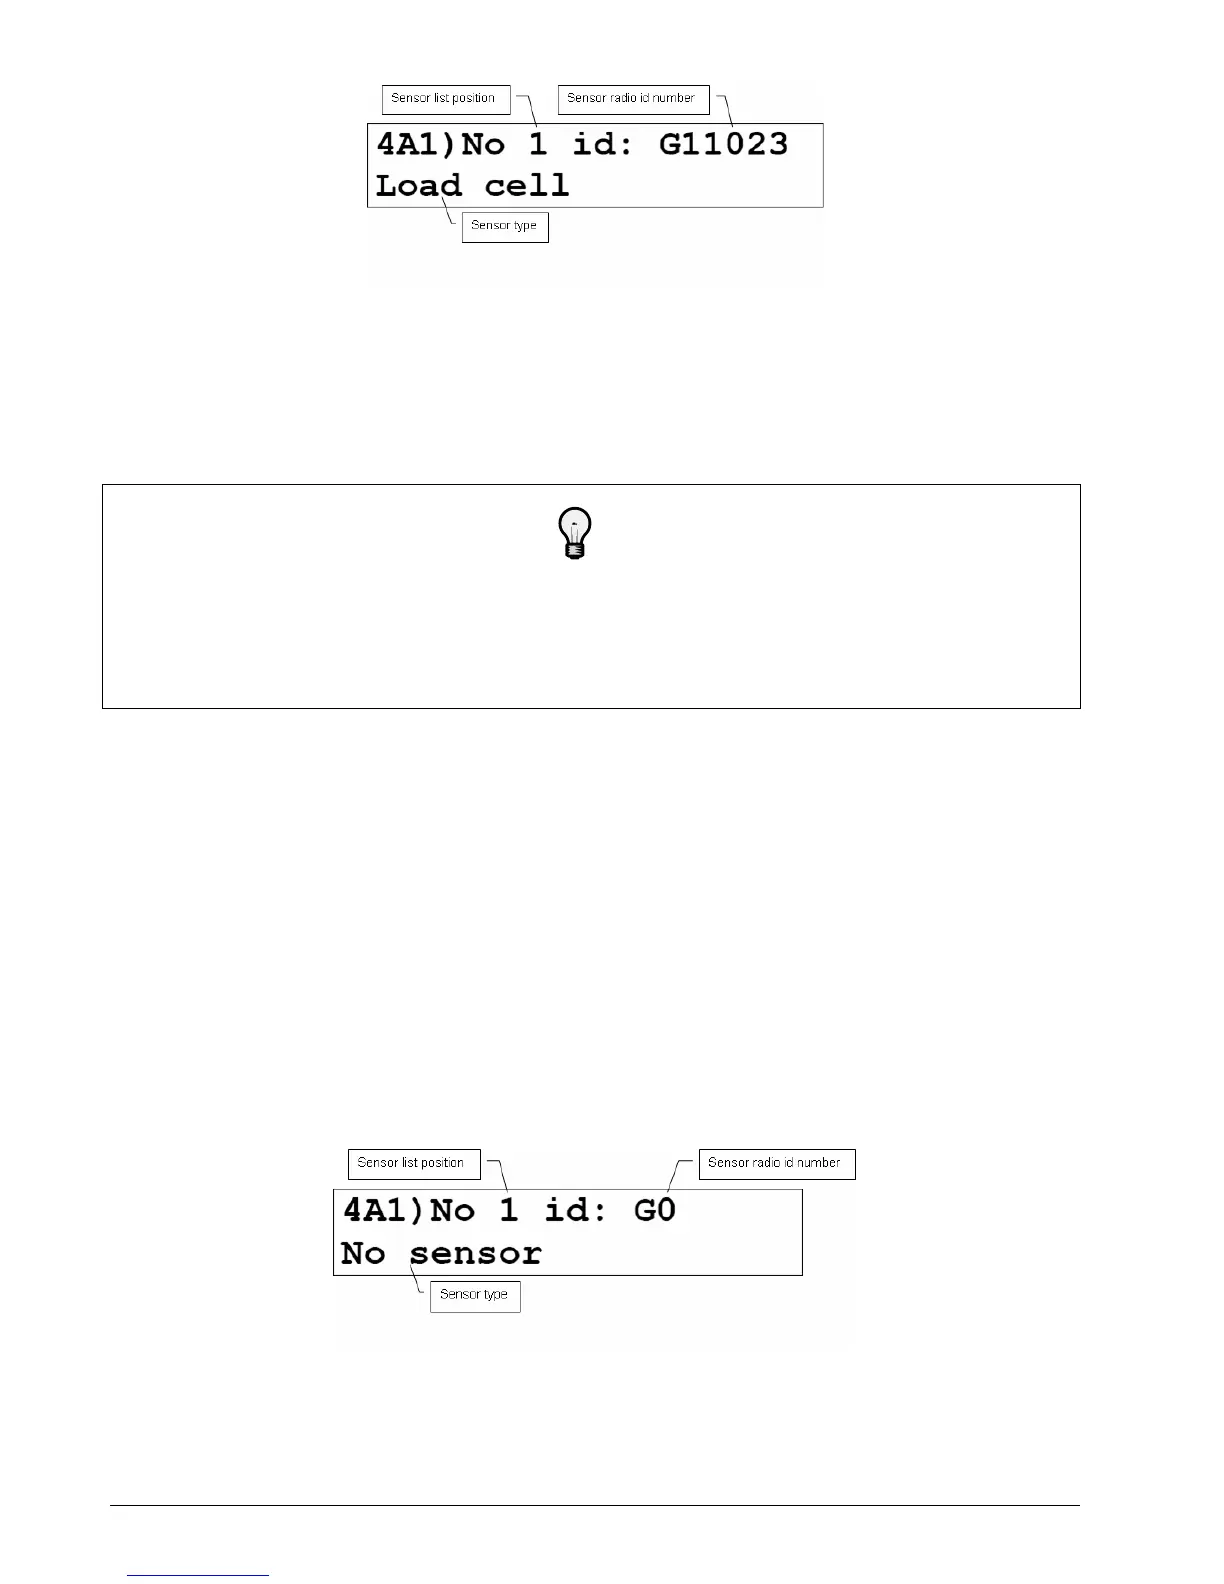
Figure 24 Menu Page 4A1) Sensor List
4. Advance to the next empty sensor position in the sensor list. Press Next repeatedly until the
LCD shows “No sensor” on the bottom line. Up to 32 sensors may be added to the sensor list.
5. The id number should flash; this means it is adjustable. Use Up and Down to program the
sensor id.
Tip
Press Up and Down simultaneously to make the sensor id number jump directly to 15000.
Press Up and Down simultaneously again to make the sensor id number jump directly to
10000. Press Up and Down simultaneously a third time to make the sensor id number jump
directly to 0.
6. Press Next.
7. The sensor type (“No sensor”) should flash; this means it is adjustable. Use Up and Down to
select the sensor type.
8. Press Enter to save any changes made to the sensor list.
9. Press Exit three times to return to the operation display.
2.12.2 How to Remove a Sensor from the GS550
1. Determine the sensor to be removed. If more than one sensor of the same type has been
added to the sensor list then determine the radio identification number (id) of the sensor to be
removed before proceeding. This number between 10000 and 99999 is engraved on the sen-
sor.
2. Press Menu, and then Next three times.
3. Press Enter twice to go to menu page 4A1) (see Figure 25).
Figure 25 Menu Page 4A) Sensor List
4. Press Next repeatedly to advance to the page of the sensor list showing the id of the sensor to
be removed.
 Loading...