1. Turn o power and disconnect the cord from the machine.
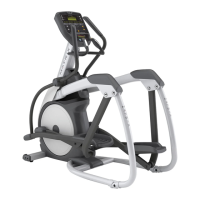
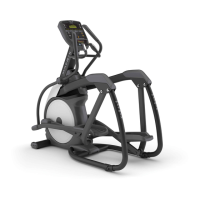
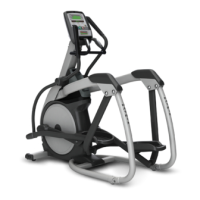
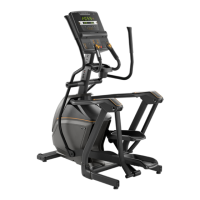
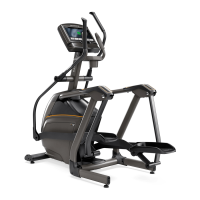
2. Remove both front disks from machine as outlined in section 9.1.
(Figures A and B).
3. Remove LCB cover (2 screws) to allow wiring access. (Figure C)
4. Disconnect all wires from the LCB (7 connections). (Figure D)
5. Remove the LCB (2 screws) from the frame. (Figure E)
6. Reverse steps 1-5, securing all connections and fasteners. Once
reassembled, test machine as outlined in section 9.99.
Figure A
Figure B
Figure C
Figure D
Figure E
CHAPTER 9: PART REPLACEMENT GUIDE
9.2 LCB (LOWER CONTROL BOARD) REMOVAL AND INSTALLATION
1
2
3
4
5
6
7
27